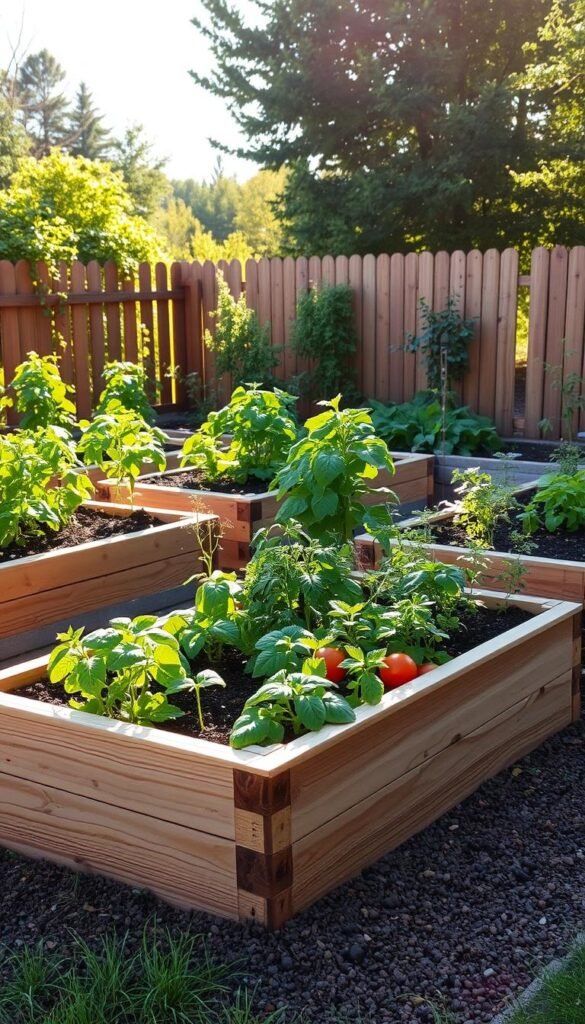
Ever wondered why so many growers are switching to above-ground planting spaces? Imagine harvesting juicy tomatoes weeks earlier than your neighbors or pulling carrots from loose, nutrient-rich earth without battling stubborn weeds. This isn’t magic—it’s the power of elevated growing systems.
Unlike traditional methods, these structures let you customize your soil mix for specific crops. You’ll enjoy better drainage and warmer ground in spring, giving your plants a head start. The confined space means roots grow deeper, leading to healthier, more productive crops—some gardeners report doubling their yields!
Maintenance becomes a breeze with waist-high designs. No more kneeling in mud or fighting invasive grasses. A simple how to build a raised bed guide can help you create a space that fits your backyard perfectly. Whether you’re growing herbs or heirloom squash, you’ll appreciate the organized layout and reduced pest issues.
These systems aren’t just practical—they’re adaptable. Use cedar for natural rot resistance or adjust heights for wheelchair accessibility. With smarter space use and easier care, you’ll spend less time working and more time enjoying fresh, homegrown flavors.
Introduction to Raised Vegetable Gardens
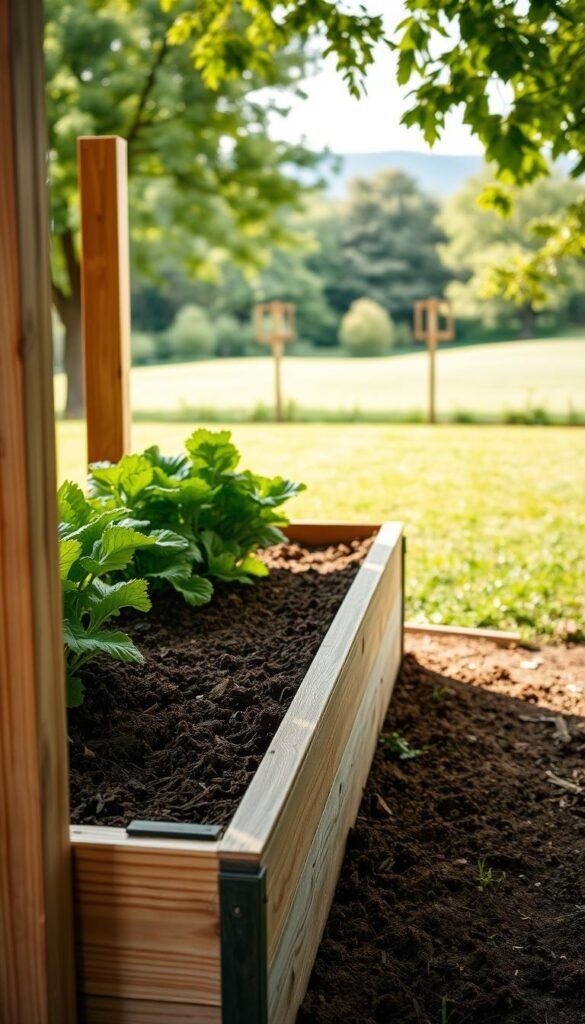
Struggling with rocky or clay soil? There’s a gardening solution that bypasses those challenges completely. Elevated growing spaces let you create ideal conditions for your crops, regardless of what lies beneath.
These structured plots differ from traditional methods by lifting your plants above ground level. You’re not just planting in dirt—you’re crafting a custom environment. The contained space prevents soil compaction, allowing roots to spread freely.
What makes these systems revolutionary? Complete soil mastery. Mix perfect ratios of compost, peat moss, and vermiculite to match each crop’s needs. No more fighting heavy clay or sandy earth—your greens grow in tailored nutrition.
Nearly 83% of urban growers report success with these setups where conventional methods failed. Install them over concrete patios, compacted lawns, or uneven terrain. The elevated design improves drainage so you avoid waterlogged roots during rainy seasons.
This approach has transformed food production in challenging spaces. From Alaska’s permafrost to Arizona’s caliche clay, gardeners harvest bountiful vegetables where nothing grew before. It’s not just about height—it’s about creating possibilities.
Benefits of Raised Garden Beds
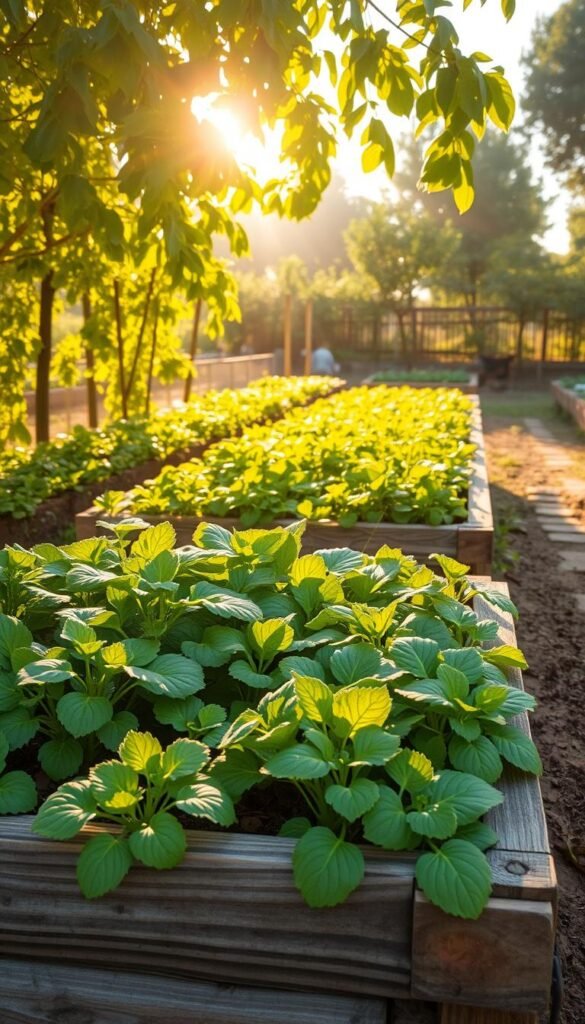
Imagine biting into sun-warmed strawberries three weeks before nearby plots yield fruit. Contained growing areas unlock this advantage through faster ground warming in spring. The elevated design lets cold moisture drain away, creating perfect conditions for early sowing.
You control what matters most – your earth mixture. Blend compost, sand, and organic matter to create custom nutrition for each crop type. Unlike ground plots, these spaces stay fluffy season after season because nobody steps on them.
Maximize every inch by planting veggies closer together. Vertical supports let vining crops like beans climb skyward instead of sprawling. One study showed contained growers harvest 2.3 times more food per square foot than traditional row farmers.
Clear boundaries keep unwanted visitors out. Pets avoid trampling defined edges, while weed seeds struggle to reach your enriched soil. Add floating row covers during frost alerts for instant frost protection – no special tools required.
Accessibility shines in these setups. Build them at counter height to eliminate bending, or make narrow versions for easy reach. Urban growers report success on parking strips and rooftops where conventional methods fail completely.
Planning Your Raised Vegetable Garden
How much fresh produce does your household actually eat weekly? Start by tracking your family’s favorite vegetables and typical meal plans. This reveals how many beds you’ll need to grow meaningful quantities without waste.
The Kitchen Garden Planner simplifies crop math. Input your preferred greens and watch it calculate required square footage. Most families find 3-4 beds (4’x8′ each) supply salad fixings, herbs, and seasonal staples like tomatoes.
Consider these factors when designing:
- Sun patterns in your space (6+ hours daily for most crops)
- Access paths between beds (18-24″ wide)
- Future expansion areas for berry bushes or fruit trees
Start small if time is tight. Build one bed this season, then add others as you master watering and planting schedules. Focus first on quick-growing crops like radishes and lettuce that deliver fast wins.
Seasoned grower Marie Miles suggests: “Map your beds like a chessboard—rotate heavy feeders with soil builders each year.” This prevents nutrient depletion while maximizing your food output.
Smart planning today means less work tomorrow. Position taller plants (like pole beans) on north sides to avoid shading smaller greens. Group herbs and onions near your kitchen door for quick harvests while cooking.
Choosing the Perfect Location for Your Raised Bed
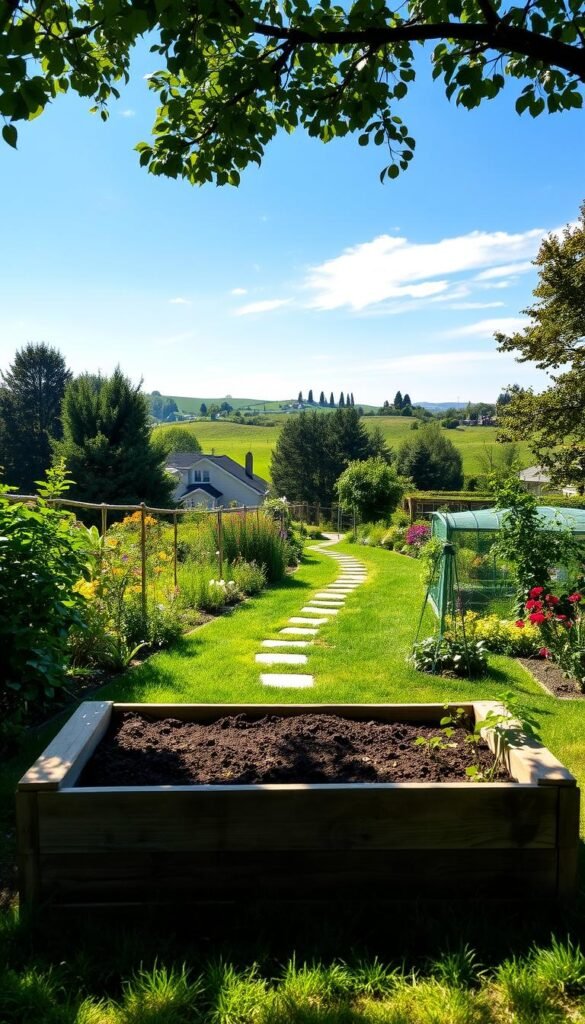
Where you place your growing space determines your harvest’s success. Three factors make or break your setup: sun exposure, drainage quality, and water access. Get these right, and your greens will thrive with less effort.
Assessing Sunlight and Drainage
Most edible plants need 8 hours of direct light per day—track patterns using a sun calculator app. Morning sun dries dew faster, reducing mildew risks. Areas near fences or trees might create unwanted shade pockets.
Watch how rainwater behaves after storms. Puddles lasting over 4 hours signal poor drainage. “I learned the hard way—my first garden bed became a swamp every spring,” says urban grower Tina Marconi. Elevate beds slightly in low-lying yards using gravel bases.
- Full sun lovers: tomatoes, peppers, basil
- Partial shade options: arugula, parsley, spearmint
Proximity to Water Sources
Carrying watering cans 50 feet daily gets old fast. Position beds within 25 feet of spigots for hose reach. Drip systems cut water use by 60% compared to sprinklers—install them during bed construction.
Test your soil moisture at different times of day. Sandy mixes dry faster than clay-based ones. Herbs like chives tolerate occasional dryness, while lettuce demands consistent moisture. Group plants with similar thirst levels together.
“Running a soaker hose through three beds takes 10 minutes—hand-watering each would steal an hour daily.”
Selecting Materials for Your Raised Garden Bed
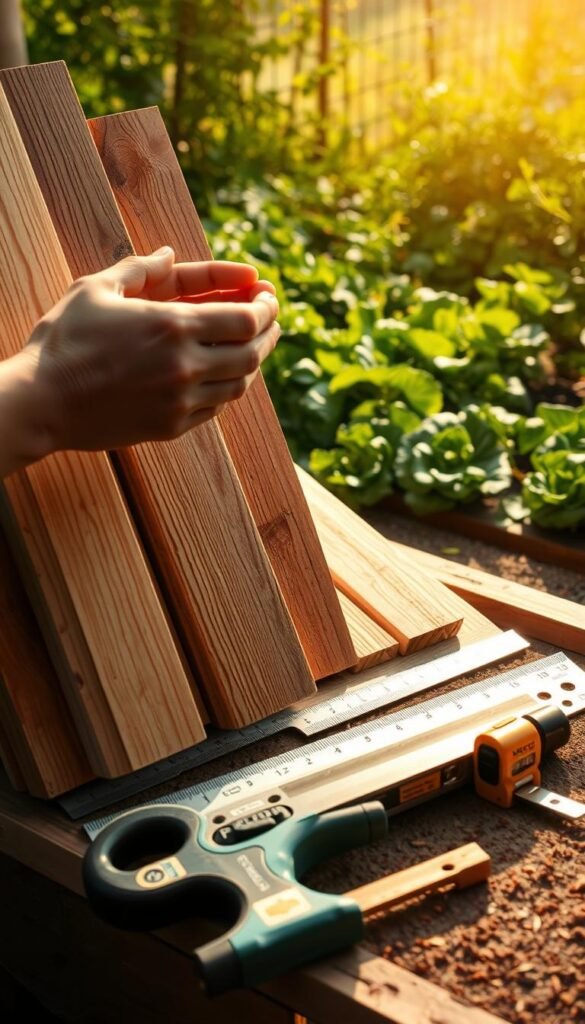
Your growing space’s longevity starts with smart material choices. Natural cedar offers rustic charm but requires replacement every 5-8 years. Modern alternatives like composite blends combine recycled wood and plastic for decades of use without warping or splintering.
Wood Versus Metal Options
Cedar’s natural rot resistance makes it popular, though untreated varieties break down faster in moist ground. For low-maintenance solutions, composite beds arrive pre-cut and assemble in minutes. “I switched to galvanized steel after replacing cedar boards twice,” shares Oregon grower Lila Chen. “Ten years later, my metal beds still look new.”
Galvanized steel withstands harsh weather and supports deeper soil layers—ideal for root crops needing 18+ inches of depth. Copper-treated lumber (post-2003) provides a budget-friendly middle ground, though some gardeners prefer avoiding chemical treatments near edibles.
Consider these factors when choosing:
- Initial cost vs. long-term value (composite costs 2x more upfront but lasts 4x longer)
- Assembly time—kits vs. DIY projects
- Heat retention (metal warms soil faster in spring)
For wheelchair-accessible designs, composite materials allow custom heights up to 3 feet without structural concerns. Match your material to local climate and personal style—your plants will thrive in any well-built frame.
Creating a Functional Garden Layout
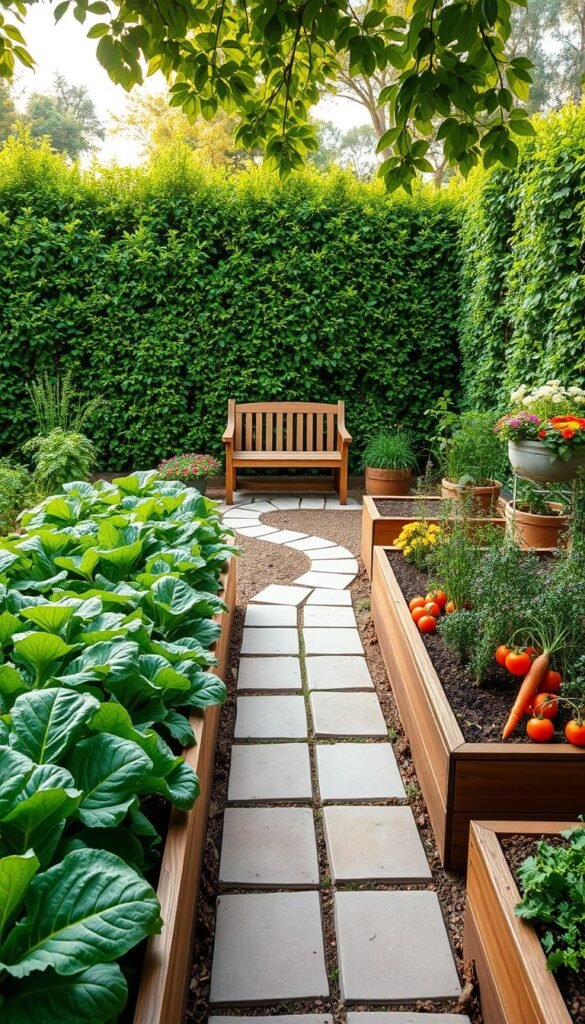
A smart design turns your growing area into an efficient workspace. The secret? Balancing bed dimensions with movement patterns. Keep everything within arm’s reach to protect your soil structure and save energy.
For spaces against walls or fences, limit beds to 2.5 feet wide. This lets you tend plants without stepping inside. Open areas allow wider setups—up to 4 feet when accessible from both sides. Length depends on your available space, but avoid making beds longer than 12 feet for easy navigation.
| Access Type | Bed Width | Pathway Width |
|---|---|---|
| Single-side | 2.5 ft | 2 ft minimum |
| Double-side | 4 ft | 3 ft recommended |
Leave 2-3 feet between beds for wheelbarrows and kneeling. Curved paths add visual interest but stick to straight lines if you’re tight on space. Oregon gardener Ray Martinez notes: “Wider pathways mean fewer crushed plants when harvesting—it’s worth sacrificing a little growing room.”
Align beds north-to-south for even sun distribution. Place tall crops on the north side to prevent shading. Group plants by water needs—thirsty greens near the hose, drought-tolerant herbs farther out. This way, you’ll minimize trips and keep care routines simple.
Understanding the Ideal Raised Bed Soil Mix
Creating the perfect home for your crops begins with the right soil blend. Unlike regular garden soil, elevated setups need tailored mixtures that support rapid growth and strong roots. Get this foundation right, and you’ll unlock your plants’ full potential.
Soil Components and Ratios
The magic formula combines 50-60% topsoil with 40-50% compost. This balance creates fluffy, healthy soil that drains well while holding essential nutrients. Look for topsoil that’s dark and crumbly—avoid anything sticky or sour-smelling.
Build your mix using these components:
- Screened topsoil (base layer)
- Compost (nutrient booster)
- Leaf mold or coconut coir (moisture control)
Pre-mixed bags work for single beds, but bulk materials save money for larger projects. Veteran grower Emma Carter advises: “Test store-bought mixes by squeezing a handful—good soil holds shape briefly before crumbling.”
| Option | Best For | Cost per Sq Ft |
|---|---|---|
| Bagged Mix | 1-2 beds | $0.45 |
| Bulk Components | 3+ beds | $0.28 |
Organic matter like worm castings feeds microbial life, creating living soil that sustains plants season after season. Proper preparation ensures roots spread easily and access nutrients efficiently—key for bumper harvests.
Building Your Raised Bed: Step-by-Step Instructions
Assembling your planting area is simpler than you think. Start by laying out materials using proven construction methods for sturdy frames. Clear grass from your chosen spot and level the ground—this prevents uneven settling later.
Dig 6-12 inches into existing earth if placing over bare ground. Remove rocks and mix 25% native dirt with fresh soil to help roots transition deeper. This step boosts drainage while anchoring your structure securely.
Fill the bottom third with fallen branches or straw. These materials decompose slowly, adding nutrients over time. Top them with quality earth until it mounds 2″ above the bed’s edge—settling will level it naturally.
| Layer | Material | Depth |
|---|---|---|
| Base | Twigs/Leaves | 4-6 inches |
| Middle | Compost Blend | 8-10 inches |
| Top | Planting Mix | 6-8 inches |
Check levels weekly during the first month. Add compost whenever the surface drops below the rim. “I refresh my beds each spring with mushroom compost—it keeps veggies thriving,” shares California grower Marco Ruiz.
Smart layering reduces costs while creating ideal growing conditions. Your plants will access nutrients from both added and native soil, producing stronger yields. Remember: overfilling initially compensates for the inevitable sinkage.
Efficient Irrigation Techniques for Raised Beds
What if your plants got exactly the water they needed without lifting a hose? Modern irrigation systems deliver hydration directly to root zones, cutting waste and boosting growth. Let’s explore smart watering methods that keep your greens thriving with minimal effort.
Drip Irrigation Setup
Lay drip lines or soaker hoses before planting to avoid tangled stems later. These systems release water slowly, letting soil absorb moisture without runoff. The Garden in Minutes Grid® simplifies setup with pre-spaced emitters that cover every inch of your bed.
| System Type | Water Savings | Install Time |
|---|---|---|
| Soaker Hose | 40% | 15 minutes |
| Drip Lines | 55% | 30 minutes |
| Grid System | 60% | 5 minutes |
Monitoring Soil Moisture
Stick your finger 3 inches deep—if it feels like a damp sponge, you’re golden. Overwatering drowns roots, while dry soil stresses plants. Connect a timer to maintain consistency during vacations or heat waves.
Adjust flow rates as seasons change: seedlings need gentle misting, while mature tomatoes crave deeper drinks. “I check moisture at dawn when evaporation’s lowest,” shares Arizona gardener Rosa Nguyen. “It’s the best way to catch thirsty plants early.”
Planting Strategies for Maximum Yield
Want to turn your growing space into a powerhouse of fresh flavors? Smart spacing and timing make all the difference. Let’s explore how to arrange your plants for nonstop harvests without crowding.
Seed or Starter: Which Wins?
Direct sowing works best for quick growers like radishes and beans. Press seeds into warm earth and watch sprouts emerge in days. For tender crops like tomatoes, transplants give a 3-week head start—just harden them off outdoors gradually.
Follow these spacing guidelines:
- Leafy greens: 6-8 inches apart
- Root vegetables: 2-4 inches between seeds
- Vining plants: 12 inches with vertical supports
Intensive planting blocks weeds but needs careful planning. Rotate crops yearly to prevent disease buildup. Mix quick-harvest radishes with slower peppers—you’ll pull the radishes before the peppers need space.
Remember: healthy plants start with proper nutrition. Blend compost into your bed each season, especially if you’re growing heavy feeders. For organic care tips, explore our guide on starting seeds naturally.

