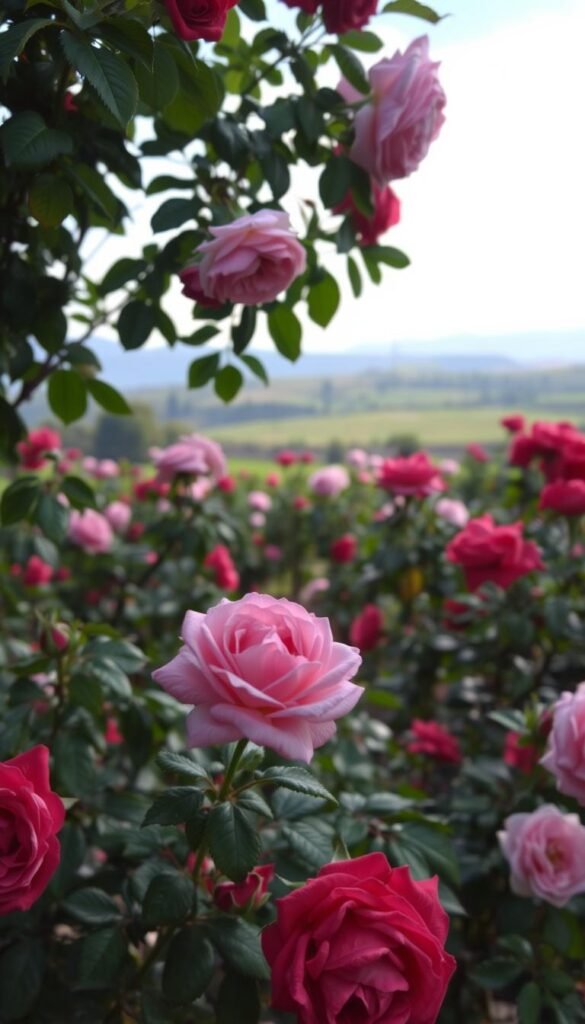
Think growing stunning blooms requires magic? Think again! With simple know-how, you can cultivate eye-catching color displays that thrive in your backyard. Let’s bust the myth that these classic beauties demand constant pampering – they’re tougher than most people realize.
This guide unlocks the secrets to success from the ground up. You’ll discover how to pick types that match your local weather and soil. We’ll share timing tricks that give new plants their strongest start. Learn why sunny spots with good drainage make all the difference for vigorous growth.
Ever wonder how often to feed your plants or when to trim them back? We’ve got you covered with easy routines that keep bushes healthy. Our friendly advice helps you dodge common slip-ups, like overwatering or missing early signs of leaf issues. You’ll be amazed how small changes create big results!
Ready to transform your outdoor space? Whether you’re starting fresh or upgrading existing beds, our step-by-step approach builds confidence. Let’s grow something extraordinary together – your future self will thank you when those first fragrant buds open!
Getting Started with Your Rose Garden
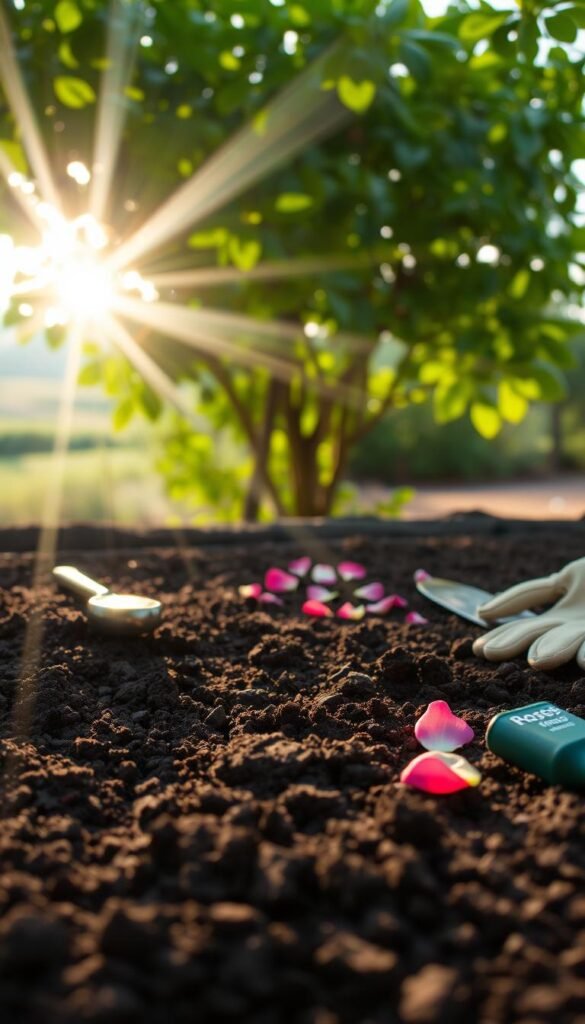
Starting your journey with these classic blooms begins with two fundamentals: knowing your yard’s conditions and gathering the right gear. Let’s break down how to set up for success before you even put a single plant in the ground.
Understanding Your Growing Environment
Sunlight rules everything – your bushes crave six to eight hours of direct rays daily. Watch how shadows move across your space through the day. Southern exposures often work best, but in scorching climates, afternoon shade protects leaves from burning.
Next, get hands-on with your dirt. Grab a soil test kit (under $20 at garden centers) to check pH levels. These beauties thrive in slightly acidic ground between 6.0 and 6.5. If water pools after rain, try this trick: dig a 12-inch hole, fill it twice. If it drains slower than an inch per hour, mix in compost to improve texture.
Essential Tools and Materials
Arm yourself with three key items: bypass pruners for clean cuts, gauntlet-style gloves that cover forearms, and a pointed shovel for easy digging. Don’t forget amendments like aged manure – a handful mixed into planting holes gives young plants a nutrient boost.
New to growing? Our beginners’ gardening checklist covers all the basics. Keep mulch handy to lock in moisture, and use watering cans with shower-head nozzles to gently soak roots without washing away soil.
Rose Flower Garden Tips: Selecting Varieties and Perfect Planting Times
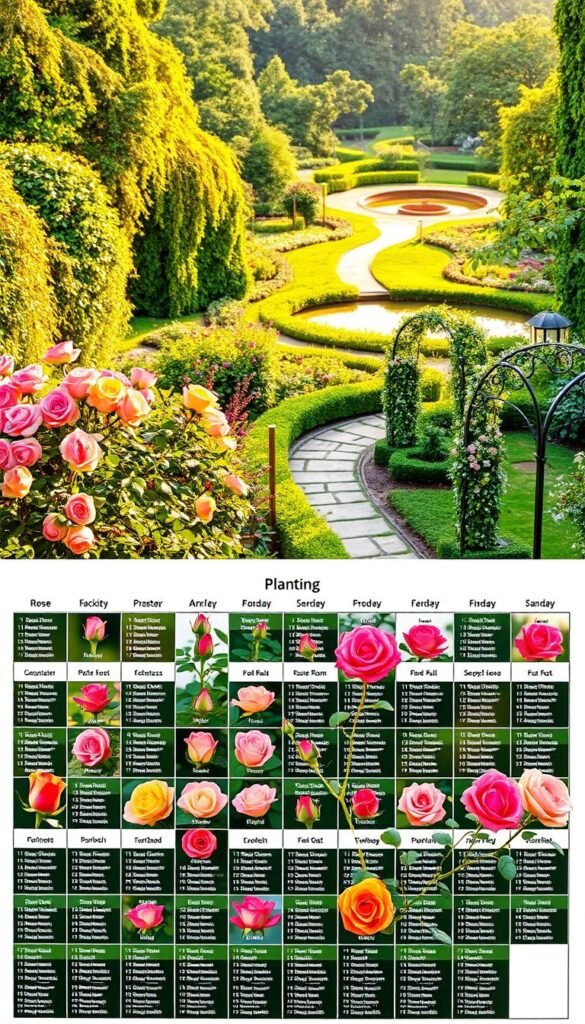
Timing isn’t just a detail—it’s the heartbeat of a thriving garden. Get this right, and you’ll watch your space transform with vigorous growth and radiant color. Let’s explore how smart scheduling pairs perfectly with thoughtful plant choices.
Why Timing and Variety Matter
Nature’s calendar works differently in every yard. Those first warm days after frost whisper “go time” for spring starters. But if you’re in warmer zones, autumn’s cooler soil might be your golden ticket. One master gardener puts it perfectly: “Plants don’t read calendars—they feel soil warmth and daylight changes.”
Check out this comparison to simplify your decision:
| Type | Best Season | Root Prep Time | Climate Flexibility |
|---|---|---|---|
| Container | Spring to Fall | 2-4 weeks | All zones |
| Bare-Root | Early Spring | 6-8 weeks | Colder regions |
See how container options give you breathing room? They’re fantastic for beginners or unpredictable weather. But if you want classic varieties with established root systems, bare-root choices deliver—if you nail that early spring window.
Your local nursery can be a treasure trove of information. Ask about disease-resistant types that handle your area’s humidity or drought patterns. Some newer hybrids establish roots 30% faster than traditional varieties, giving you more flexibility if life gets busy.
Remember, great gardens aren’t rushed. Whether you’re soaking bare roots in water overnight or waiting for that perfect overcast planting day, patience pays off in blooms that return year after year.
Choosing the Right Rose Varieties for Your Garden
Your rose selection shapes your garden’s personality and maintenance needs. Let’s explore popular options that balance beauty with practicality.
Classic Showstoppers and Border Beauties
Hybrid tea roses deliver drama with single, dinner-plate-sized flowers on long stems. Perfect for cutting, they reach 3-8 feet tall but demand regular pruning. “They’re the divas of the rose world,” laughs master gardener Lisa Porter. “Worth the effort for those jaw-dropping centerpieces.”
Prefer something easier? Floribundas burst with clusters of smaller flowers. These 3-5 foot plants thrive in borders and need less attention. You’ll love how their color sprays last weeks longer than single blooms.
| Type | Bloom Style | Height | Care Level |
|---|---|---|---|
| Hybrid Tea | Single large | 3-8′ | High |
| Floribunda | Spray clusters | 3-5′ | Moderate |
| Shrub | Multiple small | 1-4′ | Low |
| Landscape | Continuous | 2-3′ | Minimal |
Low-Effort Charmers
Shrub roses redefine easy care. Their compact 1-4 foot bushes bloom nonstop without deadheading. Oso Easy® varieties resist diseases while pumping out flowers. Landscape types work magic as groundcovers or hedges.
Mix different types for layered beauty. Try tall hybrid teas behind floribunda mounds, with shrub varieties filling gaps. This creates staggered heights and extended bloom times – your space stays vibrant from spring through frost.
Finding the Perfect Garden Site for Your Roses
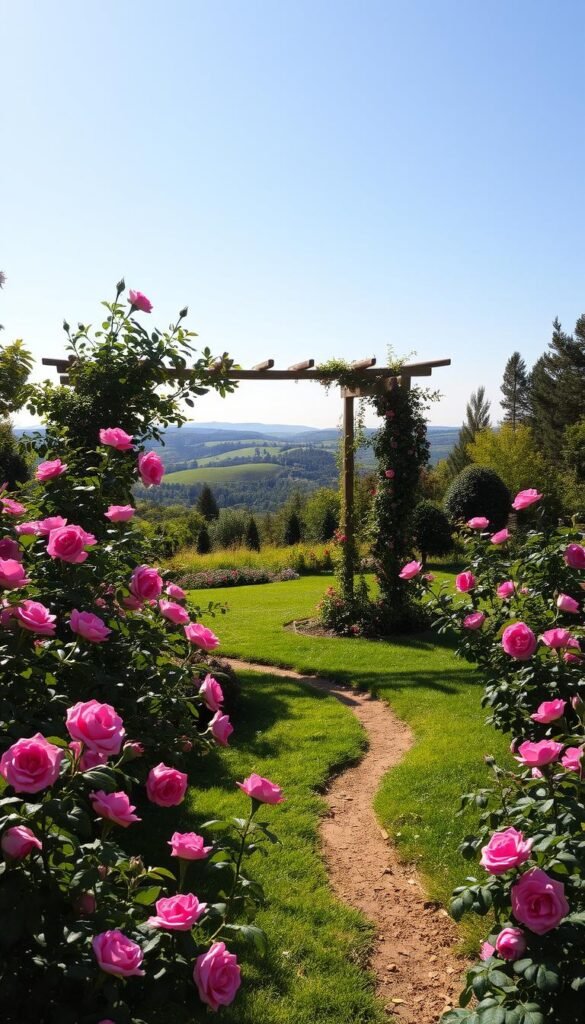
Location isn’t just about where your bushes grow—it’s about creating their ideal living conditions. Three elements make or break your success: sun patterns, earth quality, and airflow. Get these right, and your space becomes a thriving paradise rather than a constant battle.
Maximizing Sunlight Exposure
Morning rays fuel growth while afternoon shade prevents stress in hot regions. Track how light moves across your yard using free apps like Sun Seeker. One Texas grower shares: “My bushes facing east bloom twice as long as those getting western sun—the difference shocked me!”
Check these factors when scouting locations:
| Location Feature | Benefit | Warning Sign |
|---|---|---|
| Open southern exposure | 6-8 hours direct light | Shadows from trees/buildings |
| Morning sun + afternoon shade | Prevents leaf scorch | Full midday exposure |
| Elevated ground | Reduces frost risk | Valley-like depressions |
Assessing Soil Drainage and Quality
Dig a 12-inch test hole and pour in two gallons of water. Healthy earth drains 1-2 inches per hour. If it pools longer than four hours, mix in compost or sand. Clay-heavy dirt? Try raised beds filled with 60% topsoil and 40% organic matter.
Keep bushes 24 inches from walls for proper airflow. This spacing prevents mildew and lets roots spread freely. Avoid planting near downspouts or natural runoff paths—wet roots lead to yellow leaves and stunted growth.
Optimal Planting Times and Techniques
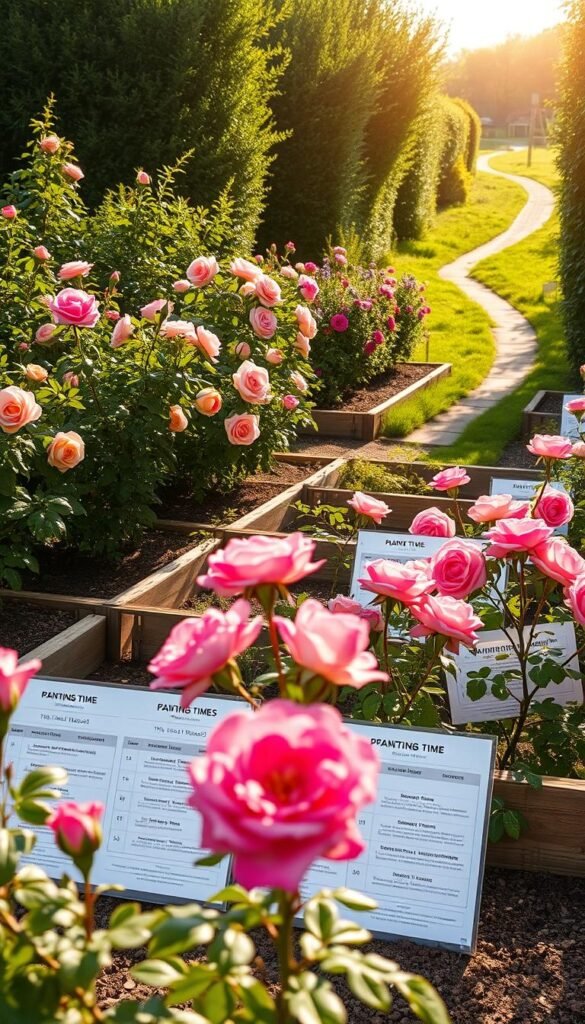
When’s the golden hour for putting new additions in the ground? Your timing strategy directly impacts how quickly plants settle in and prepare for show-stopping performances. Let’s decode nature’s scheduling secrets.
Spring Versus Fall Showdown
Spring planting acts like a marathon training program – it gives roots months to strengthen before winter’s challenges. Wait until night temperatures stay above 40°F and frost risks vanish. Oregon grower Mark Trela notes: “I watch for dandelions blooming – that’s when soil wakes up properly.”
| Factor | Spring Advantage | Fall Benefit |
|---|---|---|
| Root Development | 5-6 months growth | Focuses energy underground |
| Weather Stress | Avoids winter shock | Reduces heat stress |
| Availability | Bare-root options | Container flexibility |
Fall enthusiasts swear by cooler soil that helps prevent transplant shock. Aim for 6 weeks before your area’s average first freeze. This sweet spot lets roots establish without triggering top growth.
Container-grown options let you cheat the calendar – plant them anytime ground isn’t frozen. Just avoid midday summer heat. Morning sessions work best, letting plants hydrate before afternoon sun.
Remember: Dormant bare-root stock needs immediate attention. Soak roots overnight, then get them settled in prepared holes. Container varieties? Water thoroughly before removing from pots to keep root balls intact.
Planting Methods: Container vs Bare-Root Roses
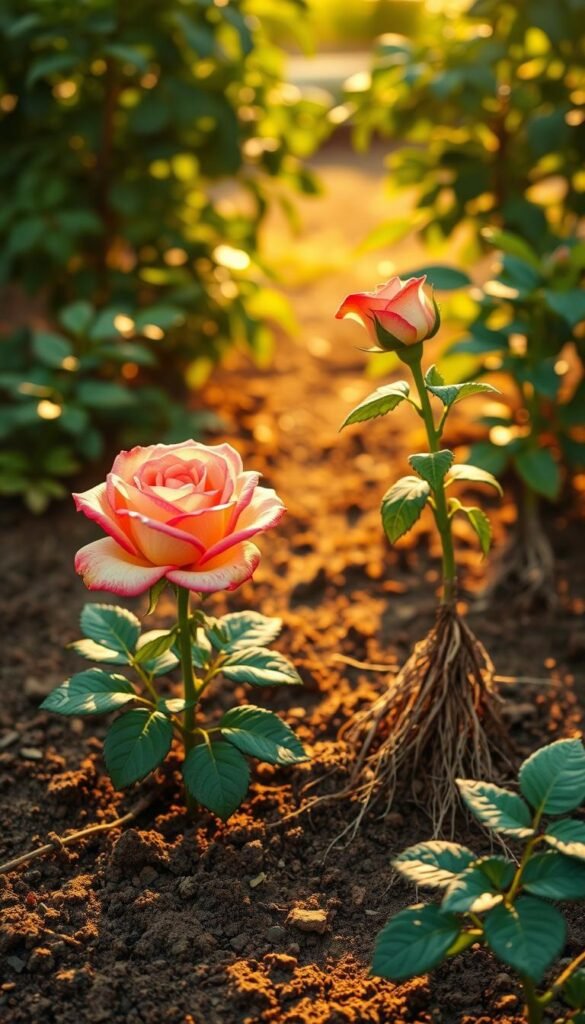
Ever wondered why some gardeners swear by potted plants while others love mail-order surprises? Your choice between container and bare-root options shapes your success from day one. Let’s explore what makes each method unique and how to handle them like a pro.
Pre-Planting Preparation Tips
Container roses are your instant gratification heroes. Their established roots let you skip the waiting game – just dig a hole slightly wider than the pot. Pro tip: Gently loosen circling roots with your fingers to encourage outward growth.
Bare-root varieties need extra love first. Soak those thirsty roots overnight in a bucket of water. While they hydrate, grab your pruners. Trim any damaged or extra-long roots to 8-12 inches. This stimulates fresh growth where it matters most.
| Feature | Container | Bare-Root |
|---|---|---|
| Planting Window | Any season | Early spring |
| Root Handling | Minimal disturbance | Hydration required |
| Variety Options | Limited | Extensive |
Determining the Correct Planting Depth
Your climate decides this crucial detail. In mild zones, position the crown (where stems meet roots) level with the ground. Facing harsh winters? Bury it 2-3 inches deeper for frost protection.
Modern varieties simplify things – many grow on their own roots now. But if you see a knobby graft union, keep it above soil. One grower shares: “I mark my shovel handle with depth lines – no more guessing games!”
Remember: Well-draining soil prevents root rot. Mix compost into backfill for hungry plants. Water deeply after planting, then add mulch to conserve moisture. Your careful setup now means stronger plants later!
Fertilizing and Watering: Essential Care Routine
Your thriving plants need consistent nourishment just like you need balanced meals. Let’s explore how to keep them energized without turning care into a chore. With simple routines, you’ll maintain vigorous growth while building soil health that lasts for years.
Nature’s Buffet for Your Blooms
Organic options feed roots gradually, reducing burn risks. Mix compost into topsoil monthly during active growth periods. Composted manure works wonders too – its slow release of nutrients supports strong stems and vibrant colors.
Don’t overlook natural amendments like bone meal or fish emulsion. These boost phosphorus levels, encouraging abundant flowering. A Wisconsin grower shares: “My grandmother’s coffee ground trick doubled my bud count!”
Mastering Moisture Balance
Deep watering beats frequent sprinkles. Aim for soil that feels like a wrung-out sponge – moist but not soggy. Use drip systems or long-spout cans to deliver 1 inch weekly directly to roots.
Morning sessions prevent evaporation waste and fungal issues. During heat waves, check moisture depth with a finger test. If the top two inches feel dry, it’s time for a drink. Mulch acts like a thermostat, keeping roots cool and hydrated between waterings.

