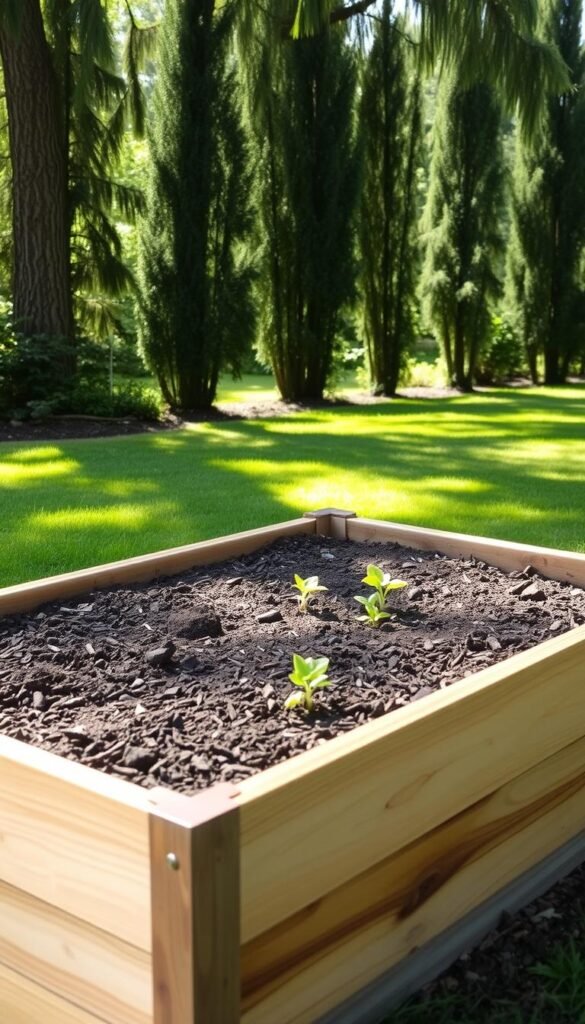
Starting your green-thumb adventure just got easier. Imagine stepping into your backyard to pick fresh veggies grown in soil you control. A well-designed planting space helps you skip common ground-level challenges like poor drainage or weeds. This approach keeps your plants happy and your back strain-free.
You don’t need fancy tools or years of experience to build a durable structure. Cedar boards and basic hardware create a long-lasting foundation that resists rot. While material costs vary, smart design choices keep projects affordable. Custom sizes let you match your space, whether you’re growing herbs or tomatoes.
This guide breaks down each step with clarity. Learn how to assemble corners securely and adjust plans for different layouts. You’ll discover why proper depth matters for root growth and how to maintain your creation season after season. Let’s turn that patch of grass into your personal produce section!
Introduction to Your Raised Bed Project
Discover how raised beds can simplify your entry into home gardening. These elevated planting spaces let you skip the headaches of traditional ground plots, like rocky soil or constant weeding. You’ll create a custom environment where plants thrive with less effort—perfect for busy schedules or limited outdoor areas.
Why choose this method? Unlike in-ground gardens, raised beds give you full control over soil quality and drainage. Compacted earth and waterlogged roots become problems of the past. You’ll spend less time battling weeds and more time enjoying vibrant tomatoes, crisp lettuce, or fragrant herbs.
Consider these advantages for new growers:
| Feature | Raised Beds | Traditional Gardens |
|---|---|---|
| Soil Control | Custom blends | Native soil only |
| Drainage | Superior | Variable |
| Accessibility | Waist-high | Ground-level |
| Maintenance | Low | High |
Building your own bed lets you choose dimensions that fit your space. A 4×4-foot box works well for starters, while longer designs maximize yield. The project takes just a weekend but delivers seasons of fresh produce. Imagine plucking sun-warmed strawberries steps from your kitchen!
This approach isn’t just practical—it’s empowering. You’ll learn skills that apply to larger garden projects while reaping immediate rewards. Ready to grow your confidence along with your crops?
Benefits of Raised Beds in Modern Gardening
Urban gardeners face unique challenges—from concrete-covered patios to nutrient-starved earth. Raised beds transform these limitations into opportunities. One grower converted a paved backyard into a lush oasis over two decades, nurturing dark, crumbly soil bursting with earthworms where only asphalt once ruled.
Improved Soil Quality and Drainage
Traditional garden beds often struggle with water pooling or dense clay. Elevated designs let excess moisture escape while retaining ideal hydration. You control the dirt cocktail—mixing compost, peat moss, and perlite creates a fluffy haven for roots.
No foot traffic means soil stays aerated year-round. Roots stretch freely, absorbing nutrients without fighting compaction. This contained environment also protects young plants from curious pets or playful kids.
Enhanced Accessibility and Maintenance
Bending becomes optional when tending waist-high plots. Weed management simplifies since defined edges stop invaders from creeping in. Harvesting ripe tomatoes feels less like a chore and more like a treasure hunt.
Ground-dwelling pests rarely scale the walls of elevated setups. You’ll spend fewer evenings battling slugs or rabbits—nature’s cleanup crew handles minor intruders. Seasonal upkeep? A quick soil refresh beats tilling entire plots.
Essential Materials and Tools for Your Raised Bed
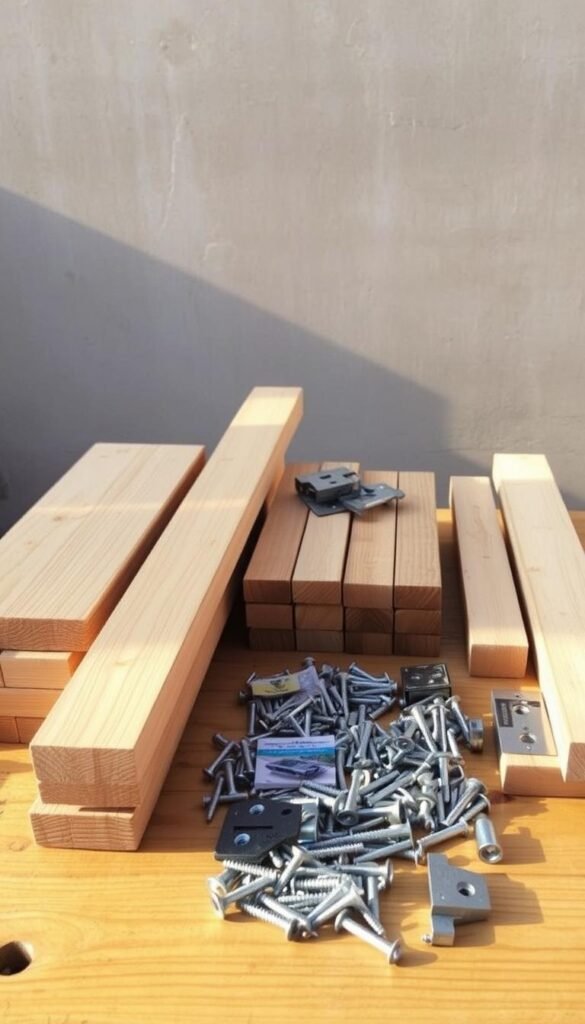
Gathering quality components transforms your gardening vision into reality. The right materials list ensures your structure withstands seasons while staying budget-friendly. Let’s explore what you’ll need before breaking ground.
Choosing the Right Lumber and Boards
Cedar shines as the gold standard for rot-resistant wood, lasting 10-15 years with minimal upkeep. Redwood offers similar durability but comes at a higher price point. For temporary setups, pine boards work but expect to replace them every 3-5 years.
Construction-grade redwood (with natural knots) cuts costs without sacrificing strength. Avoid pressure-treated lumber near edible plants—chemicals can leach into soil. Nine 2×6 boards form sturdy walls, while 4×4 posts anchor corners securely.
Optional Accessories and Hardware
Galvanized nails or screws prevent rust stains and structural failures. Add ½-inch hardware cloth beneath the frame to deter burrowing pests. Corner brackets reinforce joints, while decorative caps give a polished finish.
Local hardware stores stock everything from soil staples to irrigation kits. As you plan your step-by-step construction guide, remember: quality hardware today means fewer repairs tomorrow.
Simple DIY Raised Bed for a First-Time Gardener
Transform your outdoor space with a no-fuss building approach that requires only basic tools. This method uses easy-to-master techniques perfect for newcomers, focusing on practical results rather than perfection. You’ll create a durable planting area using straightforward connections that hold strong through seasons of growth.
Butt joints become your best friend here—simply align board ends and secure them with weather-resistant screws. No fancy dados or mortise-and-tenon cuts needed. This design lets you adjust dimensions easily if you want to expand later or switch crops. Basic fasteners from any hardware store keep costs low while ensuring structural integrity.
Why does this work so well? The layered boards distribute weight evenly, preventing warping. You’ll spend less time measuring angles and more time preparing soil. Should a board crack over time, replacement takes minutes—not hours—keeping your garden productive year after year.
Follow these core principles for success:
- Pre-drill holes to prevent wood splitting
- Use galvanized hardware for rust resistance
- Leave slight gaps between boards for drainage
This approach grows with your skills. Start small, then modify your design as you gain confidence. Before you know it, you’ll have a thriving plot ready for spring planting!
Step-by-Step Construction Guide
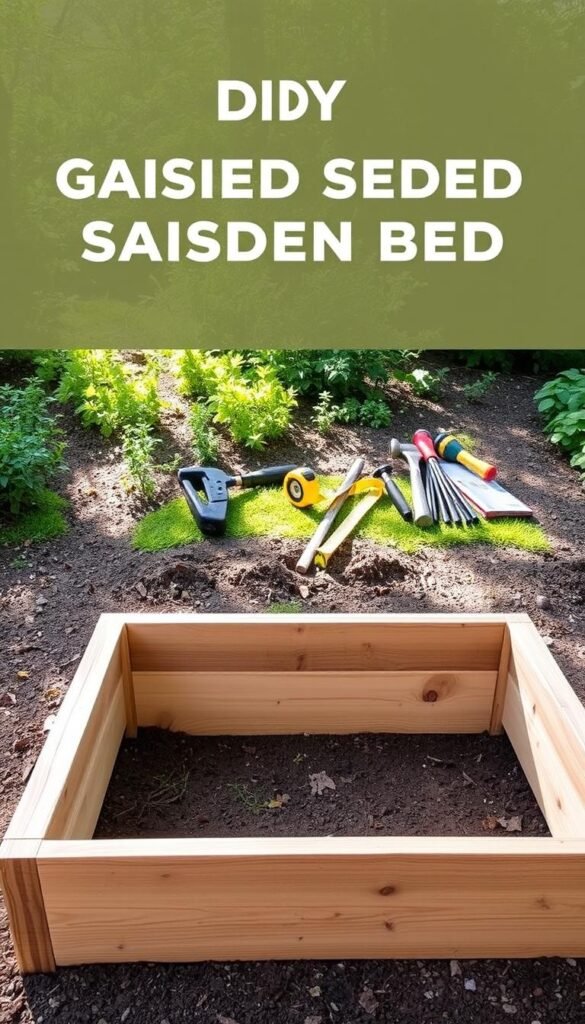
Let’s roll up our sleeves and transform those materials into a sturdy growing space. Clear guidance ensures your project stays on track—even if you’ve never swung a hammer before. We’ll focus on smart preparation and straightforward assembly techniques.
Preparing Your Work Area and Tools
Choose a flat surface with room to maneuver. Lay out your boards, posts, and hardware within easy reach. Sharpen your saw blade and gather these essentials:
- Tape measure with clear markings
- Carpenter’s square for precise angles
- Galvanized screws (2½-inch length)
Double-check post measurements before cutting. Four identical 24-inch corner posts create uniform height. Mark cut lines with a pencil—accuracy here prevents wobbles later.
Building the Frame with Minimal Tools
Assemble long sides first by stacking three 2×6 boards vertically between posts. Keep the bottom board flush with the post base. Secure each layer with two screws per board end.
| Component | Measurement | Positioning Tip |
|---|---|---|
| Long Side Boards | 8 feet | Align top board 7½” below post top |
| End Pieces | 4 feet | Cut from remaining 2x6s |
| Post Height | 24 inches | Use speed square for straight cuts |
Connect the short sides after standing up both long sections. Nail end pieces to corner posts, maintaining a 4-foot gap between frames. A helper makes this stage easier—they can hold pieces steady while you fasten.
Designing Your Raised Garden Layout
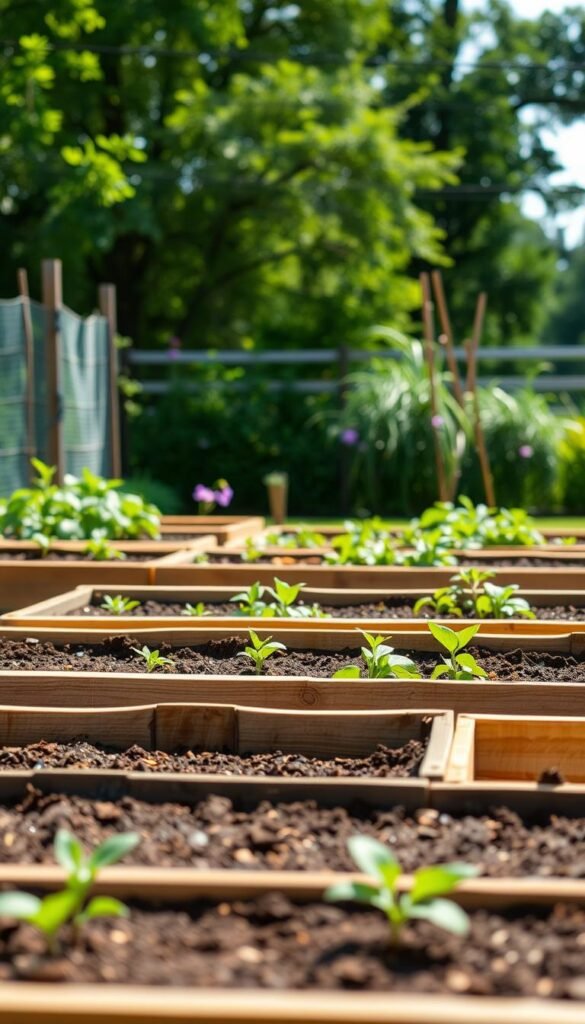
Crafting an efficient garden layout begins with smart spatial planning. The right dimensions make tending plants easier while maximizing your growing potential. Let’s explore how to balance accessibility and productivity in your setup.
Determining the Ideal Dimensions
A 4-foot width proves perfect for most gardeners. This measurement lets you reach the center from either side without stepping into the garden bed, preventing soil compaction. Standard 8-foot lumber lengths simplify construction—cut once, and you’re done.
Pathways deserve equal attention. Allow 3 feet between raised beds for comfortable movement. This spacing accommodates wheelbarrows and kneeling during planting seasons. Narrower paths feel cramped, while wider ones waste precious growing space.
| Dimension | Measurement | Key Benefit |
|---|---|---|
| Bed Width | 4 feet | Full center access |
| Bed Length | 8 feet | Minimal wood waste |
| Path Width | 3 feet | Equipment mobility |
| Bed Height | 12-16 inches | Optimal root depth |
Consider plant spacing when arranging your raised garden. Leafy greens need 6-8 inches between plants, while tomatoes require 18-24 inches. Sketch your plan on graph paper first, marking sun patterns and water sources.
Height impacts both soil volume and comfort. A 12-16 inch bed depth supports deep-rooted veggies like carrots. This elevation reduces bending strain during weeding and harvesting. Pair your layout with nearby storage for tools—efficiency matters when nature calls for quick action.
Preparing the Base: Groundwork and Drainage Considerations
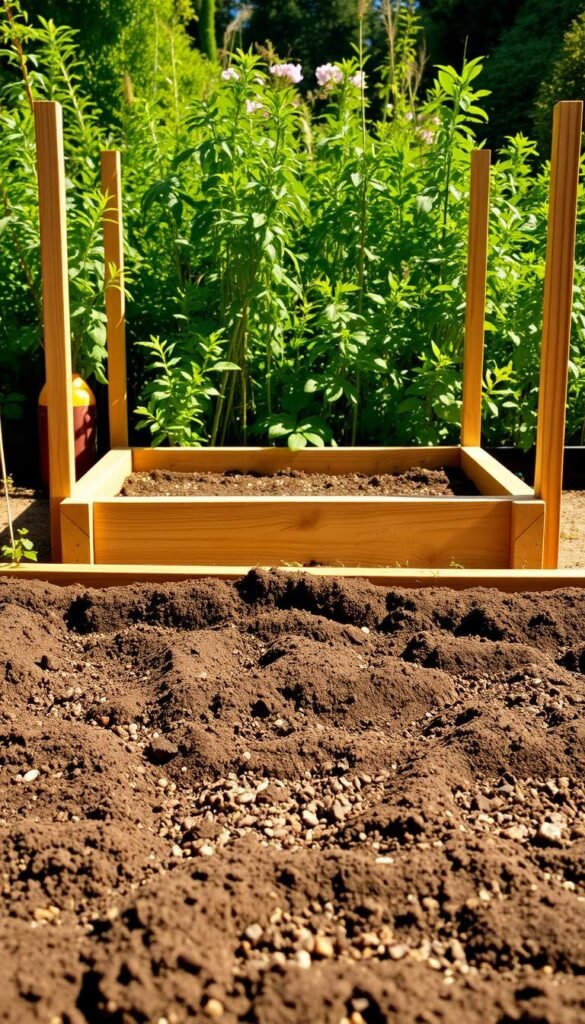
Your garden’s success starts beneath the surface. Choose a spot with 6-8 hours of sunlight and well-draining ground. Clear away rocks, roots, and debris—these create uneven surfaces that let soil escape through gaps. Use a shovel and rake to level the area, checking with a carpenter’s level every few feet.
An unlevel foundation causes rocking and instability over time. Dig out high spots and fill low areas until your frame sits flush with the ground. Avoid burying wooden posts—they’ll rot faster when exposed to constant moisture below the surface.
Implementing Weed Barriers and Pest Defenses
Secure ½-inch hardware cloth across the bottom before assembling your frame. This metal mesh stops burrowing pests while letting water drain freely. Staple it tightly to prevent sagging, trimming excess along the edges with tin snips.
Add a permeable layer of landscape fabric or cardboard over the mesh. These materials block weeds but allow roots to penetrate deeper soil. Overlap sheets by 6 inches and secure them with garden staples—this keeps grasses from sneaking through seams.
Why does this matter? Your plants get uninterrupted access to nutrients without competing with invaders. You’ll spend less time weeding and more time enjoying robust growth. Proper ground prep now means fewer headaches later.
Mixing the Perfect Soil Blend for Your Garden
Your garden’s vitality springs from the ground up—literally. Plants thrive when their roots nestle into a balanced soil mixture that acts like a five-star buffet. Too dense, and water pools around stems. Too sandy, and nutrients vanish faster than ice cream in July.
Start with equal parts quality topsoil and compost—the dynamic duo of garden success. Topsoil forms the structural base, while compost injects nutrients and beneficial microbes. As one gardener notes, “This combo works like nature’s multivitamin, feeding plants steadily without overwhelming them.”
Balancing Topsoil and Compost Ratios
Sandy loam topsoil reigns supreme for its drainage superpowers. If your local soil feels more like modeling clay, mix in peat moss to loosen it up. Check out soil blend comparisons to see how different ratios perform.
Pre-mixed raised bed soil offers convenience for busy growers. However, creating your own blend lets you adjust ingredients for specific crops. Leafy greens love extra compost, while root veggies prefer grittier textures.
Test your mixture before filling the entire bed:
- Squeeze a handful—it should hold shape briefly then crumble
- Water should absorb quickly without pooling
- Earthworms should move freely through the blend
Pair your perfect soil with organic gardening practices for truly happy plants. Remember, great soil isn’t just dirt—it’s a living ecosystem that grows better each season.
Filling Your Raised Bed: Techniques for Success
Transform your empty frame into a thriving ecosystem with smart layering. Begin by lining the bed’s bottom with cardboard or newspaper—this natural barrier smothers weeds while breaking down over time. Keep sheets overlapping slightly to block stubborn grasses.
Next, add a 2-inch layer of small branches or twigs. These create air pockets that prevent waterlogging better than heavy rocks. You’ll avoid root rot while giving earthworms highways to travel.
Now pour in compost, but don’t go overboard. A 4-inch depth provides nutrients without overwhelming plants. Top this with quality soil, leaving 1-2 inches below the rim for mulch. Mix both soil and compost thoroughly using your hands or a hoe—this blends textures for happy roots.
Your final step? Water deeply to settle the layers. This mimics rainfall, eliminating air gaps that dry out roots. In weeks, your bed will host a nutrient-rich buffet ready for seeds or seedlings!

