What if your plants could produce 5x more tomatoes or grow twice as vibrant? The secret lies in what’s beneath them. Building a thriving raised bed starts with one critical factor: the right foundation. This guide reveals how to craft a blend that boosts yields, prevents common pitfalls, and keeps your crops flourishing year after year.
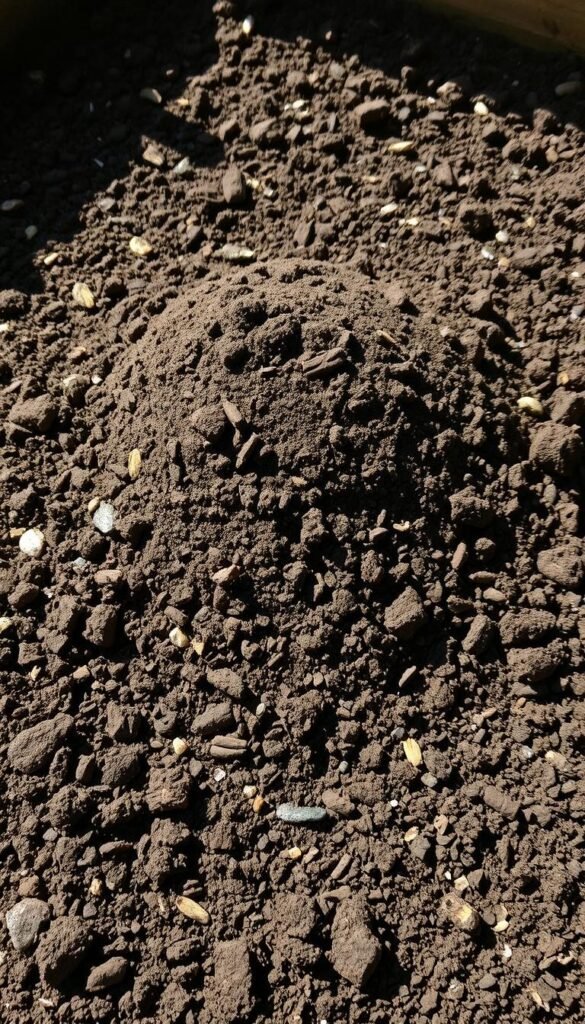
Studies show that tailored recipes, like tested soil recipes, can yield up to 7 pounds of Roma tomatoes per plant compared to just 1.34 pounds in basic blends. The difference? Ingredients like peat moss, compost, and vermiculite work together to balance moisture, nutrients, and texture. Imagine soil so light and fluffy it feels like chocolate cake crumbs – perfect for roots to spread.
Whether you’re filling a small planter or a 4×6-foot bed, proportions matter. A mix of one-third compost, one-third aeration materials, and one-third organic matter creates an ideal base. Pair this with our step-by-step raised bed guide, and you’ll unlock faster growth, fewer weeds, and better drainage.
Ready to transform your harvests? Let’s dig into the science-backed strategies that turn ordinary dirt into a powerhouse for your plants.
Introduction: What Makes Raised Bed Soil Unique?
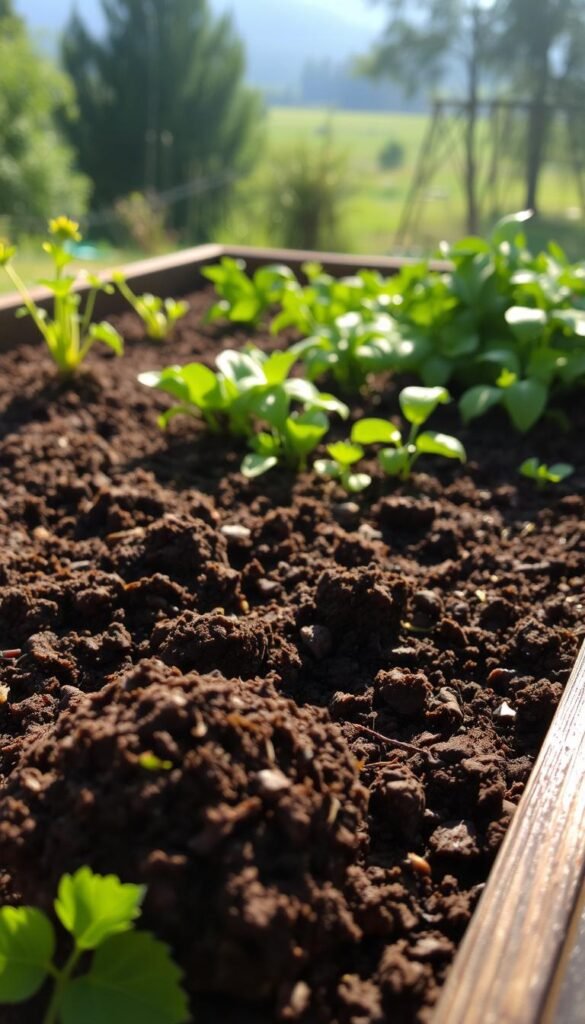
Ever wonder why your neighbor’s tomatoes look like they’re winning blue ribbons? The answer often lies in their elevated setup. Unlike traditional plots, raised beds let you craft a custom environment where every root thrives.
Understanding the Benefits for Your Garden
With raised beds, you’re the architect of your dirt. Problematic ground conditions – think sticky clay or salty earth – become irrelevant. You replace them with a fluffy blend that breathes better and drains faster. Roots stretch freely, accessing nutrients without fighting compaction.
These contained spaces warm quicker in spring. That means earlier planting and longer harvest windows. Studies show soil temperatures in raised beds can be 5-10°F warmer than ground-level plots – a game-changer for cool-season crops.
Setting the Stage for Robust Growth
Maintenance becomes a breeze when you design smart. Narrow beds let you reach every plant without stepping inside, preserving that airy texture. Weeding? A quick 5-minute task instead of a backbreaking chore.
Smart layout planning amplifies results. Pair your ideal soil mix with strategic square-foot gardening techniques to maximize yields. Defined edges make it simple to refresh compost or add mulch between seasons.
Your plants will thank you with stronger stems and bigger fruits. Healthier roots mean fewer diseases and more vigorous growth from seed to harvest. It’s like giving your greens a first-class ticket to Flavortown.
Understanding Raised Bed Garden Basics
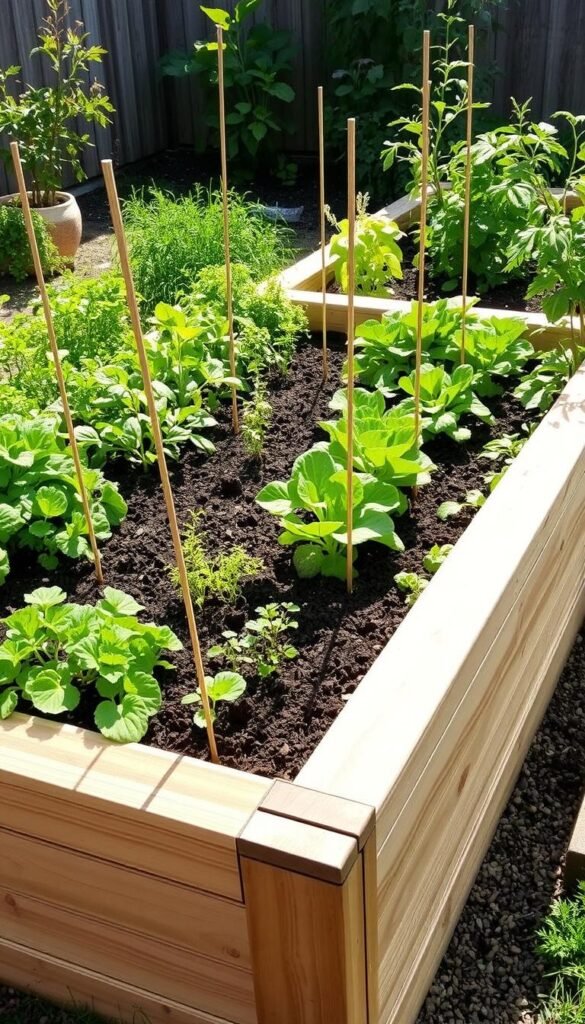
Have you ever struggled to grow veggies in tight spaces? Elevated planters solve this problem by turning limitations into opportunities. These structured setups let you pack more flavor into every square inch while keeping maintenance manageable.
Why Elevated Planters Work Better
Think of these growing zones as multi-level productivity hubs. Trailing varieties like zucchini drape gracefully over edges, while peas climb trellises attached to frames. This vertical approach lets you harvest 3x more from the same footprint compared to flat plots.
Traditional gardens often suffer from packed earth that chokes roots. With contained setups, you’ll never compress the growing medium. Roots stretch freely, accessing nutrients without resistance. Urban growers love how these systems thrive on patios or rooftops where native earth might be contaminated.
Struggling with sore knees? The raised design brings your plants closer to eye level. No more crawling through rows – tending becomes a standing-friendly activity. Pair this comfort with a smart square-foot gardening layout for maximum efficiency.
Season extenders like hoop houses fit easily over these frames. You’ll gain weeks of extra growing time in spring and fall. Whether you’re battling clay-heavy ground or limited balcony space, these adaptable systems put you in control.
Why Choose a Raised Bed Garden in the United States?
Does your backyard feel like a gardening obstacle course? From stubborn clay in Georgia to salty coastal earth in California, America’s diverse landscapes demand creative solutions. Raised beds let you sidestep these hurdles by crafting a custom environment where your plants thrive—no matter what lies beneath.
Adapting to Local Soil Conditions
Struggling with dense clay or contaminated ground? Elevated systems let you start fresh. Urban growers bypass heavy metals from old industrial sites, while Midwest gardeners replace compacted earth with fluffy, nutrient-rich blends. You control the ingredients, eliminating risks like road salt damage or poor drainage.
In northern states, beds warm faster in spring—extend your growing season by weeks. Southern gardeners? Protect roots from summer heat with strategic mulching. Coastal areas benefit from improved drainage during rainy seasons. Even suburban yards transformed by construction equipment regain productivity with these adaptable setups.
Just ensure your spot gets 6-8 hours of sunlight daily. While elevated soil dries quicker in heat, a drip irrigation system solves this neatly. Whether you’re battling Arizona’s scorching summers or Minnesota’s frosty springs, raised beds turn regional challenges into growing superpowers.
The Science Behind a Perfect Soil Mixture

Ever wonder why some gardens burst with life while others struggle? The answer hides in three key factors: texture, chemistry, and biology. Your elevated planters need a blend that acts like a sponge—holding moisture yet draining excess water. This delicate balance starts with particle sizes.
Coarse materials like perlite create air pockets for roots to breathe. Organic matter—think compost or leaf mold—feeds microbes and binds nutrients. Peat moss adds structure while adjusting acidity. Together, they form a living ecosystem where plants access food and water on demand.
pH levels make or break nutrient availability. Most veggies prefer slightly acidic conditions (6.0-6.8). “Add peat to lower pH or crushed eggshells to raise it,” suggests urban farming expert Lisa Johnson. Test your blend yearly—organic components break down over time.
The magic happens at the molecular level. Cation exchange capacity (CEC) determines how well your mix holds nutrients. Compost-rich blends score high here, acting like battery banks that release minerals when plants need them. Pair this with vermiculite’s water-holding power, and you’ve built a self-sustaining buffet.
Ready to put theory into practice? Your next step: combining these elements in precise ratios for maximum yield.
Building Your Raised Bed Garden: A Step-by-Step Guide
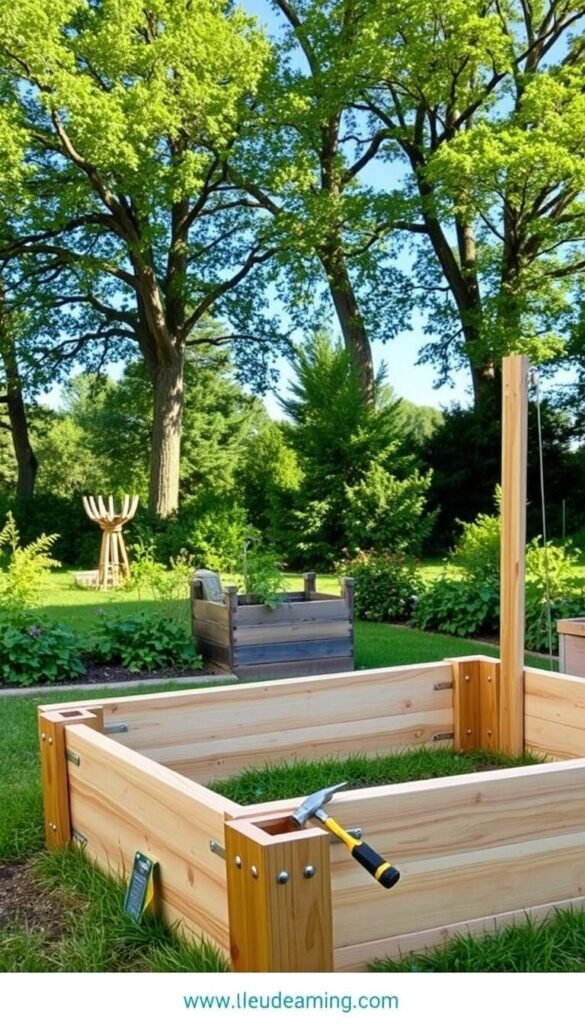
Ready to turn your gardening dreams into reality? Let’s break down the process into manageable steps that ensure success from day one. Proper planning and material choices lay the groundwork for thriving plants.
Planning Your Garden Layout
Start by mapping your space. Choose a sunny spot – most veggies need 6-8 hours of daily light. Keep beds 3-4 feet wide so you can reach the center comfortably. Leave 2-foot pathways between boxes for easy access with tools.
Consider plant heights when arranging crops. Place tall varieties like corn on the north side to avoid shading shorter plants. Use vertical space with trellises for beans or cucumbers. This space-saving method lets you grow more in limited areas.
Selecting Quality Materials
Durability matters. Cedar and redwood resist rot naturally, while composite materials offer longevity. Avoid pressure-treated wood – chemicals could seep into your growing medium. For budget-friendly options, explore repurposed stone or concrete blocks.
Build boxes 6-12 inches tall. Shallow beds work for herbs and greens, while deeper ones suit root vegetables. Always till the ground beneath your structure to improve drainage and root penetration. Use 4-inch galvanized screws for sturdy corners that withstand weather.
| Bed Height | Best For | Material Options |
|---|---|---|
| 6-8 inches | Leafy greens, herbs | Cedar, composite |
| 10-12 inches | Tomatoes, carrots | Redwood, stone |
| 12+ inches | Deep-rooted crops | Concrete blocks |
Pro Tip: Add corner braces if using lumber longer than 8 feet. This prevents warping over time. Check for level ground before filling your structure – uneven beds cause water pooling.
Components of an Ideal Garden Soil Mix
Did you know your soil’s hidden helpers could double nutrient uptake? The best blends act like bustling cities underground, where roots partner with microbes to unlock food. Let’s break down what makes these mixes thrive.
Role of Microbial Partnerships and Amendments
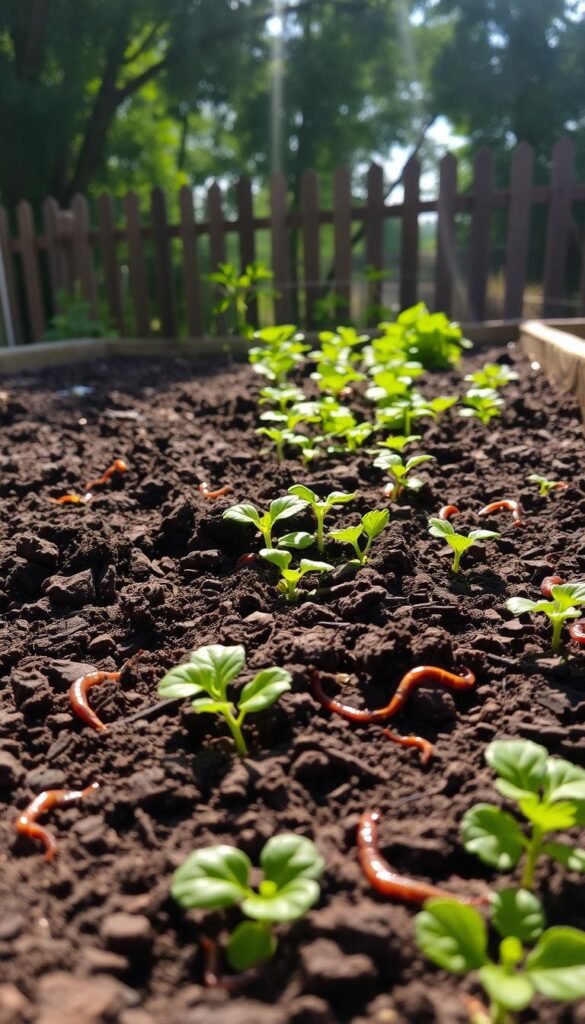
Organic matter fuels the system. Compost adds structure while feeding earthworms and bacteria. Aim for 3 inches yearly to suppress weeds and maintain moisture balance. Pair this with vermicompost for small spaces – worms work magic in tight areas.
Microscopic allies matter too. Mycorrhizal fungi attach to roots, expanding their reach for nutrients. Brew compost tea to boost these populations naturally. Keep pH between 6.0-7.0 for optimal microbial activity – test kits make this easy.
Need an organic gardening journey shortcut? Blend equal parts compost, coconut coir, and perlite. This trio retains water without sogginess and lets roots breathe. Add 10% worm castings for slow-release nutrition.
Your mix evolves yearly. Refresh with leaf mold or aged manure each spring. Watch plants respond with deeper greens and sturdier stems – nature’s review of your recipe.

