
Healthy plants start with the right foundation. Whether you’re growing veggies, flowers, or herbs, well-prepared garden beds make all the difference. Studies from the University of Minnesota Extension show proper techniques can boost yields by 50%.
This guide walks you through nine simple steps. You’ll learn how to pick the best spot, improve drainage, and create nutrient-rich conditions. Even beginners can succeed by starting small and following these methods.
Good soil means less weeding and fewer pests. Raised beds offer a smart solution for tricky areas. Ready to grow your best garden yet? Let’s dig in!
Why Soil Preparation is the Secret to a Thriving Garden
Great gardens don’t happen by accident—they start with smart groundwork. A Better Homes & Gardens survey found 80% of garden failures trace back to poor prep. The right steps save time, boost yields, and prevent headaches later.
The Role of Healthy Soil in Plant Growth
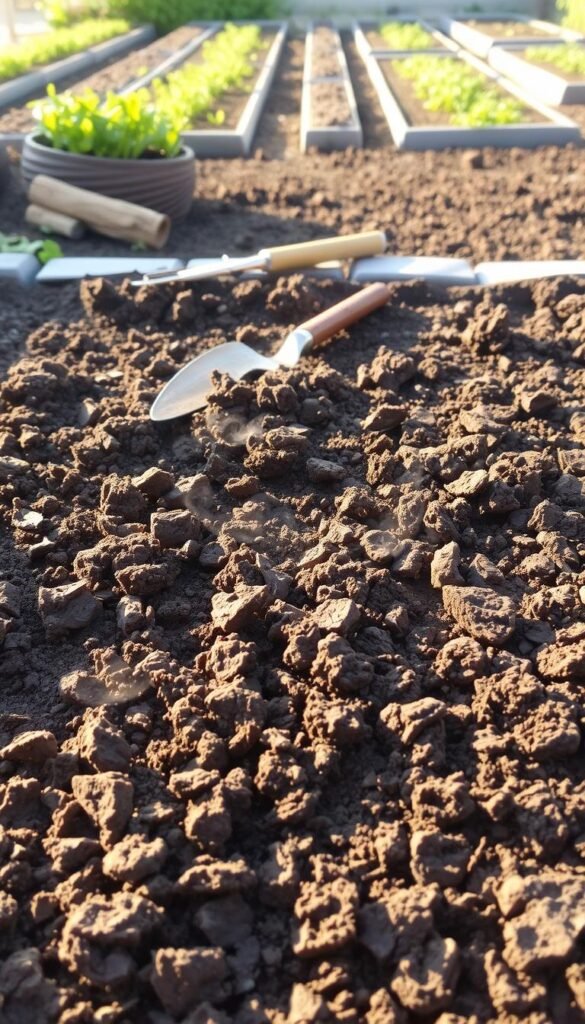
Think of your garden as a kitchen. Nutrient-rich dirt is like a stocked pantry—it feeds roots, supports strong stems, and keeps disease at bay. Oklahoma State Extension warns tilling wet soil destroys its crumbly texture, starving plants of air and water.
Common Mistakes to Avoid
Weeds aren’t just eyesores. Purdue research shows they steal 40% of nutrients meant for your plants. Test drainage by filling a hole with water—if it pools after an hour, amend with compost.
Blueberries fail in alkaline dirt, while tomatoes thrive. A $10 pH kit prevents this mismatch. Fresh manure burns roots with excess nitrogen—always compost it first.
Overcrowding wastes space. Follow square-foot gardening charts for proper spacing. And skip the rototiller! A garden fork aerates without harming earthworms.
Soil Preparation 101: The Fundamentals

The secret to thriving plants lies beneath the surface. Texture and pH determine whether roots absorb nutrients efficiently or fight to survive. Let’s break down the science simply.
Understanding Soil Texture and Structure
Sandy dirt drains too fast, while clay suffocates roots. Ideal garden dirt feels crumbly—like chocolate cake. Squeeze a handful: if it holds shape but breaks apart easily, you’ve hit the jackpot.
How Soil pH Affects Your Plants
Most vegetables crave slightly acidic conditions (6.0–7.0 pH). Blueberries? They demand 4.5–5.5. Outside these ranges, nutrients like iron become locked away.
“pH imbalances cause nutrient lockout, starving plants even in fertile dirt.”
Skip the vinegar/baking soda test—it’s unreliable. A $7 home kit beats guesswork. For precision, lab tests ($50) measure calcium and organic matter too.
- To raise pH: Apply lime (5 lbs per 100 sq ft per point).
- To lower pH: Mix in sulfur (1 lb per 100 sq ft per point).
Hydrangeas and potatoes are pH-sensitive. Coffee grounds? They barely budge the needle. Retest annually—adjustments take 6–12 months to stabilize.
Step 1: Choosing the Perfect Location

Location sets the stage for gardening success—pick wisely and plants will thrive. A sunny, well-drained spot prevents disease and boosts yields. Skip guesswork with these pro tips.
Sunlight and Drainage Requirements
Most veggies need 6+ hours of direct sun. Test drainage by digging a 12-inch hole—water should drain within 4 hours. Clay-heavy spots? Raised beds fix soggy roots.
“Tree roots compete aggressively, stretching 2–3 times the canopy’s width.”
Avoiding Problem Areas
Black walnut trees release juglone, toxic within 50–80 feet. Call 811 to map utility lines before digging. Watch for:
- Weeds: Smother invasive species like knotweed with cardboard.
- Lead: Test near old homes (kit costs $20).
- Compaction: Former driveways choke roots.
Bird feeders? Keep them 20 feet away—they attract pests. Windy? Ribbon markers reveal patterns.
Step 2: Clearing and Cleaning Your Garden Site

A clean slate makes all the difference when starting your garden. Remove weeds, grass, and debris to give plants room to thrive. Proper clearing prevents competition for nutrients and space.
Removing Weeds and Debris
Persistent weeds steal water and sunlight. Use these methods:
- Lasagna layering: Smother weeds with cardboard topped with compost.
- Glyphosate: Apply during active growth (avoid windy days).
- Cover crops: Plant buckwheat to suppress regrowth.
For small areas, a garden fork lifts roots intact. Large patches? Solarize with 6mil plastic for 4–6 weeks.
Dealing with Grass and Sod
Sod cutters remove a 1-inch layer (per Lowes), but a spade works for small plots. Cut sod into 1×2-foot pieces for easy handling.
“Flipped sod decomposes in 6–8 weeks, enriching the soil.”
Repurpose sod for erosion control or compost it. Bermuda grass? Double-till to prevent regrowth. Always test soil pH afterward—fresh sod can alter acidity.
Step 3: Testing Your Soil Like a Pro

Skip the guesswork—soil tests reveal exactly what your plants crave. Whether you use a DIY kit or lab analysis, the results guide your fertilizer choices and prevent costly mistakes.
DIY Soil Test Kits vs. Lab Analysis
Home kits ($7–$20) measure pH and nutrients quickly. For deeper insights, lab tests (like A&L Labs) check salinity, organic matter, and micronutrients. Ohio State University found lab tests 30% more accurate for phosphorus levels.
“Think of N-P-K ratios like pizza toppings—too much nitrogen (N) burns roots, while low phosphorus (P) stunts blooms.”
Interpreting Your Results
Match symptoms to deficiencies:
- Purple leaves: Low phosphorus (aim for 40ppm).
- Yellow edges: Potassium (K) shortage.
- Stunted growth: Nitrogen (N) deficit.
Adjust with gypsum for salty soil or compost for low organic matter. Test every year—conditions change. Time amendments using growing degree day calculators for peak absorption.
Step 4: Amending Your Soil for Optimal Growth

Transform your garden’s potential with the right soil amendments. Organic matter and balanced fertilizers feed roots, improve texture, and prevent nutrient deficiencies. Start with these expert-approved methods.
Organic Matter: Compost and Manure
Compost acts like a multivitamin for dirt. Mix in 2–3 inches to boost nutrients and water retention. Aged manure (cow or chicken) adds nitrogen—but compost it first to avoid burning plants.
Worm castings and leaf mold are gentler options. For clay soil, coarse compost improves drainage. Sandy spots? Peat moss holds moisture longer.
Balancing Nutrients with Fertilizers
Match fertilizer types to your crop’s stage:
- Seedlings: Fish emulsion (5-1-1) for gentle growth.
- Fruiting plants: Espoma’s 10-10-10 for blooms.
- Leafy greens: Blood meal for rapid nitrogen.
“Banding fertilizer 2 inches beside seeds prevents root burn while delivering nutrients efficiently.”
Slow-release granules last months, while liquid feeds act fast. Always water after applying to prevent salt buildup. For organic alternatives, try bone meal or kelp extract.
Step 5: Building Raised Beds (Optional)
Raised beds offer a smart solution for poor drainage or limited space. They warm faster in spring and reduce weed pressure. With the right materials and filling technique, your garden soil will support thriving roots for seasons to come.
Materials and Design Choices
Cedar or redwood naturally resists rot—avoid treated lumber near edibles. For budget-friendly options, try cinder blocks or galvanized steel. Keep beds 3–4 feet wide for easy access. This raised bed guide covers ideal dimensions.
Filling Your Raised Beds Correctly
Start with a layer of logs or branches (hugelkultur) to save 60% on soil. Top with Mel’s Mix—equal parts compost, peat moss, and vermiculite. Add mycorrhizae to boost nutrient uptake. Overfill by 10% to account for settling.
For best results, plant a cover crop first season to activate organic matter. Bulk soil blends often cost less than bagged—check municipal composting programs.


