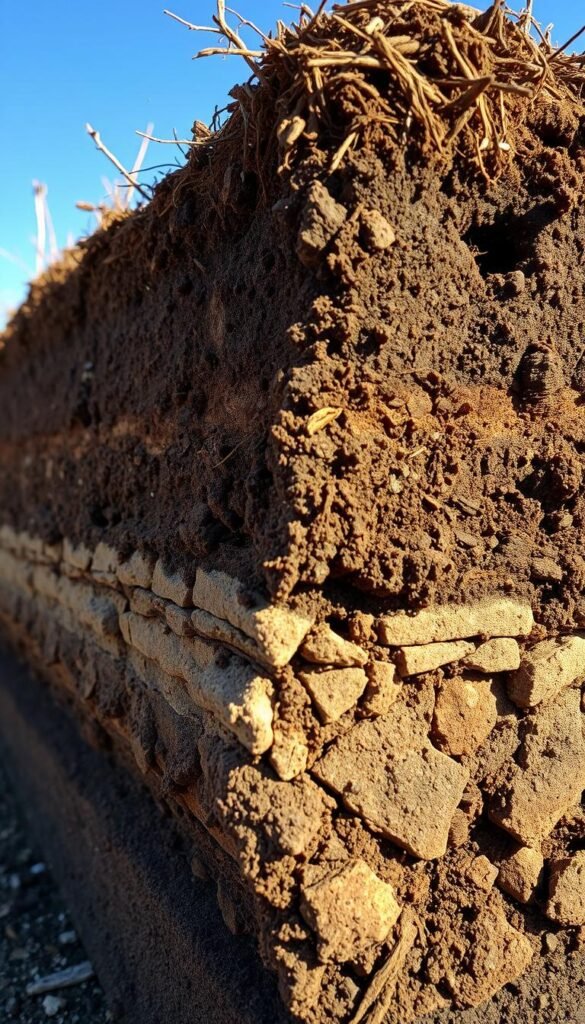
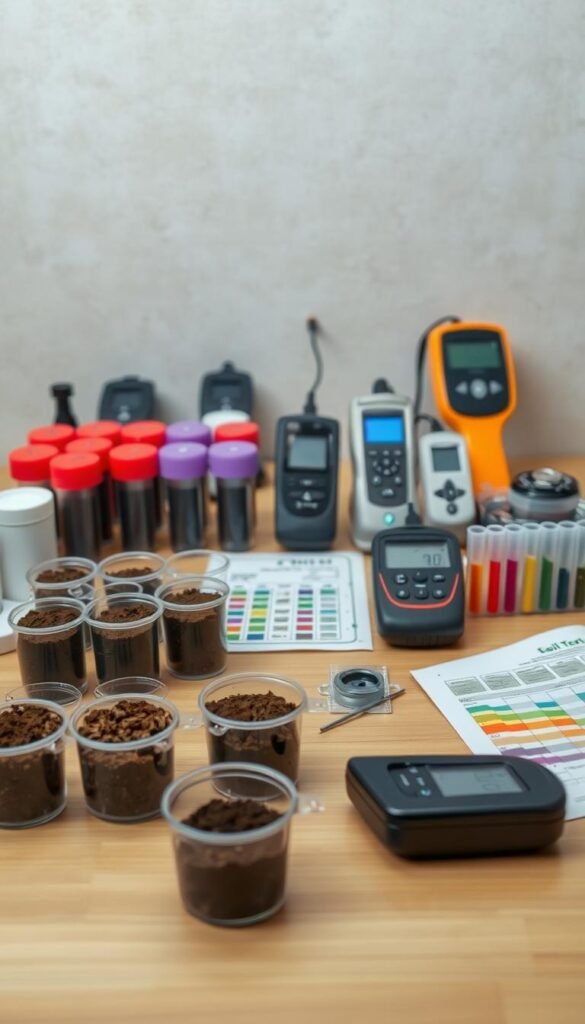
What if you could peek beneath your plants and understand exactly what your garden needs? A professional soil test acts like a nutritional X-ray, revealing hidden imbalances affecting your greenery. This simple process measures acidity, nutrient levels, and texture – the building blocks of plant vitality.
Gardeners often waste time and money guessing at solutions. With precise data about your earth’s composition, you’ll stop playing the guessing game and start making strategic improvements. Discover whether your plot needs more phosphorus for blooms or less nitrogen for balanced growth.
Regular analysis creates a health record for your growing space. Track changes season-to-season and adjust your care routine accordingly. You’ll catch issues like compaction or salt buildup before they stunt your tomatoes or roses.
Beyond personal benefits, proper earth management protects local waterways. When you apply only necessary amendments, you prevent excess nutrients from washing into streams. It’s gardening that nourishes plants and preserves ecosystems simultaneously.
Understanding the Importance of Soil Testing
Ever wonder why some gardens burst with color while others struggle? The secret lies beneath your feet. A proper soil test acts like a translator, decoding your earth’s hidden language to reveal what plants truly crave. This simple step transforms guesswork into precision care for your green spaces.
A Foundation for Thriving Gardens and Lawns
Think of your plot as a living pantry. Just as you wouldn’t stock shelves blindly, you shouldn’t feed plants without knowing their needs. Testing helps you match vegetation to your unique conditions. Acid-loving azaleas or alkaline-preferring lilacs? You’ll know exactly where they’ll flourish.
Lawns particularly benefit from this insight. Kentucky bluegrass craves more nitrogen than fescue, while Zoysia thrives in specific pH ranges. Customizing care based on test results means lusher grass with fewer chemicals.
Identifying Nutrient Deficiencies and Imbalances
Yellow leaves or stunted growth often signal hidden hunger. A soil test pinpoints missing elements like a plant detective. Is it iron deficiency causing chlorosis? Potassium shortage weakening roots? You’ll get answers instead of assumptions.
By addressing these gaps early, you prevent small issues from becoming garden emergencies. One gardener saved her roses from total collapse by discovering excessive magnesium through testing. “It was like finding the missing puzzle piece,” she shared.
Regular analysis also protects your wallet and environment. Why dump generic fertilizers when your earth might need just one specific nutrient? Targeted amendments mean healthier plant growth and cleaner waterways.
Soil Testing 101: Why It’s Critical for Gardening Success

Imagine having a recipe book for your garden’s dirt. A soil test works like that, measuring four key ingredients: acidity, minerals, decaying plant material, and particle size. These factors determine whether your zucchinis get banquet-worthy meals or starvation rations.
Laboratory analysis goes beyond guesswork. It shows exact pH numbers (like 6.2 or 7.5) and nutrient levels down to parts per million. You’ll see if magnesium is scarce or potassium overabundant – details your plants feel but can’t shout about.
| Factor | What It Means | Ideal Range |
|---|---|---|
| pH Level | Acidity affects nutrient access | 6.0-7.0 for most plants |
| Nutrient Content | NPK + trace minerals | Varies by crop |
| Organic Matter | Decomposed plant material | 3-5% for gardens |
| Soil Texture | Sand/silt/clay ratio | Loamy mixes |
This composition breakdown explains why roses wilt in sandy patches or blueberries thrive in acidic corners. One gardener discovered their “lazy” hydrangeas simply needed more aluminum – a fix revealed through soil testing.
Armed with these metrics, you can mix amendments like a chemist. Add sulfur to lower pH or compost to boost organic matter. The data becomes your roadmap for transforming struggling beds into vibrant ecosystems.
Different Types of Soil Tests and Their Applications

Picture your garden as a complex puzzle where each piece represents a different earth characteristic. Choosing the right analysis method unlocks solutions tailored to your specific challenges. Three main options help decode your plot’s needs with varying precision levels.
Quick Checks vs. Lab-Grade Insights
Basic kits measure pH and primary nutrients (N-P-K) through color-changing strips or tablets. These $10-$20 options work well for casual growers monitoring established beds. For example, The Andersons system uses natural moisture from samples, delivering recommendations in under a week without chemical additives.
| Test Type | What’s Measured | Best For | Turnaround |
|---|---|---|---|
| DIY Kits | pH, N-P-K | Budget checks | 10 minutes |
| Basic Lab | Texture + macro nutrients | New gardens | 1 week |
| Advanced Lab | Micronutrients + organic matter | Farmers/orchards | 2 weeks |
When Expertise Matters Most
Professional services become essential when dealing with persistent plant diseases or unusual growth patterns. One landscaper shared:
“Our team cracked a client’s irrigation mystery through cation exchange capacity testing – something no home kit could detect.”
Consider lab analysis if you’re planning major soil preparation projects or growing high-value crops. These detailed reports often include amendment calculators, taking the guesswork out of balancing nutrient levels.
How to Collect and Prepare Your Soil Samples
Think of yourself as a garden detective gathering evidence. Proper sampling turns random dirt clumps into scientific gold. Follow these methods to capture your earth’s true story.
Best Practices for Gathering Representative Samples
Start with clean tools – rust-free trowels or sterilized probes prevent contamination. Walk your space in a zigzag pattern, stopping at 5-7 spots. Dig 6″ deep each time, like taking core samples from different chapters of a book.
- Combine slices from lawn, flower beds, and veggie patches separately
- Remove twigs and leaves that could alter results
- Air-dry clumps before mixing – moisture breeds mold
Techniques for Proper Depth and Mixing
Crush blended material through a sieve or your hands until it resembles coffee grounds. Use the lab’s provided scoop – heaping portions add measurement errors. One gardener shared: “Mixing samples thoroughly revealed my pH varied dramatically just 10 feet apart!”
Timing matters most. Test in early spring before planting, or wait a month after using nutrient amendments. Recent treatments mask your earth’s baseline condition.
| Area Type | Sample Depth | Special Notes |
|---|---|---|
| Lawns | 3 inches | Avoid thatch layer |
| Vegetables | 6-8 inches | Root zone focus |
| Shrubs | 12 inches | Multiple depth samples |
Step-by-Step Guide to Performing a Soil Test

Unlock your garden’s hidden potential through a methodical approach that turns raw dirt into actionable insights. This streamlined process eliminates confusion while delivering laboratory-grade accuracy to your doorstep.
Registering Your Soil Test Kit and Collecting Samples
Begin by activating your kit online – think of it as planting digital seeds for future growth. Create an account using your registration number, then specify your sample type and garden size. This digital handshake ensures your earth’s story gets told accurately.
Gather samples like a pro:
- Collect from 5-7 locations at 6″ depth
- Mix thoroughly to create a composite sample
- Use the provided scoop for precise measurement
One gardener discovered their zucchini patch had three distinct nutrient levels across its 20-foot span through proper mixing. “The results explained why one end always outperformed the other,” they noted.
Mailing Your Sample and Monitoring the Process
Speed matters once you’ve bottled your earth. Ship samples within 24 hours using the prepaid envelope – fresh specimens yield 98% more accurate results than dried ones. Modern labs use field-moist analysis that captures real-time nutrient availability, unlike outdated grinding methods.
Track progress through email updates as your sample journeys through:
- Initial scan (Day 1-2)
- Nutrient extraction (Day 3)
- Spectrometer analysis (Day 4-5)
Within 6-8 days, you’ll receive a detailed breakdown of 13 essential nutrients and custom fertilizer suggestions. One user reported: “The phosphorus recommendations tripled my tomato yield without extra costs.”
Interpreting Soil Test Results for Optimal Plant Growth

Cracking your garden’s code starts with understanding the numbers on your earth analysis report. These metrics reveal exactly what your plants experience underground – like reading their secret diary. Let’s translate those technical terms into actionable steps.
Understanding pH Levels, Nutrient Content, and Organic Matter
Your report’s pH value acts like a bouncer at a nutrient nightclub. At 6.0-7.0 (the sweet spot for most plants), essential minerals flow freely. Below 5.5? Iron and aluminum become overly available, while calcium gets locked out. Above 7.5? Phosphorus turns shy and uncooperative.
The macronutrient trio – nitrogen (leaf growth), phosphorus (root development), and potassium (disease resistance) – show up in parts per million. But don’t overlook micronutrients like zinc and boron. One gardener discovered their stunted peppers needed just 0.5ppm more copper through proper soil test interpretation.
Organic matter percentage tells you about your earth’s digestive system. Below 2%? Nutrients vanish quickly. Above 5%? Water retention improves dramatically. Your results might suggest compost additions or cover cropping strategies.
Deciphering the Report for Effective Amendments
Look for these three relationships in your results:
| Component | Affects | Action Step |
|---|---|---|
| pH 5.2 | Nutrient absorption | Add dolomite lime |
| Low potassium | Fruit quality | Apply greensand |
| 4% organic matter | Water retention | Mix in leaf mold |
Texture analysis explains why sandy plots need frequent feeding, while clay-heavy areas require aeration. Pair this data with your plant preferences – blueberries love acidic sand, while roses thrive in loamy clay.
Remember: Your amendments should create balance, not perfection. As one master gardener advises: “Treat your earth like a sourdough starter – feed it gradually and watch how it responds.” Regular testing helps track your progress toward plant growth nirvana.
Using Soil Test Data to Make Informed Amendments

Your earth’s analysis report becomes a blueprint for transformation. Turn numbers into action by addressing specific needs through soil amendments that create ideal growing conditions. This strategic approach eliminates guesswork while boosting plant vitality.
Adjusting Soil pH with Lime or Sulfur
Think of pH balance as your garden’s thermostat. When earth becomes too soil acidic (below 6.0), sprinkle agricultural lime to lime raise levels. For alkaline conditions (above 7.5), elemental sulfur helps nutrients become available again. Apply these treatments 3-6 months before planting for full integration.
| Amendment | Use Case | Application Rate | Time to Effect |
|---|---|---|---|
| Pelletized Lime | pH 5.0-6.0 | 5 lbs/100 sq ft | 2-3 months |
| Elemental Sulfur | pH 7.5+ | 1 lb/100 sq ft | 4-6 months |
Implementing Targeted Fertilizer and Organic Matter Applications
Match nutrient boosts to your report’s deficiencies. Low phosphorus? Bone meal delivers concentrated power. Need nitrogen? Cottonseed meal offers slow-release feeding. Combine these with organic matter like composted leaves to improve texture and microbial activity.
Create layered improvements by:
- Mixing amendments into top 6″ of earth
- Watering thoroughly after application
- Retesting in 4-6 weeks to track progress
One gardener transformed clay-packed beds using this method: “The test showed we needed gypsum and compost. Six months later, our carrots grew straight for the first time!” Regular updates to your soil amendments strategy keep plants thriving season after season.
Comparing DIY and Professional Soil Testing Options
Choosing the right analysis method can feel like picking between a quick snapshot and a full health checkup. Home kits let you check basics like pH and nutrients without waiting – perfect for routine checks. But when mystery issues arise, lab tests dig deeper with precision tools.
Cost, Accuracy, and Convenience Considerations
DIY options shine for budget-friendly, immediate insights. Most kits cost under $30 and give results in minutes. However, their simplicity means they might miss subtle imbalances or specific mineral shortages.
Professional services uncover hidden details through advanced equipment. They measure micronutrients, organic content, and texture ratios you can’t detect at home. This data becomes crucial if you’re preparing new beds or troubleshooting stubborn plant problems.
Consider your goals: Quick pH checks suit established gardens. Comprehensive analysis benefits those starting an organic garden or adjusting fertilizers. Either way, regular checks keep your green space thriving through informed decisions.


