
Welcome to your roadmap for creating a thriving outdoor space! Whether you’re nurturing roses or cultivating veggies, healthy earth forms the backbone of every successful growing endeavor. Think of it as nature’s pantry—when stocked with nutrients, your plants grow resilient and radiant.
Did you know robust plant health starts beneath the surface? Quality earth reduces pest issues and minimizes disease risks, letting you spend less time troubleshooting and more time enjoying your oasis. The best part? Improving your plot’s foundation works for everyone—whether your ground is clay-heavy or sandy.
Timing matters most when prepping for warmer months. Early attention to your beds ensures roots access moisture and nutrients when they need them most. This guide walks you through simple testing methods, effective enrichment techniques, and pro-level approaches used by seasoned growers.
New to nurturing green spaces? Don’t worry—we’ll break down each step without jargon. You’ll discover quick solutions for immediate results alongside methods to build fertility over time. For those exploring year-round growing strategies, pairing these basics with protected environments unlocks endless possibilities.
Let’s dig into the details—your future blooms (and harvests) will thank you!
Understanding the Importance of Soil Health for Your Garden

Think of your plot as a bustling underground city—teeming with life that fuels everything growing above. Millions of microbes, fungi, and earthworms collaborate beneath your feet, breaking down leaves, compost, and other organic treasures into plant-ready meals. This hidden network determines whether your greens flourish or falter.
Benefits of Organic Matter and Nutrient-Rich Soil
Adding decomposed leaves or compost acts like a superfood buffet for your ground. These materials boost water retention in sandy areas and prevent clay from becoming concrete-like. Nutrient-rich earth also invites helpful critters that fight off harmful pathogens naturally.
You’ll notice fewer cracked surfaces during dry spells and better drainage after heavy rains. Over time, this living layer becomes self-sustaining—reducing reliance on store-bought fertilizers while keeping your greens vibrant.
How Healthy Soil Leads to Thriving Plants
Robust roots spread easily in well-structured earth, anchoring stems against wind and soaking up minerals efficiently. Healthier specimens resist pests better and recover faster from stress. Brighter blooms and juicier veggies? That’s your hidden workforce delivering results.
Investing in this foundation pays off year after year. You’ll spend less time battling problems and more enjoying your oasis’s natural resilience—proof that great beginnings start below the surface.
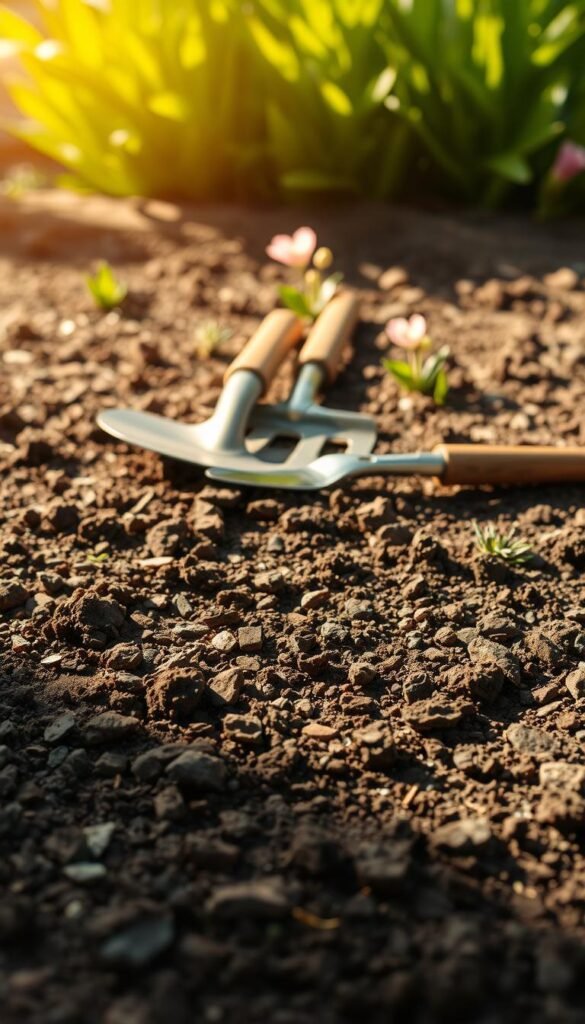
Preparing Your Garden Beds for a Successful Growing Season

Transform your outdoor space into a plant paradise by starting with a clean slate. Proper groundwork now means fewer headaches later—and happier roots pushing through nutrient-rich earth.
Clearing Debris and Leveling the Surface
Begin by removing winter’s leftovers. Use a spade to slice through sod, creating palm-sized squares you can lift easily. Toss out rocks and branches—they block root growth and might carry unwanted fungi.
Leveling matters more than you think. A flat surface stops puddles from drowning delicate seedlings. Rake gently to smooth bumps, creating uniform planting zones. Your greens will thank you with even spacing and showstopping symmetry.
Choosing Between Traditional and Raised Beds
Stick with in-ground plots if your earth drains well. But if you’re battling clay or chilly springs, try raised garden beds. These framed wonders warm faster and drain better—perfect for early starters.
Consider height for comfort. Elevated designs reduce back strain while keeping invasive weeds at bay. Fill them with quality mix, and watch your growing season stretch longer than ever before.
Analyzing Your Soil Type and Texture

What’s your dirt really made of? Knowing your earth’s personality helps you match plants to their perfect home. Different textures act like unique sponges—some hold water tightly, while others let it slip away.
Clay, Sandy, or Loamy: Know Your Ground
Press a damp handful between your fingers. Clay sticks like cookie dough and forms shiny ribbons when rubbed. While nutrient-rich, it drowns roots during rains and bakes hard in summer heat.
Sandy particles feel like beach grit—they slide apart quickly. This loose structure drains fast but struggles to keep food for your greens. Loamy blends hit the sweet spot: crumbly yet moist, like chocolate cake mix.
Test It Yourself in 15 Minutes
Grab a mason jar and collect samples from three spots. Fill it halfway with soil, then add water until three-quarters full. Shake vigorously and let it settle overnight.
Sand sinks first, creating a gritty base layer. Silt forms the middle band, while clay floats on top. Measure each section—balanced layers mean loamy perfection. For quick checks, squeeze a moist handful:
- Holds shape but crumbles when poked? Loam
- Stays solid like a snowball? Clay
- Falls apart instantly? Sandy
Testing multiple areas reveals hidden variations. One corner might need extra compost, while another thrives as-is. Your hands-on detective work pays off in healthier plants tailored to their underground environment.
Spring Flower Garden Prep: Soil Amendments and Early Planting Tips

Ever wonder what makes your plants thrive season after season? The secret lies in choosing the right natural enhancers. These earth-friendly additives work like multivitamins, feeding both your greens and the invisible helpers beneath them.
Top Organic Amendments to Boost Soil Nutrients
Three champions lead the pack: compost, aged manure, and leaf mold. Compost acts as an all-in-one meal, improving drainage while feeding microbes. Well-rotted manure packs nitrogen for leafy growth, while leaf mold excels at retaining moisture in sandy areas.
| Material | Key Benefit | Best For |
|---|---|---|
| Compost | Balanced nutrition | All plant types |
| Aged Manure | Nitrogen boost | Vegetables & heavy feeders |
| Leaf Mold | Moisture control | Sandy or dry areas |
Spread 2-3 inches across beds—thicker layers can suffocate roots. Always check that manure has aged at least 6 months to avoid burning plants. For quick checks, sniff it—properly cured material smells earthy, not pungent.
Optimal Timing for Adding Amendments
Fall applications let materials break down slowly, as no-till methods suggest. But if you’re prepping beds now, use finely screened compost that plants can use immediately.
Test your earth’s needs using simple methods before adding anything. Remember: healthy earth should crumble like coffee grounds, not clump or dust away. Your plants will show their gratitude through stronger stems and brighter colors!
Enhancing Soil Nutrition and Achieving pH Balance

Your plants’ performance hinges on three key elements hidden in their underground pantry. Nitrogen, phosphorus, and potassium—the NPK trio—work like a symphony to fuel every growth stage. Getting their ratios right transforms your plot into a powerhouse of vitality.
Understanding NPK Ratios and Essential Nutrients
Nitrogen acts as the green engine. It drives lush leaf production, turning pale stems into vibrant towers—especially crucial for spinach and kale. Without it, your veggies might look like they’ve skipped breakfast.
Phosphorus plays matchmaker for roots and blooms. It helps seedlings establish strong foundations while nudging flowers to form. Tomatoes and peppers crave this nutrient during fruiting phases.
Potassium serves as the plant’s personal trainer. It strengthens cell walls against diseases and improves stress tolerance. Ever noticed sweeter carrots or crisper cucumbers? Thank potassium for those flavor upgrades.
Adjusting pH Levels for Maximum Growth
Most edibles thrive when earth acidity sits between 6.0-7.0. Outside this range, nutrients get locked away like snacks in a vault. Test kits reveal whether your plot needs lime (to reduce acidity) or sulfur (to increase it).
Apply lime in fall for slow pH shifts. Sulfur works faster—ideal for spring corrections. For persistent nutrient uptake issues, check magnesium and calcium levels. These backup players prevent yellow leaves and blossom-end rot.
Remember: balance beats excess. Over-fertilizing burns roots and wastes resources. Annual soil tests act as your nutrition coach, guiding precise adjustments for bumper harvests.
Incorporating Compost and Natural Materials into Your Soil
What if your garden’s secret weapon isn’t in a bag or bottle? Nature’s own recyclables—compost, aged manure, and leaf mold—work together to create living, breathing earth that feeds plants while reducing waste. These materials act like a spa treatment for your plot, rejuvenating tired areas and maintaining vibrant spaces.
Three Organic Powerhouses for Plant Success
Compost reigns supreme as the ultimate multitasker. It improves drainage in clay, boosts moisture retention in sand, and feeds beneficial microbes. Spread a 1-2 inch layer across beds 4 weeks before planting for immediate nutrient access.
| Material | Primary Benefit | Best Application | Timing |
|---|---|---|---|
| Aged Manure | Nitrogen boost | Heavy feeders like corn | Mix 3+ months pre-planting |
| Leaf Mold | Moisture control | Raised beds & containers | Add during fall prep |
| Grass Clippings | Quick nitrogen | Top-dress established plants | Use dried, 1″ layers |
Critical safety note: Fresh manure can harbor E. coli and burn roots. Always let it cure for 6-12 months before using near edibles. For productive vegetable plots, stick to fully decomposed options.
Leaf mold—nature’s free soil conditioner—transforms crusty earth into crumbly gold. “Think of compost as your garden’s multivitamin,” suggests horticulturist Linda Chalker-Scott. “Leaf mold acts like a probiotic, maintaining long-term structure.”
Start layering materials today:
- Chop leaves with a mower for faster breakdown
- Alternate green (food scraps) and brown (cardboard) layers in compost bins
- Turn piles weekly to speed decomposition
Patience pays off. Materials mixed 4-6 months before planting become plant-ready nutrients, while last-minute additions risk nitrogen theft. Test your blend’s readiness—finished compost smells earthy and crumbles easily.
Utilizing Mulch and Effective Watering Techniques
Protecting your growing space starts with two essentials: smart ground protection and smart hydration. Organic ground covers act like a cozy blanket, shielding roots while helping earth stay productive. Pair them with smart watering habits, and you’ll create a self-regulating system that thrives through heat waves and dry spells.
Material Choices That Lock in Hydration
Wood chips and straw lead the moisture-saving charge. Spread 3 inches around plants—but keep it palm-width from stems to prevent rot. These materials break down slowly, feeding earthworms while keeping dirt cool. For sloped areas, shredded bark grips better than lightweight options.
Watering Methods That Work Smarter
Drip lines or soaker hoses beat sprinklers hands-down. They deliver H2O straight to roots, cutting waste and stopping leaf diseases. Water early morning to reduce evaporation—your plants drink deeply before summer sun kicks in.
Check moisture weekly by poking a finger 2 inches down. If it feels like a damp sponge, hold off. Add extra mulch during peak heat to maintain consistent conditions. Remember: healthy hydration isn’t about quantity—it’s about perfect timing and smart coverage.


