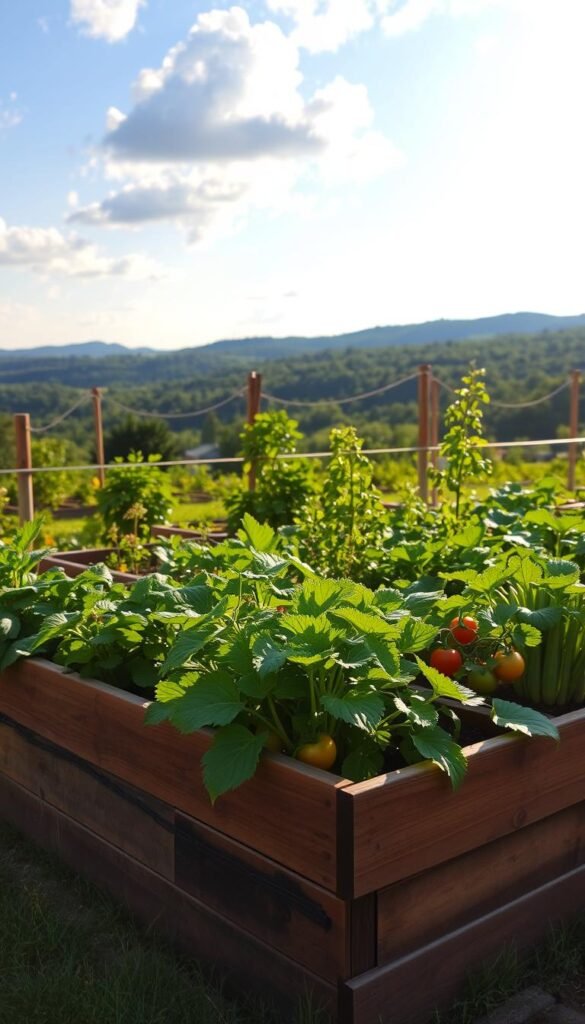
Ever wonder why seasoned growers rave about raised beds? Many backyard gardeners who’ve switched from traditional plots report bigger harvests, fewer weeds, and easier maintenance. It’s not magic—it’s smart design.
Raised beds let you control soil quality from day one. Unlike in-ground gardens, you’re not battling compacted dirt or poor drainage. You’ll create a tailored environment where veggies thrive, even in tight spaces. Think of it as a custom buffet for your plants.
This guide shows you how to turn your existing setup into a high-performing food factory. We’ll cover soil secrets, space-saving layouts, and crop picks that work best in contained areas. Whether you’re growing herbs on a patio or tomatoes in your yard, these strategies apply.
You’ll learn why raised beds outshine traditional methods for most home growers. Better root growth, warmer soil in spring, and no more backaches from bending over. Ready to make every square foot count?
Understanding the Benefits of Raised Bed Gardening
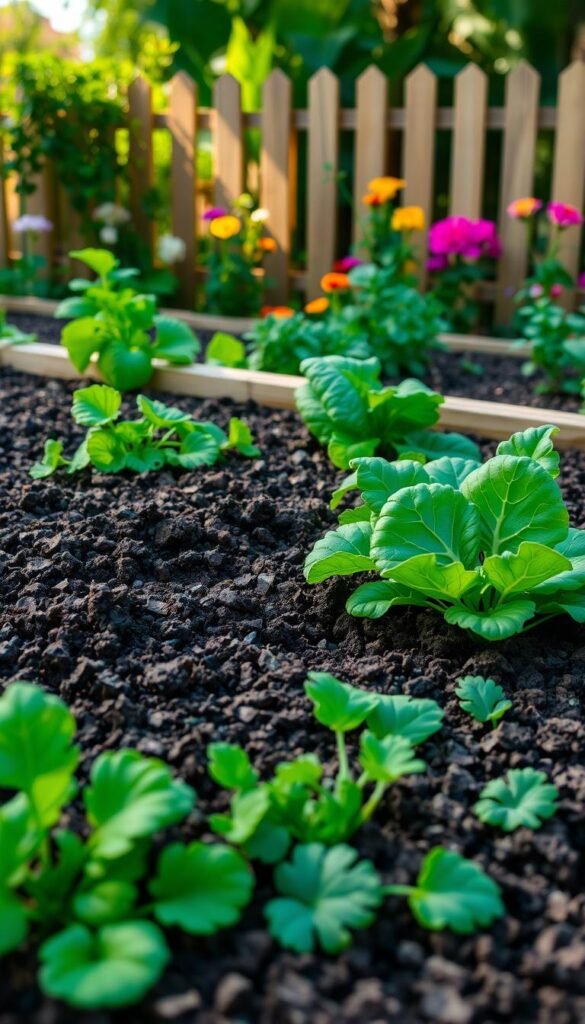
Have you ever noticed how plants in raised beds seem happier? These elevated growing spaces solve three big problems: poor drainage, compacted earth, and wasted space. Let’s break down why they outperform traditional methods.
Why Raised Beds Improve Soil Health
Your plants’ roots need room to breathe. Raised beds prevent soil compression from footsteps, letting roots stretch deeper. Warmer soil in spring means earlier planting – sometimes 2-3 weeks before ground-level plots.
The secret? Better air pockets. A well-built raised bed lets water drain properly while keeping nutrients where plants need them. You control the soil mix, whether your tomatoes crave extra compost or carrots need sandy loam.
| Feature | Traditional Garden | Raised Bed |
|---|---|---|
| Soil Temperature | Slow to warm | Heats up fast |
| Root Depth | 6-8 inches | 12-18 inches |
| Weed Control | Constant battle | Easier to manage |
Maximizing Space in Your Backyard
Small areas become powerhouses with smart layouts. Try zigzagging lettuce between taller plants, or grow vertical crops like pole beans. One gardener’s tip: “Succession planting lets me harvest 3 crops from one spot each season.”
Follow this step-by-step setup guide to create a space-saving system. You’ll fit more plants without crowding – imagine basil thriving next to peppers instead of competing with them.
Key advantages:
- 36% more yield per square foot (University of Maryland study)
- No wasted pathways between rows
- Customizable heights for easier access
Evaluating Your Small Garden Space
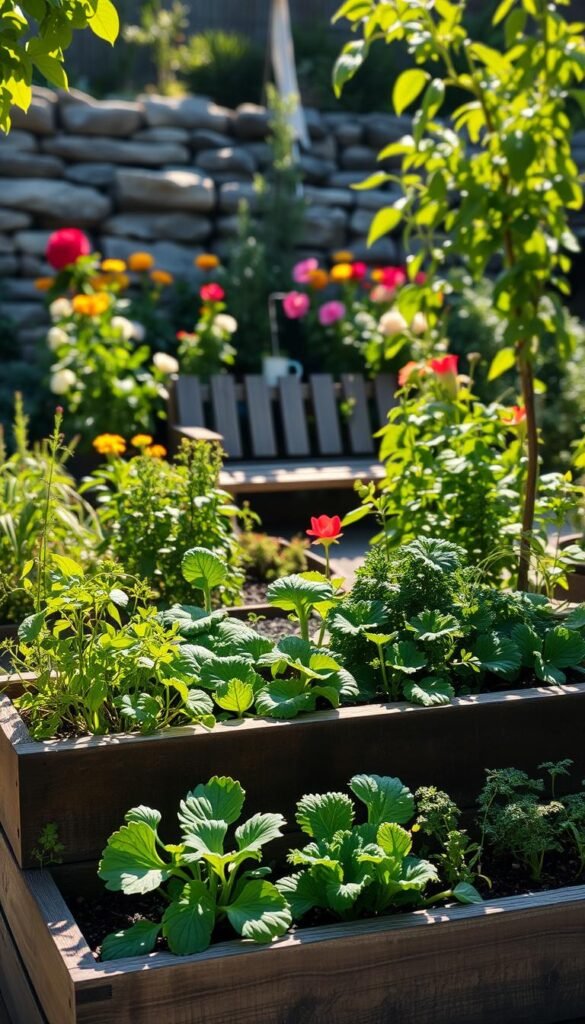
Location makes or breaks your growing success. Before building beds, spend a day mapping your yard’s unique conditions. Watch how shadows move and feel where breezes flow strongest.
Assessing Sunlight and Airflow
Vegetables crave full sun – track which areas get 6+ hours daily. Use free apps like Sun Seeker to chart light patterns. Avoid spots near tall fences or trees that create shade pockets.
Good airflow prevents mold and pests. Leave 2-3 feet between beds and structures. One gardener notes: “Rotating crops yearly helps balance soil nutrients and sun exposure.”
| Factor | Ideal | Problematic |
|---|---|---|
| Sun Exposure | Morning sun, afternoon shade | Full shade after 3 PM |
| Wind Patterns | Gentle breeze | Still air or harsh gusts |
| Slope | Level ground | Steep inclines |
Identifying Suitable Garden Bed Locations
Measure your available space carefully. Professional growers suggest 30-inch wide beds – narrow enough to reach the center without stepping in soil. Allow 18-inch paths for kneeling and wheelbarrows.
Prioritize spots near water sources. Dragging hoses gets old fast. Test drainage by pouring water on potential sites – if puddles linger longer than 30 minutes, choose higher ground.
Leave room for expansion. Many beginners triple their bed count within two years as confidence grows. Smart planning now saves headaches later.
Planning and Designing Your Raised Garden Bed
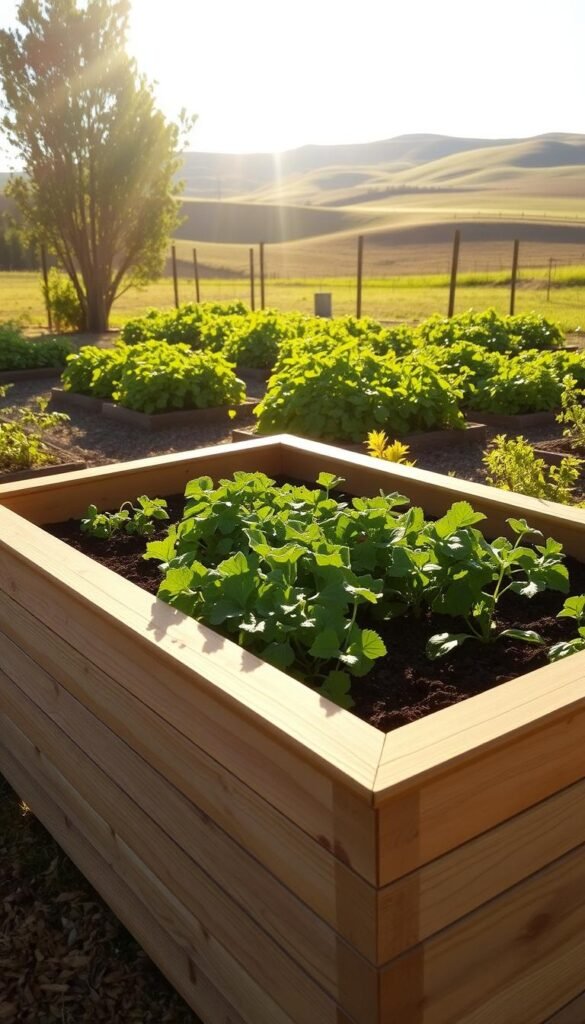
What separates a good raised bed from a great one? Smart design choices turn basic boxes into high-performance growing zones. Let’s explore how to create layouts that boost yields while fitting your space perfectly.
DIY Design Considerations
Start with bed dimensions. A 30-inch width lets you reach the center without straining. Depth matters too – 12-inch beds suit greens, while 18-inch versions handle carrots and potatoes. “Measure twice, build once” saves materials and frustration.
Material selection impacts longevity and cost. Consider these options:
- Cedar: Naturally rot-resistant (lasts 10-15 years)
- Galvanized steel: Modern look with 20+ year lifespan
- Composite wood: Budget-friendly but less durable
Drainage prevents soggy roots. Add 2 inches of gravel at the base or drill ½-inch holes every 18 inches. Pair this with building raised beds on a budget strategies to cut costs without sacrificing function.
Resources like Kitchen Garden Revival offer proven layouts for maximizing harvests. Their companion planting charts help arrange crops that thrive together. For hands-on learners, the Kitchen Garden Academy’s eight-module course breaks down complex designs into simple steps.
Remember to plan pathways. Allow 18-24 inches between beds for comfortable movement. This spacing lets wheelbarrows navigate while keeping your focus on growing, not tripping.
Transforming a Small Raised Bed Garden into a Thriving Vegetable Patch
Ready to give your existing setup a productivity boost? Revamping your growing space takes careful planning but pays off with bigger harvests. Start by evaluating what’s working and what needs an upgrade.
Essential Steps for a Successful Makeover
Begin by clearing out spent plants, but keep thriving herbs like rosemary or oregano. These hardy perennials save time and space. Next, test your soil’s texture—squeeze a handful. If it stays clumped, add organic matter to improve drainage.
Use a garden fork to loosen compacted earth 8-10 inches deep. This creates breathing room for roots. Mix in 3 inches of compost using the “lasagna method”: alternate green and brown layers for slow-release nutrients. One gardener swears: “Layering coffee grounds with shredded leaves supercharges my soil!”
Create planting zones based on water needs. Group tomatoes with peppers (both love moderate moisture), while carrots and radishes share drier areas. This smart layout cuts watering time by 40% in many setups.
Finish with a maintenance plan. Mark your calendar for:
- Weekly pest checks
- Bi-monthly fertilizer applications
- Seasonal crop rotations
These steps turn tired plots into vibrant food producers. Your renewed garden bed will support healthier vegetables through smart design and consistent care.
Selecting the Ideal Soil and Compost Strategies
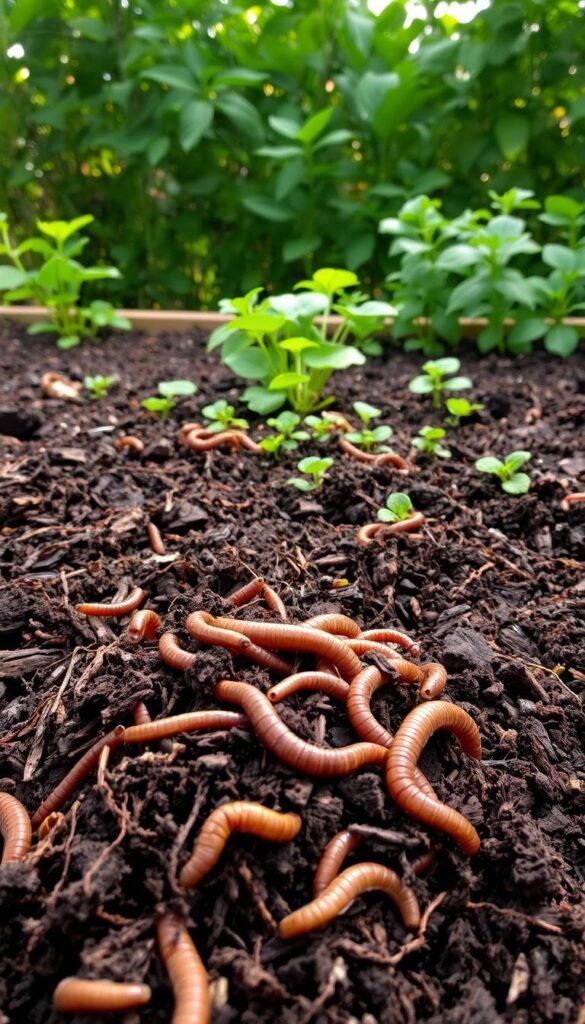
Ever struggled with compacted or lifeless garden soil? Your plants’ performance starts below the surface. Healthy earth needs five key ingredients: oxygen, water, carbon, minerals, and thriving microbes. Start with a simple pH test—aim for 6.0-7.0, with 6.5 being the sweet spot for most crops.
Understanding Soil Tilth and Composition
Good soil crumbles like chocolate cake. If yours forms hard clumps or puddles water, it needs help. Compacted earth suffocates roots, while sandy soil drains too fast. Organic matter acts like a sponge—it holds moisture and nutrients where plants need them.
Incorporating Organic Matter Effectively
Compost is your garden’s multivitamin. For new beds:
- Mix 1 inch into topsoil
- Add 1 inch as mulch
Revive tired soil with 3-4 inches worked deep, plus 2-3 inches on top. A well-designed organic raised bed thrives when fed homemade compost or quality store-bought blends. One grower’s trick: “I alternate coffee grounds with straw—worms feast all season!”
| Soil Condition | Compost Needed |
|---|---|
| New beds | 2 inches total |
| Maintained beds | ½-1 inch yearly |
| Depleted soil | 5-7 inches total |
Choosing Vegetables, Herbs, and Companion Plants
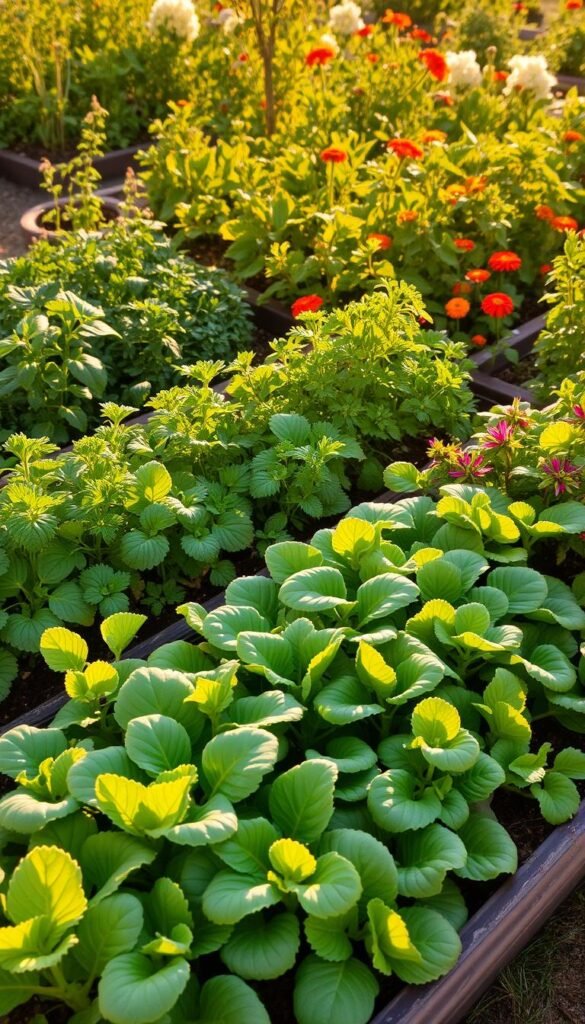
Your plant choices determine your garden’s success. Smart selections boost yields while reducing pest problems. Let’s explore how to match greenery to your local conditions for year-round harvests.
Climate-Smart Planting Strategies
Start with your USDA hardiness zone. Heat-loving tomatoes thrive in zones 5-8, while kale prefers cooler zones 3-9. Check seed packets for “days to maturity” – this tells you if crops will ripen before frost hits.
| Plant Type | Warm Season Picks | Cool Season Options |
|---|---|---|
| Vegetables | Peppers, Eggplant | Spinach, Brussels Sprouts |
| Herbs | Basil, Oregano | Parsley, Chives |
| Companion Plants | Marigolds (deter beetles) | Nasturtiums (repel aphids) |
Pair nitrogen-rich beans with heavy feeders like corn. One gardener’s tip: “Planting dill near cucumbers improves their flavor and attracts pollinators.” This natural teamwork reduces fertilizer needs.
Time plantings using seasonal shifts. In September, harvest late tomatoes while sowing fall carrots. Herbs like rosemary can stay year-round in warmer zones. Track frost dates using your local extension office’s planting calendar.
Essential Gardening Tools and DIY Installation Tips
The right tools turn garden chores into simple tasks. Whether you’re building new raised garden beds or maintaining existing ones, smart equipment choices save time and effort. Let’s explore options that match your space and stamina.
Hand Tools Versus Mechanized Solutions
Compact spaces thrive with manual tools. A bed preparation rake levels soil faster than standard models, while a sharp hori-hori knife tackles weeding and planting. For soil mixing, try a cultivator with rotating tines – it breaks up clumps without straining your wrists.
Larger gardens benefit from power tools. The BCS two-wheeled tractor with tiller attachment prepares 100 sq ft in minutes. One grower notes: “My broadfork does what a rototiller can’t – it aerates without destroying soil structure.”
| Tool Type | Best For | Cost Range |
|---|---|---|
| Hand tools | Beds under 50 sq ft | $15-$75 |
| Power tools | Beds over 150 sq ft | $300-$2,500 |
Tool Recommendations for Every Budget
Start with these essentials:
- Must-haves: Digging shovel, pruning shears, soil scoop
- Upgrades: Ergonomic trowel, wheeled cultivator
- Luxury items: Electric soil screener, automated watering system
Clean tools after each use. A quick wipe with linseed oil prevents rust on metal surfaces. Store them vertically in a weatherproof bucket – handles stay dry, and you’ll always find what you need.
Maintaining Your Garden Through Seasonal Transitions
What if your garden could produce food year-round without starting over each season? Smart maintenance bridges growing periods, letting you harvest kale in December and plant peas by February. This approach keeps soil active and reduces empty-bed time.
Optimal Watering and Weeding Practices
Raised beds dry out faster than ground soil. Water deeply 2-3 times weekly during summer heat, targeting morning hours to reduce evaporation. Pro tip: Bury a tuna can – when it fills, you’ve given enough moisture.
Weeds steal nutrients but thrive in neglect. Pull invaders when soil is damp, gripping near the base. One gardener shares: “I weed while waiting for coffee to brew – five minutes daily keeps beds clean.”
Strategies for Seasonal Planting and Harvesting
Stagger plantings every 2-3 weeks for continuous yields. As tomatoes finish in September, sow quick-growing radishes and spinach. Use this seasonal swap guide:
| Season | Finishing Crops | New Plantings |
|---|---|---|
| Spring | Peas | Basil, Cucumbers |
| Summer | Zucchini | Kale, Beets |
| Fall | Green Beans | Garlic, Onions |
Protect winter greens with floating row covers. These fabric tents trap heat while letting light through. You’ll harvest fresh greens long after neighbors’ gardens freeze.
Maximizing Space and Efficiency in Your Backyard Garden
Your backyard holds untapped potential for growing more food than you might think. Vertical gardening triples usable space – try cucumber vines climbing cattle panel trellises or pole beans winding up bamboo stakes. This upward growth frees ground areas for leafy greens and root vegetables.
Succession planting keeps soil working year-round. After harvesting spring radishes, plant bush beans in the same spot. When tomatoes finish in August, sow quick-growing spinach. One grower shares: “I get four harvests from my 4×8 bed using this rotation method.”
Smart spacing makes every inch count:
- Interplant basil between peppers
- Grow carrots beneath tomato cages
- Edge beds with dwarf marigolds
Use shaded areas wisely. Parsley and mint thrive near fences that block afternoon sun. Compact cherry tomato varieties work well in corners – their small footprint yields big flavor for kitchen recipes.
Design pathways 18-24 inches wide using mulch or stepping stones. This creates clear access while preventing soil compaction. Your efficient layout becomes both productive and visually appealing, blending function with backyard beauty.
Wrapping Up Your Journey to a Productive Raised Bed Garden
Your journey to fresh, homegrown food just got simpler. With raised beds, you’ve created a space where plants thrive with less effort. Those smart soil choices and strategic layouts pay off season after season.
Keep success going by refreshing compost yearly. A quick top-up each spring feeds your plants and maintains soil structure. Pair this with crop rotation to keep pests guessing and nutrients balanced.
Involve your family in daily garden checks. Kids love spotting ripe cherry tomatoes, while kitchen herbs become instant cooking companions. Those basil leaves taste better when you’ve watched them grow from seed.
Remember: great gardens evolve. Try new companion plant pairings or vertical supports next season. Every adjustment teaches you more about what works in your unique space.
Soon, you’ll measure success not just in harvests, but in moments – the pride of serving homegrown salads, or sharing extra zucchini with neighbors. Your raised beds aren’t just growing plants – they’re cultivating joy, one season at a time.

