
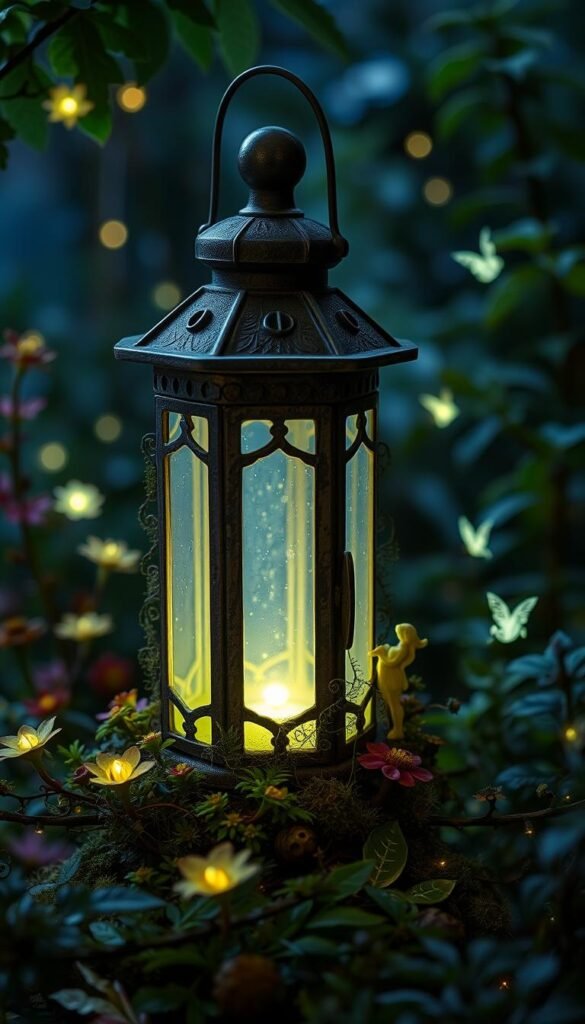
Have you ever wanted to add a touch of magic to your backyard? Picture this: an old lantern, forgotten in your garage, transformed into a whimsical world where fairies might gather at dusk. This charming DIY project blends vintage appeal with playful creativity, creating a glowing centerpiece that sparks joy day and night.
Best of all, you likely already have most materials at home. For under $15, you can craft a piece that doubles as garden decor and ambient lighting. The soft glow from phosphorescent paint or small LED lights brings an ethereal quality to your outdoor space, perfect for summer evenings or cozy fall nights.
What makes this idea special? Unlike static decorations, your creation evolves with the light. By day, it showcases miniature landscapes with moss and tiny accessories. At twilight, it becomes a radiant beacon that delights all ages. The project’s flexibility lets you experiment with colors, textures, and arrangements – no two designs look alike!
Originally born from a crafting mishap (those stubborn glow jars!), this versatile approach offers better results than traditional methods. Whether you’re new to crafting or a seasoned maker, the process invites playful experimentation. Ready to make something truly enchanting? Let’s begin!
Gathering Materials and Tools for Your Fairy Lantern Project

Before diving into this whimsical DIY adventure, let’s round up supplies you probably already own. The beauty of this fairy lantern lies in its simplicity – most items hide in craft drawers or recycling bins!
Essential Supplies from Around Your Home
Start with a glass jar and lid – pickle or pasta containers work perfectly. You’ll need three paints: dark gray for base coating, copper for aging effects, and glow-in-the-dark paint for that magical shimmer. Basic tools like scissors, a drill (for creating a light switch hole), and brushes complete your toolkit.
Don’t forget the fairy scene essentials! A battery-powered tea light keeps things safe, while moss and plastic greenery form your miniature landscape. Cardboard scraps become platforms, and foam sheets help secure tiny decorations.
Additional Decorative and Optional Elements
Want extra charm? Twine-wrapped handles or vintage keys add storybook flair. Small glass vials filled with glitter make enchanting accessories. Wire and pliers let you craft a rustic handle that complements your lantern’s antique vibe.
Remember: This project thrives on creativity. Swap suggested items for seashells, miniature figurines, or dried flowers. Your materials should reflect what sparks joy in your outdoor space!
Preparing Your Vintage Lantern for Transformation

Your vintage lantern holds hidden potential—let’s unlock its glow-up journey! This phase turns ordinary items into extraordinary showpieces through smart prep work. With simple techniques, you’ll create a sturdy foundation for your magical design.
Cleaning, Drilling, and Safety Tips
Start by scrubbing every nook with warm soapy water. Remove rust spots using vinegar and a toothbrush. Dry completely—moisture ruins paint adhesion. For metal lanterns, consider a light sanding to help primer stick better.
When drilling the switch access hole, use a carbide-tipped bit. Go slow to prevent cracks. Place masking tape over the drilling area first—it reduces slippage. Smooth rough edges with sandpaper or a metal file. Safety first!
Applying Primer and Base Coats for an Antique Look
Choose a rust-inhibiting primer for outdoor durability. Apply thin layers using crisscross strokes. Let each coat dry fully—patience prevents peeling. For that weathered charm, dab copper paint lightly over gray base layers. Wipe excess with a rag for natural aging effects.
Secure your tea light using waterproof glue. Position the switch near the drilled opening for easy access. Create elevation with a cardboard platform cut ¼” smaller than your lantern’s base. This clever trick hides wires while showcasing your fairy scene beautifully.
Pro tip: Test your lighting setup before final assembly. For more rustic garden ideas, explore repurposed wooden crates that pair perfectly with glowing lanterns. Now your canvas is ready for magic!
Turning a Vintage Lantern into a Glow-in-the-Dark Fairy Garden

Let’s bring your glowing vision to life with hands-on techniques that balance precision and creativity. These methods ensure your piece becomes both durable and dreamy – ready to withstand outdoor elements while radiating charm.
Step-by-Step Assembly and Gluing Techniques
Start by mounting your fairy printable on foam using double-sided tape. Trim carefully for crisp edges. Attach a small wooden stand with waterproof glue, pressing firmly for 30 seconds. This creates a stable base that won’t tilt.
Spread moss across a cardboard circle cut to fit your glass container. Position the figurine near the edge using dots of adhesive. Leave space for miniature accessories like pebble paths or twine-wrapped decorations.
Setting Up the Tea Light and Light Switch
Secure your battery-powered light to the base with removable putty. Align the switch with the pre-drilled hole for easy access. Test the illumination before finalizing placements – adjust angles if shadows obscure key details.
Integrating Glow Paint and Antiquing Methods
Apply phosphorescent paint in smooth vertical strokes inside the glass. Two thin coats work better than one thick layer. Let dry completely between applications – about 90 minutes.
Mix 3 parts gray paint with 1 part copper for aging effects. Wrap a plastic bag around a stick using hot glue to make a textured brush. Dab lightly on rim and base areas, wiping excess for natural wear patterns. The middle stays clear to maximize glow visibility at night.
Pro tip: Pair your finished piece with garden stones painted with leftover mixtures. This ties your crafting theme together beautifully!
Bringing Your Magical Outdoor Space to Life

Your fairy lantern’s final touches blend function and fantasy. Start by shaping wire into a loose circle around the glass jar’s neck – leave room to slide twine-wrapped sections later. Double-strand jute adds rustic texture while hiding modern materials, creating that storybook charm everyone loves.
Secure decorative elements like miniature keys or glitter-filled vials with waterproof glue. Position greenery along the lid’s edge using quick-drying adhesive, letting leaves cascade naturally. These details transform basic supplies into lights that whisper secrets of hidden fairies after dark.
Place your finished scene inside carefully – tilt figurines toward the glass for maximum visibility. Test the tea light’s glow at dusk, adjusting placements to cast enchanting shadows. Share your creation in comments or social media posts to inspire fellow crafters!
This DIY masterpiece now brightens your garden with soft radiance by night and whimsy by day. Whether hung from branches or placed on patios, it becomes a cherished part of outdoor moments. What idea will you dream up next?


