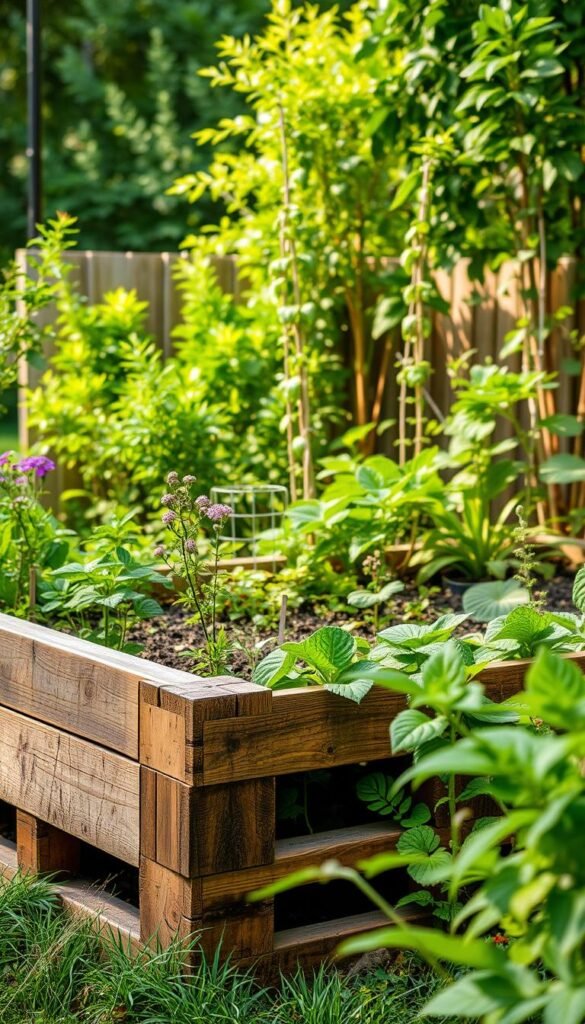
What if you could create productive growing space using materials others throw away? Discarded shipping platforms offer an unbeatable opportunity to craft functional raised planting areas without draining your wallet. With basic tools and minimal effort, you’ll turn overlooked resources into a flourishing home for vegetables, herbs, or flowers.
This weekend-friendly project requires just 3-4 matching platforms (often free through local listings) and simple assembly skills. Unlike store-bought kits, these DIY solutions let you customize sizes while keeping costs near zero. While not as durable as cedar options, they provide immediate results for gardeners testing layouts or working with tight budgets.
You’ll gain better soil management through contained beds that reduce weeds and improve drainage. The elevated design protects plants from pests while easing strain on your back during maintenance. We’ll show how to select safe materials and avoid chemically-treated wood – crucial steps when growing edible crops.
Whether you’re expanding your tomato patch or starting a family-friendly growing experiment, this approach makes garden upgrades accessible. Let’s explore how temporary structures can spark lasting gardening joy while you plan permanent features.
Gathering Materials and Safety Considerations
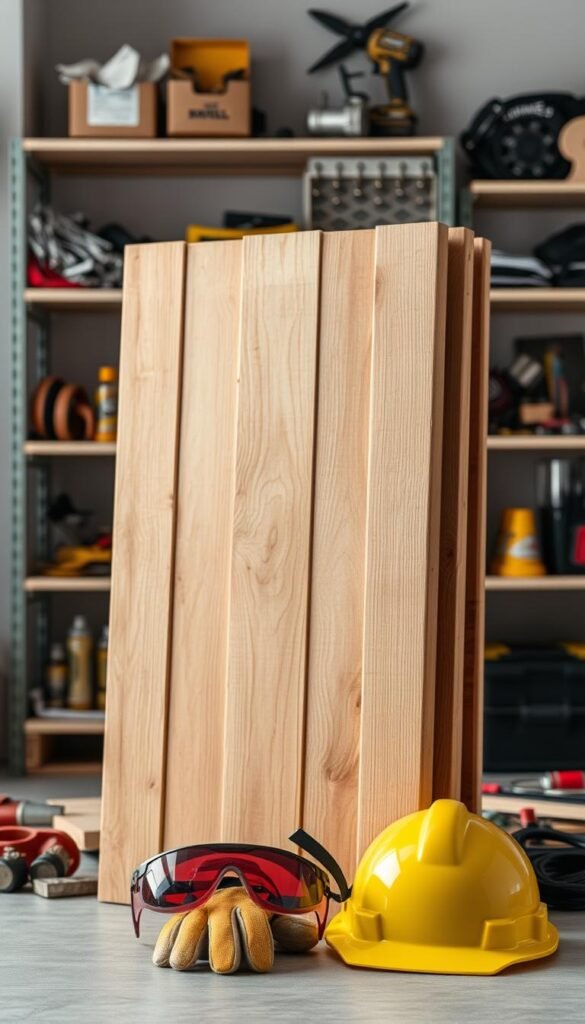
Getting started requires smart preparation and attention to safety details. You’ll transform discarded materials into a sturdy growing space, but first, let’s gather what you need. Matching platforms of similar dimensions (around 27″ x 41″) work best for consistent results.
Essential Tools and Supplies
Round up a circular saw or miter saw for precise cuts, along with a drill, hammer, and pry bar. You’ll need three screw lengths: 1″, 1¼”, and 1¾” for securing boards at joints. A staple gun with 3/8″ staples helps attach landscape fabric later.
Newer platforms fastened with nails save time during disassembly. They’re less likely to split when inserting screws compared to older, stapled versions. Keep extra treated lumber handy in case some pieces crack during deconstruction.
Selecting Heat-Treated, Safe Pallets
Always check for the HT stamp – your guarantee of chemical-free materials. Avoid any marked “MB,” as these contain methyl bromide that can seep into soil. Look for intact boards without stains or odd odors.
Spend time verifying stamps before hauling materials home. This step protects your plants and family while ensuring your raised bed lasts multiple seasons. Uniform sizes mean less cutting and faster assembly once you begin building.
Prepping the Pallet Wood for Your Raised Garden Bed
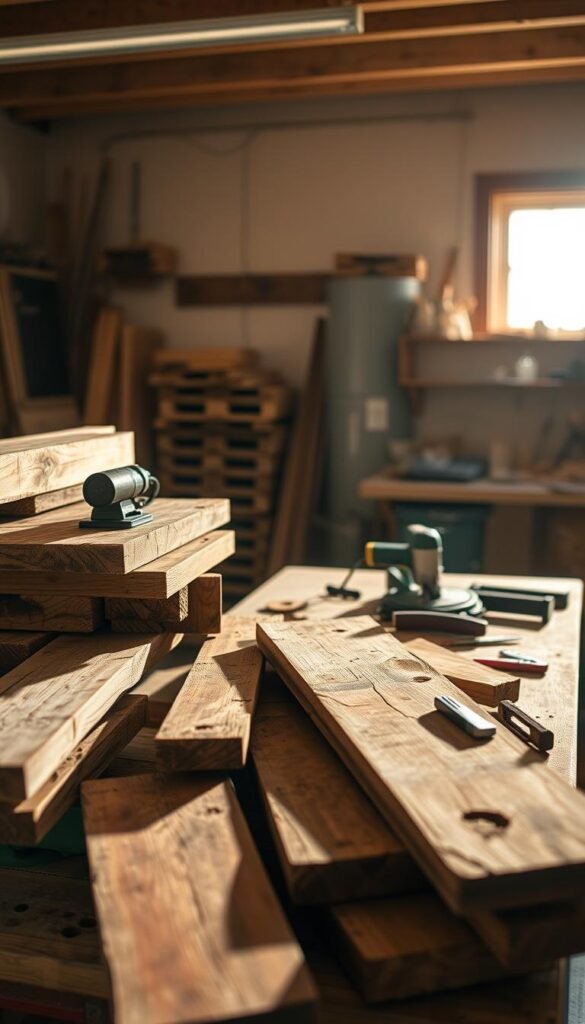
Transforming discarded materials into garden gold starts with smart preparation. Proper handling ensures your raised bed stays sturdy through seasons while protecting your plants from hidden hazards. Let’s break down the process into manageable steps for success.
Disassembling Pallets and Removing Fasteners
Nail-fastened platforms save hours compared to stapled ones. Use a pry bar and hammer to lift boards gently – newer materials resist splitting better. Always wear gloves to avoid splinters during this phase.
| Pallet Type | Disassembly Time | Tools Needed | Materials per Bed |
|---|---|---|---|
| Nail-Assembled | 10 minutes | Pry bar, hammer | 12 deck boards |
| Staple-Assembled | 25+ minutes | Cat’s paw, pliers | 3 runner boards |
Inspecting Wood for Durability and Safety
Check each board for dark stains or mildew – these indicate rot risks. Sort deck boards (walls) from runners (posts) immediately after cleaning. Discard pieces with deep cracks that could harbor pests.
Runner boards become corner supports when halved. Measure twice before cutting to maintain uniform bed dimensions. A quick sanding removes rough edges that could snag liners later.
Using Pallet Wood: A Step-by-Step Guide to a Pallet Raised Garden Bed
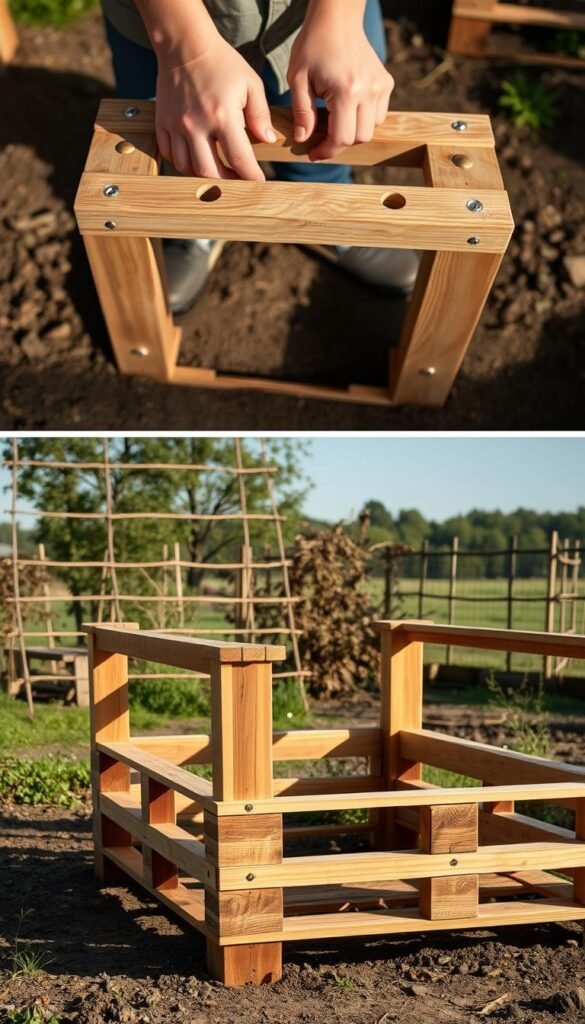
Strong legs and secure joints form the backbone of your project. Let’s transform those prepared boards into a stable frame that supports healthy plant growth. Begin on a flat surface like a driveway – this ensures accurate alignment as you assemble components.
Constructing the Legs and Angled Supports
Cut six 3-foot posts from 2×4 runner boards. Pair them to create 4×4 center supports that handle soil pressure. Lay your first board against a post at a right angle, forming an L-shape. Secure with two screws at each connection point.
Work clockwise around the perimeter, adding posts at every corner and midpoints of long sides. This creates a grid-like foundation for attaching side boards. Check for square corners using the 3-4-5 triangle method – measure 3 feet along one edge, 4 feet along the adjacent side, and confirm the diagonal spans 5 feet.
Securing the Boards with Screws and Fasteners
Attach deck boards horizontally between posts, starting at ground level. Use 1¾” screws for maximum grip – drive them at a slight upward angle through board edges into posts. Stagger end joints between upper and lower tiers to strengthen long sides.
Add the second layer once the base frame feels rigid. This creates 10½ inches of depth – ideal for carrots or tomatoes. Run your hand along seams to detect uneven spots, sanding any protruding edges that might tear liners later.
Installing the Liner, Drainage, and Finishing Touches
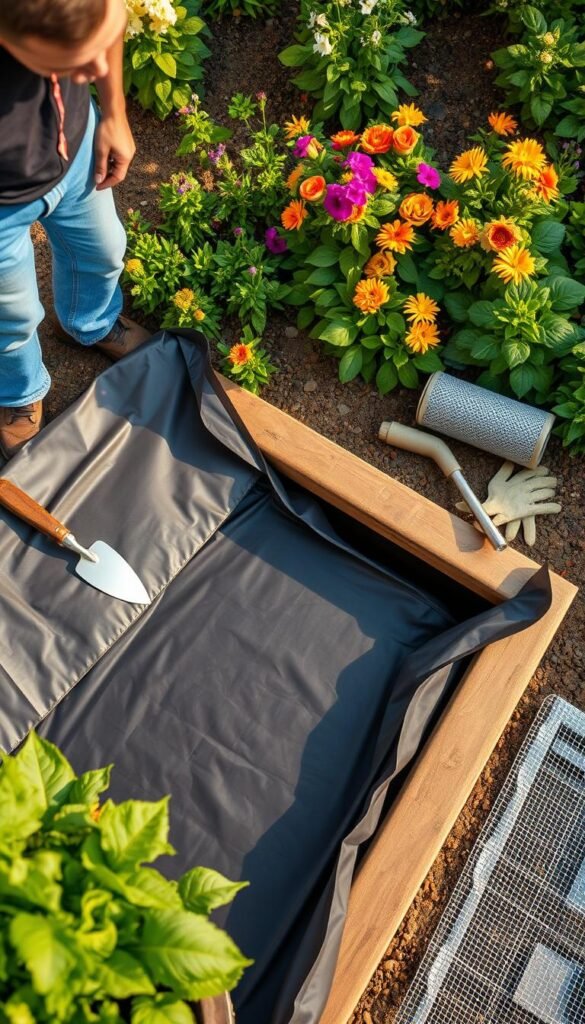
Protecting your plants starts with smart barrier systems. A well-installed liner keeps soil contained while letting roots breathe. Let’s explore how to seal your creation for lasting performance.
Choosing Barrier Materials
Landscape fabric works best for perennial beds, lasting 5+ years. Cut a 72″x56″ rectangle – add 2″ extra on all sides for folding. For temporary setups, cardboard breaks down naturally in 6-12 months.
| Liner Type | Best For | Lifespan | Installation Difficulty |
|---|---|---|---|
| Heavy-Duty Fabric | Vegetables & Herbs | 5-7 Years | Moderate |
| Cardboard | Annual Flowers | 1 Season | Easy |
| Chicken Wire | Bulb Protection | 3-5 Years | Challenging |
Managing Water Flow
Spread 2″ of river rocks across the bottom before adding soil. Top the rocks with breathable fabric to prevent clogging. Attach rubber caps to leg ends using 1¼” screws – these create air gaps that fight rot.
Reinforcing Corners
Cut scrap boards at 45-degree angles using leftover pallet wood. Nail these end caps over exposed joints for cleaner lines. Add horizontal 2x4s mid-way up tall beds to prevent bowing under soil pressure.
Test drainage by pouring a gallon of water into the empty bed. Proper flow should leave no standing water after 10 minutes. Adjust rock layers if needed before filling with your planting mix.
Final Thoughts and Next Steps in Your Garden Journey
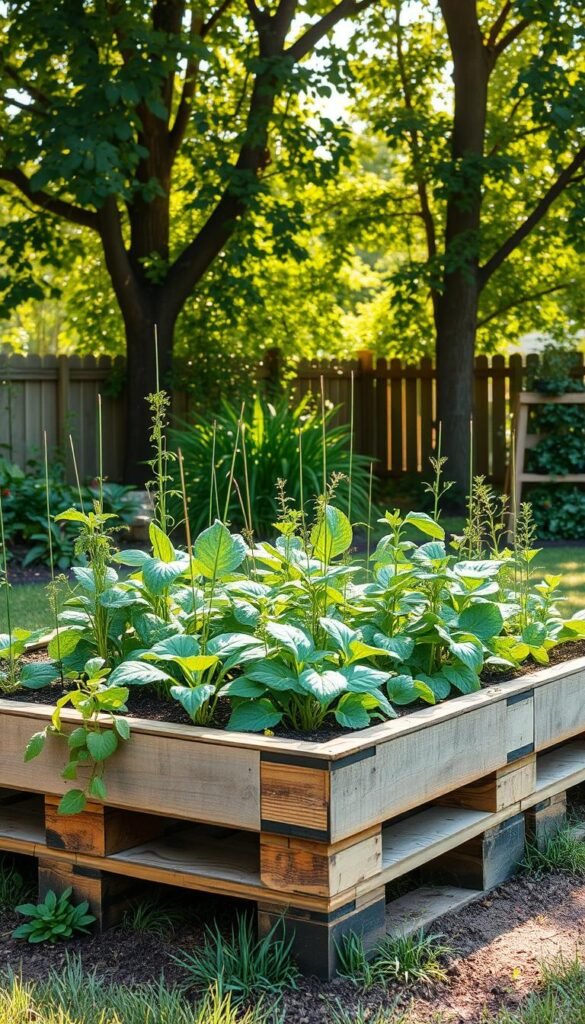
Your new growing space proves sustainability and productivity go hand-in-hand. You’ve crafted a budget-friendly solution that improves soil quality, minimizes weeds, and deters pests. The modular design lets you relocate beds easily or expand your setup as confidence grows.
This project opens doors to growing diverse crops – from crunchy carrots to juicy strawberries. Rotate vegetables annually to maintain soil health. Consider adding companion flowers like marigolds between rows for natural pest control.
Future upgrades could include:
• Shade cloth for summer heat protection
• Removable netting to guard against hungry critters
• Frost blankets for early spring planting
Share your success! Teach neighbors how reclaimed materials create thriving gardens. Document growth patterns each season – this helps refine planting strategies. Remember to refresh the top soil layer annually and check liner integrity before winter.
You’ve built more than a garden bed – you’ve planted seeds for lasting environmental stewardship. Every tomato harvested or flower bloomed celebrates your smart repurposing efforts. What will you grow first?

