Want to grow more food in less space? How you arrange your plants matters just as much as what you grow. Smart planning turns small areas into abundant food sources while saving time and effort.
This guide reveals practical ways to organize your growing space. You’ll learn how to match different design strategies to your backyard’s size and sunlight patterns. Whether you’re working with raised beds or vertical setups, there’s a solution for every challenge.
Traditional straight rows aren’t your only option. Modern techniques let you mix crops creatively, boosting harvests without extra work. Discover how spacing choices affect plant health and simplify maintenance.
We’ll break down proven methods used by experts nationwide. You’ll see how combining approaches creates a personalized system that thrives in your climate. Get ready to transform your outdoor space into a productive, eye-catching oasis.
Understanding the Fundamentals of Garden Layout

Maximizing harvests requires more than just good soil—it demands strategic layout choices. Your planting space becomes a living puzzle where sunlight, airflow, and root systems interact. Start by sketching your area dimensions and noting where shadows fall throughout the day.
Defining Your Planting Zone and Vision
Walk your garden during different times to spot microclimates. South-facing sections often get more sun, perfect for heat-loving crops. Damp corners might suit leafy greens better. Adjust spacing recommendations based on these observations rather than generic guidelines.
The Science Behind Plant Arrangement
Tight configurations boost yields but require careful planning. Roots compete for nutrients when placed too close, while excessive gaps waste precious ground. Try this approach:
- Measure mature plant sizes (not just seedling spread)
- Leave walking paths between sections
- Rotate crops annually to prevent soil depletion
Commercial seed packets often suggest wider gaps than home growers need. You can safely reduce distances by 25% in raised beds or container setups. This creates natural mulch through overlapping leaves, suppressing weeds naturally.
Planning Your Garden: Tools, Measurements, and Design

Successful planting starts with precise preparation. Before breaking ground, gather resources that turn ideas into thriving beds. This phase determines how efficiently you’ll use every square foot while avoiding overcrowding.
Essential Garden Planning Tools
A measuring tape becomes your best friend during this stage. Pair it with wooden stakes and twine to mark boundaries visually. Many growers find grid systems helpful for organizing sections—think graph paper or digital apps that simulate your layout.
Measuring Your Garden Effectively
Start by recording length and width in inches for accuracy. Note slopes or irregular shapes affecting plant placement. Seed packets suggest spacing ranges, but you can often halve commercial recommendations in raised beds.
Create a rough sketch showing mature plant sizes. Leave 18-24 inches between walking paths for easy access. Rotate crops annually using your plan to maintain soil health naturally.
Adjust your design as seasons change. Cool-weather greens might replace summer tomatoes in the same bed. Flexible plans let you experiment while keeping yields consistent year-round.
Vegetable and Fruit Garden Layout: Optimal Row Spacing for Maximum Growth
Ever wondered how to squeeze more harvest from your plot? The secret lies in balancing spacing techniques with your plants’ needs. While block planting saves space, some crops thrive in traditional rows for easier care.
Row spacing and plant spacing aren’t the same. Leave 18-24 inches between rows for tools and airflow, but place individual plants closer within those lanes. For example, bush beans need 4 inches apart in rows 18 inches wide.
| Plant Type | Traditional Row Spacing | Block Spacing | Best Method |
|---|---|---|---|
| Tomatoes | 36-48″ rows | 24″ grid | Rows (support access) |
| Carrots | 12-18″ rows | 3″ grid | Blocks |
| Lettuce | 12″ rows | 8″ grid | Blocks |
| Zucchini | 36″ rows | Not recommended | Rows |
Your soil quality changes the game. Rich earth lets you tighten spacing by 15% compared to average ground. Try the square-foot gardening method for fast calculations – it turns spacing math into simple patterns.
Adjust as plants grow. Start radishes 2 inches apart, then harvest every other one for full-sized roots. This “thinning-as-you-go” approach maximizes yield without wasting seedlings.
Exploring Creative Layout Options: Rows, Blocks, and Raised Beds

Transform your growing space with innovative arrangement techniques that blend efficiency with visual appeal. Three approaches dominate modern cultivation: time-tested rows, space-saving blocks, and elevated growing systems. Each method offers unique benefits depending on your soil type, available area, and maintenance preferences.
Traditional Row Layouts vs. Modern Block Designs
Straight-line planting simplifies maintenance but uses ground less efficiently. North-south orientation works best for rows, letting sunlight reach all plants evenly. The Four Square method improves this approach by dividing plots into rotating sections for natural pest control.
Block configurations pack plants tighter using geometric patterns. Try these comparisons:
- Rows: Easier weeding, better for vining crops
- Blocks: 30% higher yields, ideal for leafy greens
Square Foot gardening takes block planting further with measurable grids. One 4×4 bed can hold 16 carrot clusters or 4 tomato plants. This system eliminates guesswork while preventing overcrowding.
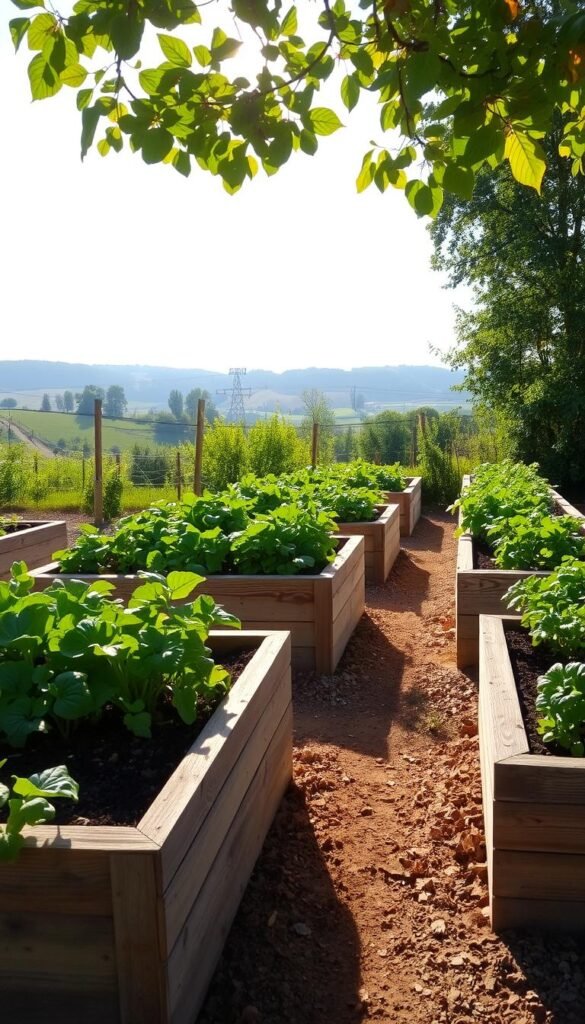
Benefits of Raised Beds for Home Gardening
Elevated beds solve drainage issues and extend growing seasons. Their contained structure lets you customize soil blends for specific crops. Maintenance becomes easier too – no more bending over clay-heavy ground.
Combine methods for hybrid success. Use raised beds with block planting for herbs, then traditional rows for corn in adjacent plots. This flexibility helps maximize every square foot while keeping care routines manageable.
Incorporating Companion Planting and Intercropping Strategies

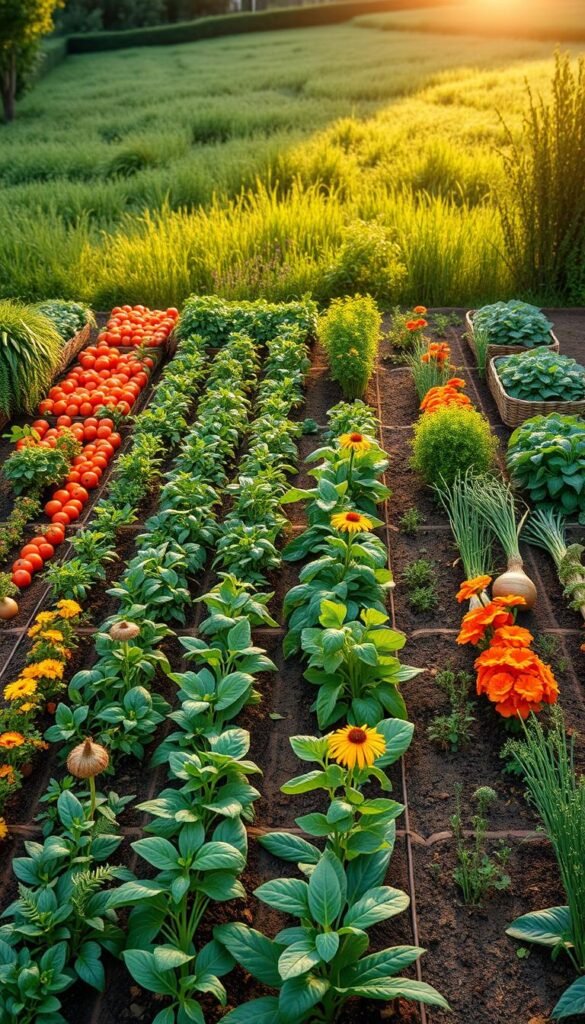
Transform your growing space into a cooperative ecosystem where plants work as partners. Strategic pairings let you harvest more from the same ground while reducing maintenance. This approach uses natural relationships between species to enhance growth and deter pests.
Pairing Vegetables for Mutual Benefit
The radish-carrot combo demonstrates science-backed planting at its best. Quick-growing radishes mature in 30 days, creating space for carrot roots to expand. Their vertical taproots aerate soil while breaking up compacted earth – a perfect handoff between fast and slow growers.
Successful pairings consider three factors:
- Root depth compatibility
- Nutrient needs
- Growth timelines
Leafy greens like spinach thrive under taller corn stalks, enjoying filtered sunlight. Marigolds planted near tomatoes act as living pest control, their strong scent repelling harmful insects naturally.
Timing matters most in intercropping. Stagger plantings so harvest times alternate – sow lettuce between pepper starts for dual yields. Avoid pairing heavy feeders like cabbage with beans, as they’ll compete for nitrogen. With smart planning, you’ll create a self-sustaining system where every plant plays multiple roles.
Maximizing Space with Vertical Gardening Techniques

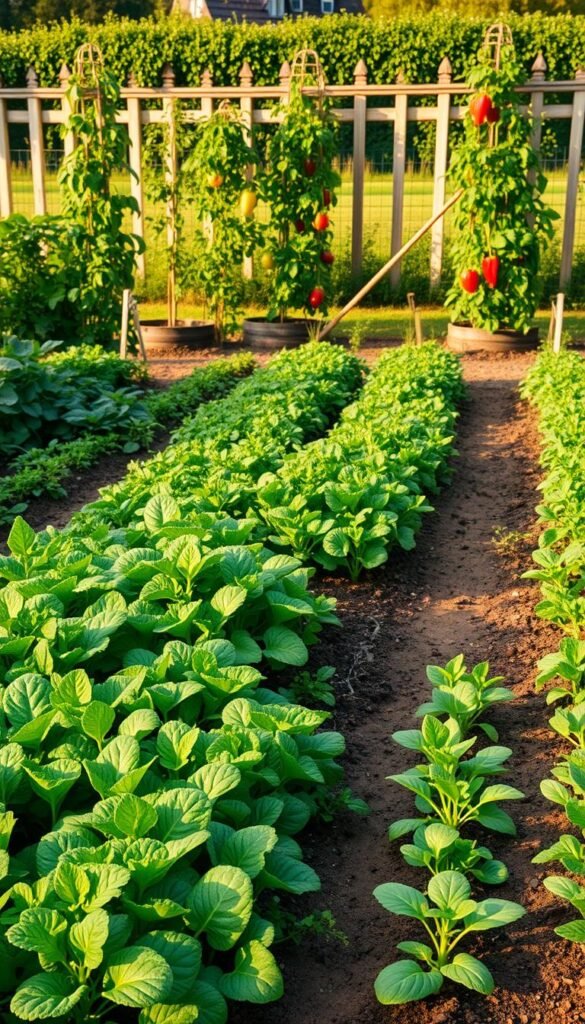
Reach new heights in your growing area by working upward instead of outward. Vertical systems let you triple production without expanding your footprint. These methods turn walls, fences, and airspace into productive zones for crops that climb or cascade.
Choosing Structures for Climbing Plants
Not all supports work equally well. Bamboo A-frames with wire mesh handle heavy plants like squash, while lightweight trellises suit peas and beans. Consider these options:
- Triangular teepees for quick-growing vines
- Wall-mounted grids for permanent installations
- Freestanding obelisks for container gardens
Malabar spinach and Bolivian cucumber thrive on sturdy frames. Pole beans need rough surfaces to grip – natural bamboo beats smooth metal. Space vertical structures 3 feet apart to prevent shading.
Utilizing Hanging Baskets and Tiered Planters
Elevated containers solve ground-level challenges. Strawberries and herbs flourish in suspended pots, while tiered shelves host lettuce mixes. Try these combinations:
| Container Type | Best Plants | Yield Boost |
|---|---|---|
| Hanging Baskets | Cherry tomatoes | 40% more fruit |
| Pocket Planters | Leafy greens | 2 harvests/month |
| Stacked Towers | Strawberries | 5x ground yield |
Water vertical setups more frequently – soil dries faster in air. Use drip irrigation with timers for consistent moisture. Pair climbing vegetables with shade-tolerant mint or spinach below structures for layered harvests.
Maintenance matters. Check ties weekly as plants grow heavier. Rotate containers monthly for even sun exposure. With smart vertical gardening, you’ll enjoy fresh picks at eye level all season.
Efficient Seed Planting, Densely Filling Beds, and Thinning Approaches
What if you could double your harvest without expanding your plot? Strategic seed placement turns overcrowding into an advantage when managed properly. This approach lets you grow more food while reducing wasted space.
Smart Seeding for Full Beds
Scatter-seeding beats single-file planting for fast coverage. Sprinkle beet or carrot seeds across prepared soil like nature does – uneven but efficient. Cover with fine compost and water gently. You’ll get 30% more seedlings than traditional methods.
Try these spacing adjustments:
| Crop | Packet Recommendation | Dense Planting |
|---|---|---|
| Spinach | 6″ apart | 3″ clusters |
| Radishes | 2″ spacing | 1″ scatter |
| Kale | 18″ rows | 12″ blocks |
Thinning as Harvesting
Remove excess plants when leaves reach 3-4 inches. Twist greens upward instead of pulling to protect neighboring roots. Baby carrots make tasty snacks, while beet thinnings add zest to salads.
Time your thinning:
- Leafy greens: 14 days after sprouting
- Root crops: At 1″ height
- Herbs: When stems toughen
Dense planting uses more seeds initially but yields continuous harvests. Choose varieties labeled “baby” or “micro” for best results in tight spaces. You’ll enjoy fresh picks while giving remaining plants room to mature.
Navigating Seasonal Transitions and Succession Planting
Keep your plot productive year-round with smart timing. Succession planting turns empty ground into continuous food factories by matching crops to each season’s strengths. This method requires precise planning but rewards you with multiple harvests from the same dirt.
Seasonal Layout Adjustments Made Simple
Spring’s cool soil welcomes lettuce and peas. As temperatures rise, replace them with heat-loving peppers or okra. Leave 20% more space between summer crops for better airflow and pest control.
Try these proven transitions:
| Season | Previous Crop | Succession Crop | Days to Maturity | Spacing Adjustment |
|---|---|---|---|---|
| Spring → Summer | Bush Beans | Beets | 55 vs 60 | +3″ between rows |
| Summer → Fall | Garlic | Rapini | 90 vs 40 | -2″ plant spacing |
| Fall → Winter | Tomatoes | Kale | 75 vs 55 | Same footprint |
Soil health matters when growing back-to-back crops. Sow clover between plantings to replenish nitrogen. Mix compost into beds every transition – 1 inch per season maintains fertility.
Track your local frost dates using USDA zone maps. This helps schedule successions so each plant matures before temperatures shift. Preserve extras through freezing or canning to enjoy your vegetable garden’s bounty all year.
Designing Functional Pathways and Access Points in Your Garden
Smart path planning turns cramped plots into organized growing zones. Thoughtful design balances easy movement with productive use of every inch. You’ll keep tools handy and plants thriving without sacrificing yields.
Creating Easy-to-Maintain Garden Paths
Dead-end pathways work like secret shortcuts. These partial routes let you reach bed centers without wasting precious space. Try keyhole shapes – circular beds with a single entry point – for 360° access to herbs or compact crops.
Mulched walkways 18 inches wide handle wheelbarrows comfortably. Narrower 12-inch paths suit small gardens where you’ll kneel instead of walk. Use gravel between raised beds to prevent muddy shoes during harvests.
Elevated stepping stones create visual guides while protecting soil structure. Place them diagonally across corners to minimize total pathway area. Your vegetable garden stays productive, and you’ll never trample tender roots again.


