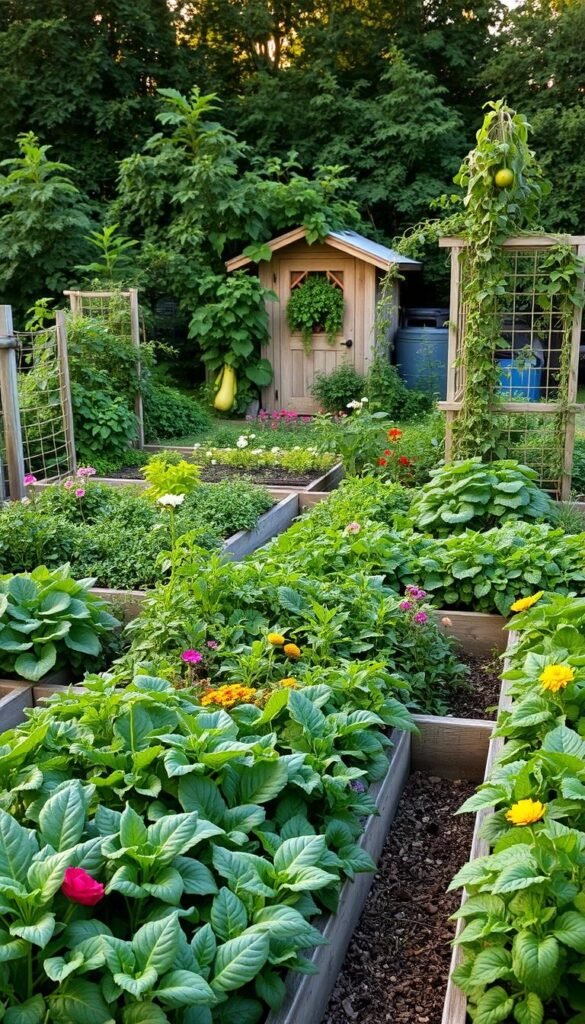
Nothing beats the joy of biting into a tomato you nurtured from seed or sharing fresh herbs with neighbors. But before those rewards come, thoughtful preparation turns dirt plots into thriving ecosystems. Whether you’re working with acres or a patio, understanding your unique conditions makes all the difference.
Sunlight access dictates which plants will flourish in your area. Tall crops might shade shorter neighbors if placed incorrectly, while vining varieties could overwhelm nearby beds. A little foresight prevents these issues and creates partnerships where certain species naturally protect others from pests.
Many beginners underestimate how much room their favorites need to mature. Overcrowding leads to stunted growth, but smart spacing lets roots breathe and leaves soak up light. Raised beds or vertical setups work wonders when square footage is limited, letting you grow up instead of out.
By mapping your plot early, you’ll avoid mid-season headaches like poor drainage or uneven sun exposure. This upfront effort means less weeding, easier harvesting, and more baskets overflowing with produce. Your future self will thank you when every inch of ground works in harmony.
Understanding Your Garden Space and Sunlight Requirements
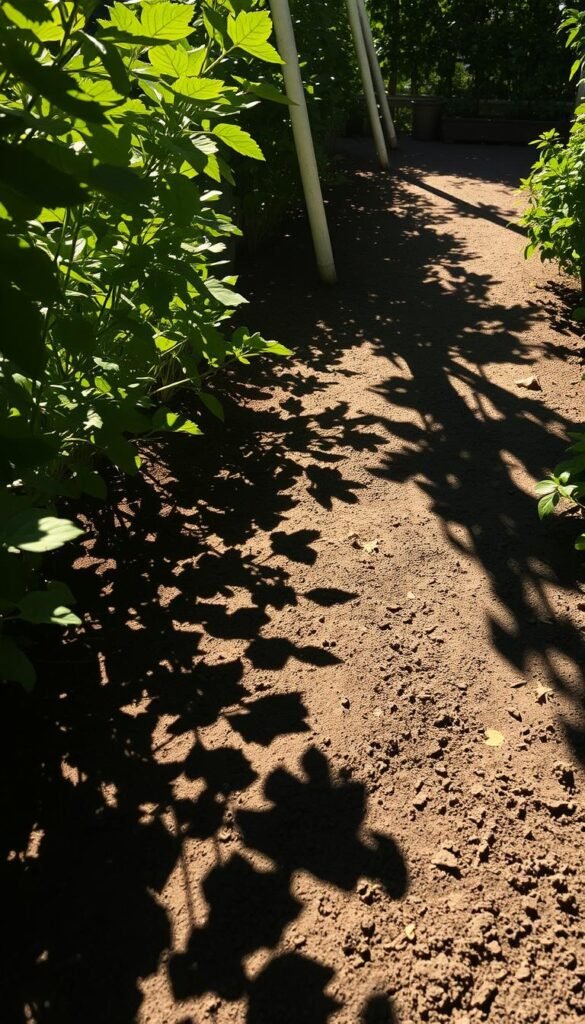
Successful harvests begin long before seeds touch soil—it starts with smart observation of your land. Track how sunlight moves across your area using free apps or simple hourly notes. Morning rays nourish leafy greens, while afternoon beams fuel fruiting plants like peppers.
Evaluating Sunlight and Shade Patterns
Full-sun zones get 6+ hours of direct light daily—perfect for tomatoes and cucumbers. Partial-shade spots (3-6 hours) suit spinach and kale. Watch for tree shadows or structures that create unexpected dark zones during growing months.
Assessing Soil Quality and Drainage
Dig a 12-inch hole after rain to check drainage. Water pooling longer than 4 hours signals compaction issues. Rub soil between fingers—crumbly texture indicates good structure. Simple pH tests reveal if your soil needs lime for acidity or sulfur for alkalinity.
Boost nutrient-poor earth with compost or aged manure. These natural amendments improve both sandy and clay-heavy soils over time. Remember: healthy roots need air pockets as much as moisture, so avoid stepping on planting beds.
The Essentials of Planning Your Vegetable Garden
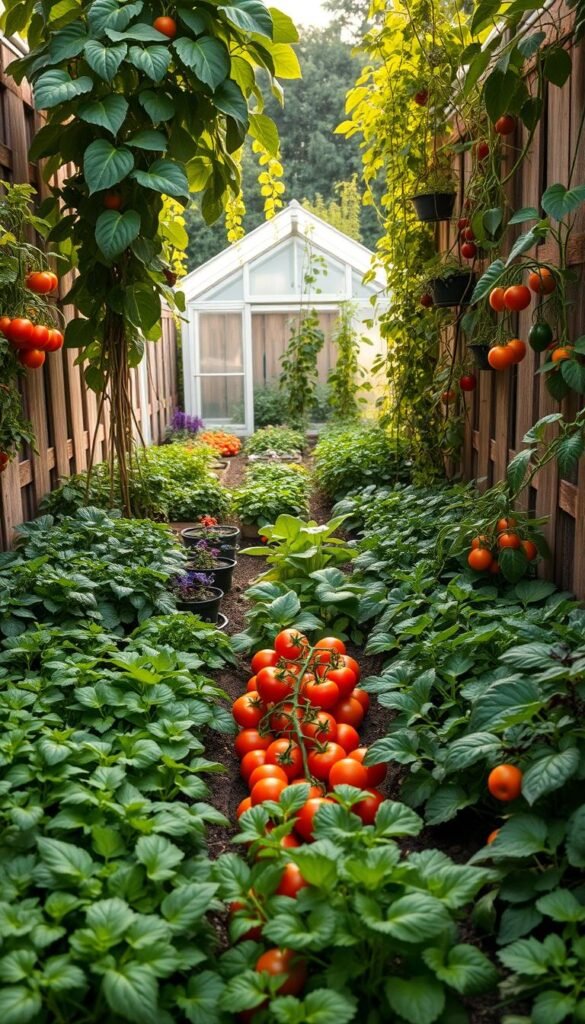
A thriving plot starts with a clear vision of what you want to grow and why. Before sketching beds or buying seeds, define your priorities. Are you aiming for pantry staples, heirloom flavors, or a colorful mix of edibles? Matching your ambitions to your available space prevents frustration later.
Identifying Your Gardening Goals
Ask yourself how much time you can realistically spend weekly. A salsa-themed bed with tomatoes and peppers needs less upkeep than a sprawling salad buffet. Track your family’s favorite meals—there’s no point growing radishes if everyone prefers snap peas.
New growers should start simple. Focus on 3-5 reliable crops that thrive in your region. As confidence grows, add unique varieties like purple carrots or striped tomatoes. Remember: progress beats perfection when you’re learning.
Selecting Vegetables That Suit Your Space
Compact hybrids let you enjoy full-sized flavors in tight quarters. Bush cucumbers sprawl less than vining types, while patio peppers thrive in containers. Use this comparison to make smart choices:
| Plant Type | Standard Size | Space-Saver Option |
|---|---|---|
| Tomatoes | 4-6 ft tall | Dwarf (2-3 ft) |
| Zucchini | 3-4 ft wide | Bush (1-2 ft) |
| Green Beans | 8-10 ft vines | Container varieties |
Pair quick growers like lettuce with slower ones like cabbage. This “tag team” approach maximizes harvests. For beginner-friendly plant choices, focus on varieties labeled “easy” or “disease-resistant.” They’ll forgive occasional mistakes while building your skills.
Vegetable Garden Layout Design: Tips for Higher Yields and Efficient Space Use
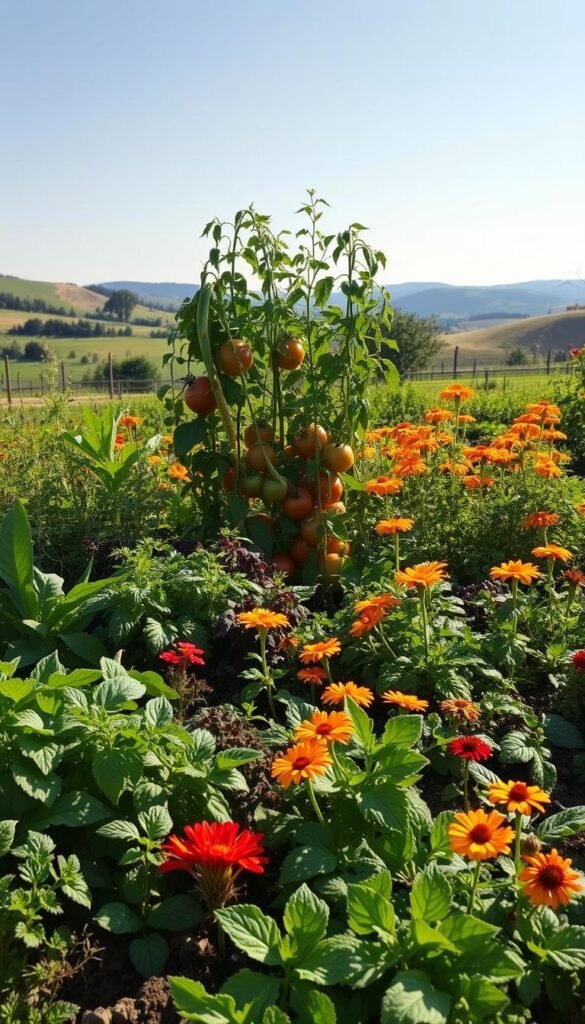
Transform your plot into a powerhouse of productivity by leveraging nature’s teamwork. Strategic pairings and timing tricks let you grow more in less space while keeping your soil thriving.
Implementing Companion Planting Techniques
Some plants are better neighbors than others. Basil repels aphids near tomatoes, while marigolds protect squash from beetles. These partnerships reduce pest pressure naturally. For example:
- Beans fix nitrogen in soil, benefiting nitrogen-hungry corn
- Carrots grow sweeter when paired with rosemary
- Nasturtiums lure cabbage moths away from broccoli
Discover best companion plant pairings that boost growth and flavor. This approach creates living mulch that suppresses weeds and retains moisture.
Utilizing Intercropping for Multiple Harvests
Why wait months for one crop when you can enjoy three? Try these space-stretching strategies:
- Sow radishes between slow-growing peppers – harvest them in 30 days
- Plant lettuce under corn stalks as summer shade arrives
- Grow spinach around young tomato plants before they bush out
Fast-growing crops act as placeholders until main plants mature. This “double cropping” keeps your soil active and your kitchen stocked. Rotate plant families each season to prevent nutrient depletion.
“Intercropping is like having a relay team in your garden – as one crop finishes, another takes its place.”
Creative Layout Ideas for Maximum Efficiency
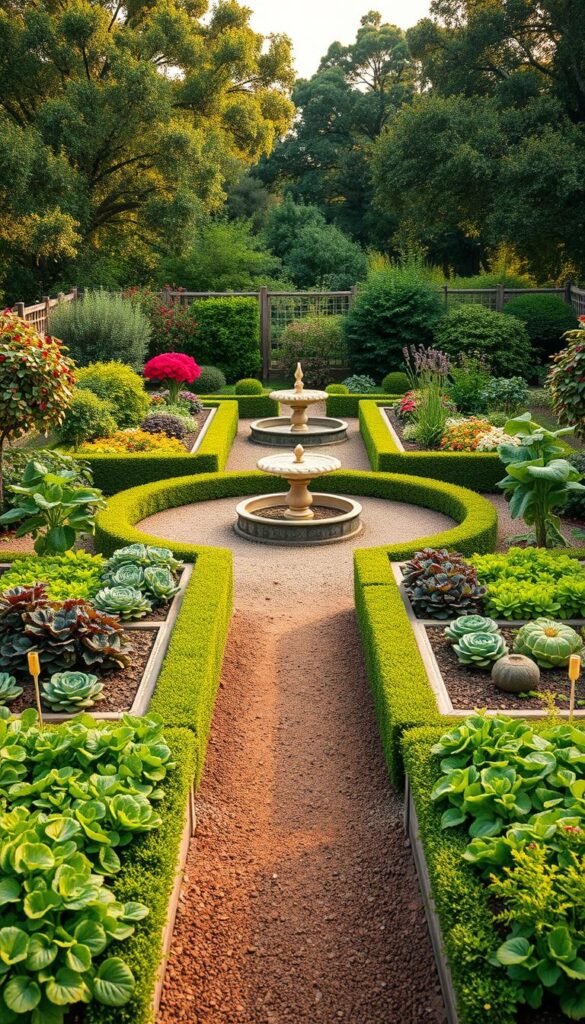
Imagine your plot as a living puzzle where every piece supports the next. Strategic arrangements turn limited areas into thriving ecosystems while adding visual charm. Let’s explore clever patterns that balance beauty with practicality.
Designing in Blocks and Rows
Divide your growing area into four-square zones, each hosting compatible plants. Group tomatoes with basil in one block, carrots with onions in another. This method simplifies crop rotation and pest management. Leave 18-24 inches between blocks for easy access.
For row systems, align plantings north-to-south. Place corn or sunflowers on the northern edge, followed by peppers, then lettuce at the southern end. This height-based arrangement prevents shading while maximizing light exposure. Compare these approaches:
| Method | Best For | Space Saved |
|---|---|---|
| Blocks | Companion planting | 15-20% |
| Rows | Sunlight optimization | 10-15% |
Using Circular and Spiral Designs
Create a wheel-shaped plot with four pie-shaped beds. Paths from each direction meet at a central compost bin, making maintenance effortless. The curved edges let you squeeze in 20% more plants than rectangular setups.
Build a spiral herb garden using stones or bricks. Start with rosemary at the top (drier conditions) and progress downward to moisture-loving mint. This single structure accommodates multiple types while becoming a conversation piece. Pair these ideas with square foot techniques for ultimate space mastery.
Maximizing Space with Raised Beds and Square Foot Gardening
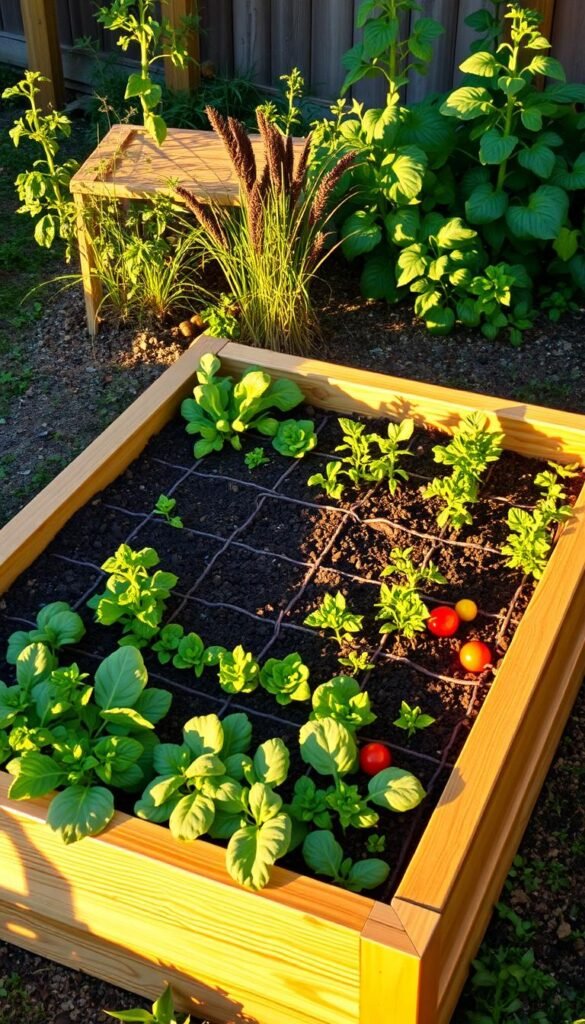
Turning tight corners into productive plots starts with smart structural choices. Elevated growing systems let you bypass poor ground conditions while squeezing more crops into your available area. Two methods stand out for urban growers and small-space enthusiasts: raised beds and the square foot technique.
Advantages of Raised Beds
These framed growing zones solve multiple challenges at once. Their elevated nature improves drainage—critical for preventing root rot during rainy seasons. You’ll maintain soil quality more easily since amendments stay contained within the bed’s borders.
Build your frame using rot-resistant cedar or modern recycled plastic. A 4×8-foot base keeps plants within easy reach from both sides. Depth matters: 10-12 inches accommodates most roots while allowing proper aeration. For a step-by-step raised bed construction guide, focus on untreated materials that won’t leach chemicals into your crops.
Optimizing the Square Foot Method
This precision planting approach eliminates guesswork. Divide your bed into 1×1-foot grids using string or thin wood strips. Each square hosts a specific number of plants based on their mature size:
| Plant | Traditional Spacing | Square Foot Count |
|---|---|---|
| Lettuce | 12″ apart | 4 per square |
| Carrots | 3″ apart | 16 per square |
| Tomatoes | 24″ apart | 1 per square |
Deeper beds (12-18 inches) support root vegetables like potatoes. This method prevents overcrowding while letting you grow 5x more varieties than traditional rows. Combine it with raised beds for ultimate space efficiency and easier maintenance.
Exploring Vertical and Container Gardening Options
When ground space is scarce, look upward—your next harvest might be hanging right above you. Vertical systems and portable containers let you cultivate fresh flavors in unlikely spots, from fire escapes to narrow patios. These methods turn walls and railings into productive zones while keeping care routines manageable.
Vertical Gardening Benefits and Techniques
Growing upward saves precious square footage while improving air circulation. Trellises support climbing plants like pole beans and cucumbers, directing their energy into prolific fruit production. Wall-mounted pockets or repurposed shelves become homes for strawberries or compact herbs.
Choose lightweight structures for balconies—bamboo poles or nylon nets work well. Maintain moisture levels with drip irrigation or self-watering planters. This approach reduces soil-borne diseases and makes pest checks easier at eye level.
Setting Up a Container Garden
Pots and baskets offer flexibility to chase sunlight across your space. Use 5-gallon buckets for tomatoes or fabric grow bags for root crops. Group top vegetables for compact areas like cherry tomatoes and dwarf peppers near seating areas for easy snacking.
Water container plants deeply every morning during heatwaves. Mix slow-release fertilizer into potting soil to sustain hungry growers. Rotate pots weekly to prevent lopsided growth toward light sources.

