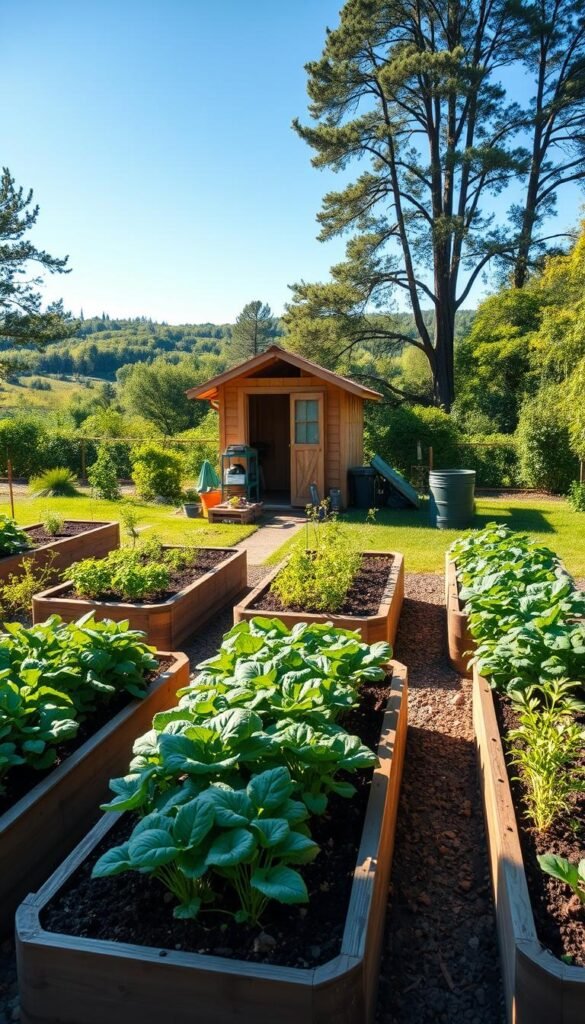
There’s nothing quite like biting into a sun-warmed tomato you nurtured from seed or crunching a carrot pulled straight from your backyard. Growing your own food isn’t just rewarding—it’s a surprisingly accessible hobby that anyone can try. You don’t need a green thumb or endless hours to start. With a little planning and the right choices, your first garden can thrive.
Many new growers worry about costs or complexity, but success often comes down to smart decisions. Start small with crops that match your climate. For example, selecting disease-resistant varieties can prevent up to 70% of crop loss. Even your soil matters—adding compost triples yields in some cases!
Location plays a huge role. Most plants need 6+ hours of sunlight, but microclimates like south-facing slopes can boost growth. The USDA’s zone map helps identify frost dates, but local factors matter too. A zucchini plant in Texas faces different challenges than one in Maine.
Remember, every gardener learns through trial and error. Your first harvest might be modest, but each season builds confidence. Focus on easy wins like leafy greens or bush beans before tackling fussier crops. Soon, you’ll be savoring meals flavored with your own hard work—and maybe sharing extras with neighbors!
Understanding Your Gardening Zone and Site Selection
Unlocking your garden’s potential begins with three key elements: sun, soil, and water. These factors shape what grows where—and how well. Your local climate zone acts like a roadmap, guiding planting dates and crop choices. Check the USDA Plant Hardiness Zone Map to find your number, then cross-reference it with seed packets or nursery tags.
Sunlight: The Ultimate Growth Engine
Track shadows in your yard for a full day. Most crops need 6-8 hours of direct sun—tomatoes and peppers crave even more. Leafy greens tolerate partial shade but grow faster with extra light. South-facing spots often work best, though microclimates matter. Avoid spaces where trees or buildings block rays after noon.
Soil and Water: Your Garden’s Foundation
Dig a test hole after rain. If water pools for hours, you’ll need raised beds or compost to improve drainage. Ideal earth crumbles like chocolate cake—not sticky or sandy. Mix in organic matter if needed. Keep your plot near a water source: crops drink one inch weekly, and hauling cans gets old fast.
Watch for problem areas like compacted soil from foot traffic or windy corners that dry plants out. Your local extension office offers free soil tests and tailored advice. They’ll help you turn challenges into advantages, ensuring your space works smarter, not harder.
Designing Your Garden Layout for Success
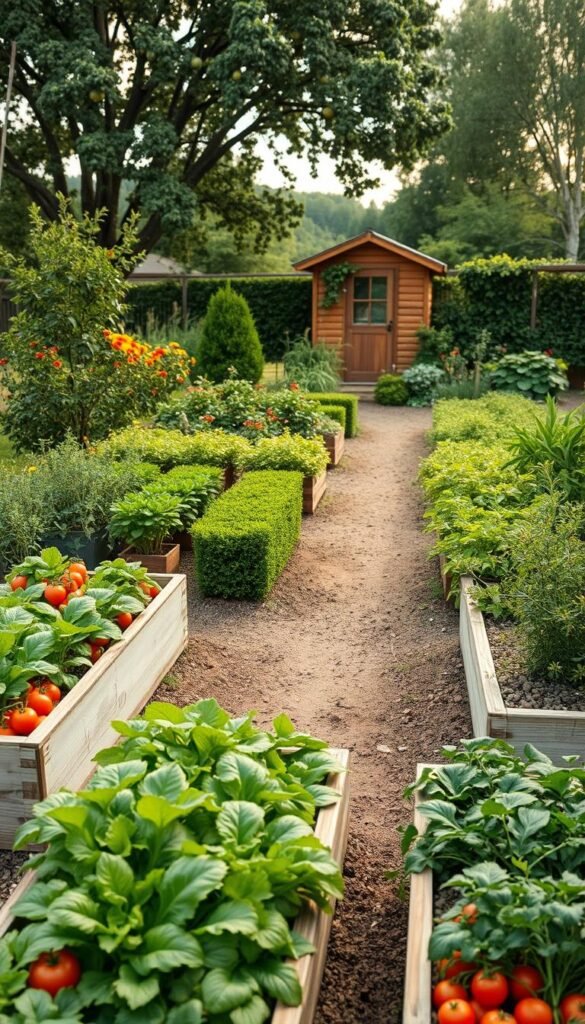
Your garden’s layout can make or break your harvest. Smart spacing and thoughtful organization help plants thrive while saving you time. Let’s explore how to arrange your growing space for maximum results.
Raised Beds vs. In-Ground Gardens
Raised beds give you complete control over soil quality and drain faster than ground plots. They warm up earlier in spring, letting you plant sooner. But they dry out faster—expect to water 30% more often.
| Features | Raised Beds | In-Ground |
|---|---|---|
| Soil Control | Custom mixes | Native earth |
| Water Needs | High | Moderate |
| Startup Cost | $40-$100 | $0-$20 |
In-ground plots work better for large crops like corn or melons. They’re cheaper to start but harder to weed. Choose based on your budget and back strength!
Planning Efficient Paths and Planting Areas
Keep pathways 18-24 inches wide—wide enough for a wheelbarrow. Group thirsty plants like tomatoes near water sources. Use containers for herbs and salad greens if space is tight.
Try these starter sizes:
- 4×4 ft raised bed: 16 sq ft
- 10×10 ft ground plot: 100 sq ft
- 12-inch pots: 1-2 plants each
Place tall crops on the north side to avoid shading others. Remember: small spaces often yield big rewards when planned well!
Selecting Vegetables that Thrive in Your Region
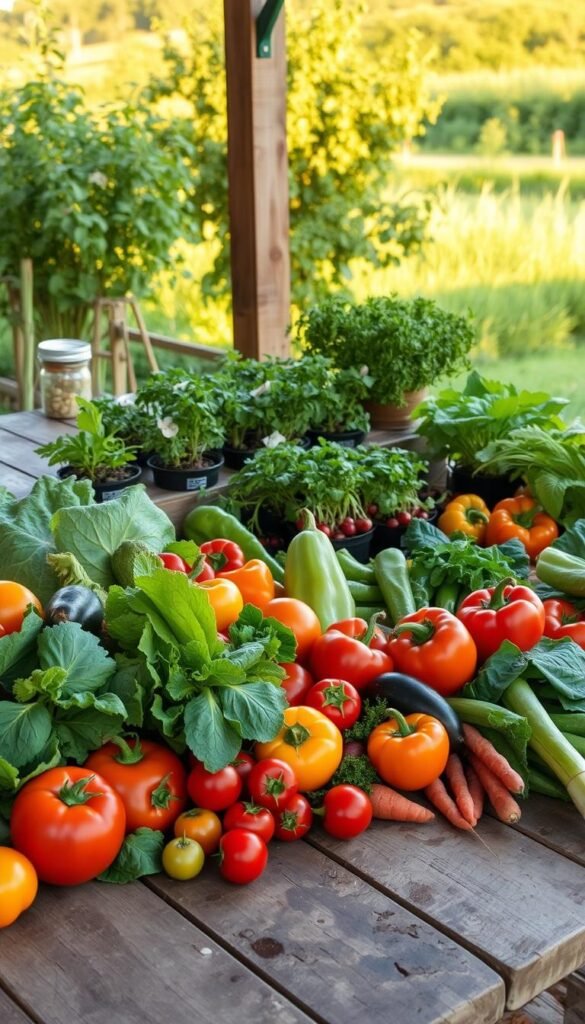
Every region has its garden champions that grow with minimal fuss. Your local climate determines which crops will flourish—cool-weather favorites like lettuce bolt in heat, while peppers crave long summers. Start by matching your choices to nature’s patterns for better yields and fewer headaches.
| Top Picks | Key Traits | Harvest Time |
|---|---|---|
| Green Beans | Heat-tolerant, pest-resistant | 50-60 days |
| Cherry Tomatoes | VFN disease resistance | 60-70 days |
| Spinach/Kale | Cold-hardy, repeat harvest | 30-45 days |
Look for codes like VFN on tomato tags—these letters signal resistance to common diseases. Seed packets often list regional adaptability notes. Your state’s Cooperative Extension Service offers free planting calendars showing ideal varieties for each season.
Balance what you love eating with what grows well. Zucchini produces heavily but needs space, while radishes offer fast results in tight spots. Focus on high-value crops like fresh herbs that cost more at stores.
Start with 3-5 reliable types before expanding. As you gain experience, you’ll learn which plants become local superstars in your unique microclimate.
Vegetable Gardening for Beginners: Picking the Right Crops for Your Zone
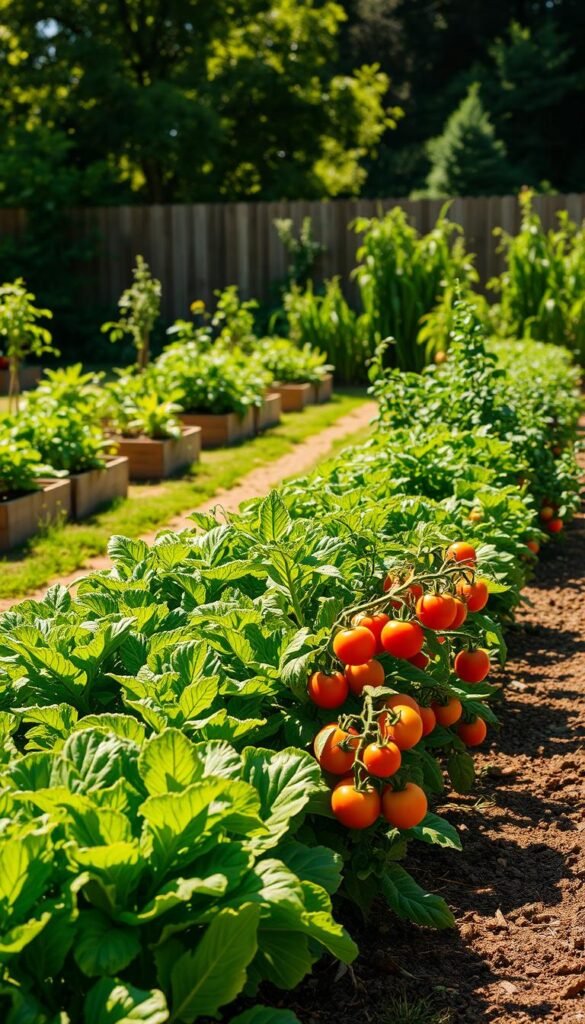
Your garden should reflect your dinner plate. Start by listing what your household actually eats—there’s no prize for growing unpopular veggies. If salsa nights are family favorites, prioritize cilantro and jalapeños over crops that’ll sit uneaten.
Focus on Flavor and Value
Some plants deliver unbeatable freshness. Homegrown lettuce stays crisp for weeks, while vine-ripened tomatoes burst with flavor. Herbs like basil cost $3 per bunch at stores but grow abundantly from a $2 packet of seeds.
Try this simple formula:
- High-value: Cherry tomatoes, salad greens, snap beans
- Low-priority: Potatoes, onions, cabbage (cheap to buy)
Match Plants to Your Reality
New Englanders might focus on cold-hardy kale, while Texans choose heat-loving okra. Check your last frost date and count backward from harvest times. Bush beans work well in short seasons, yielding pods in 50 days.
Three rules to avoid glut:
- Plant 2-3 lettuce heads per person
- Limit zucchini to 2 plants per household
- Grow herbs in pots for portion control
Mix reliable staples with one exotic crop each year—try purple carrots or lemon cucumbers. You’ll enjoy discoveries without overwhelming your routine.
Mastering Planting Dates and Seasonal Strategies
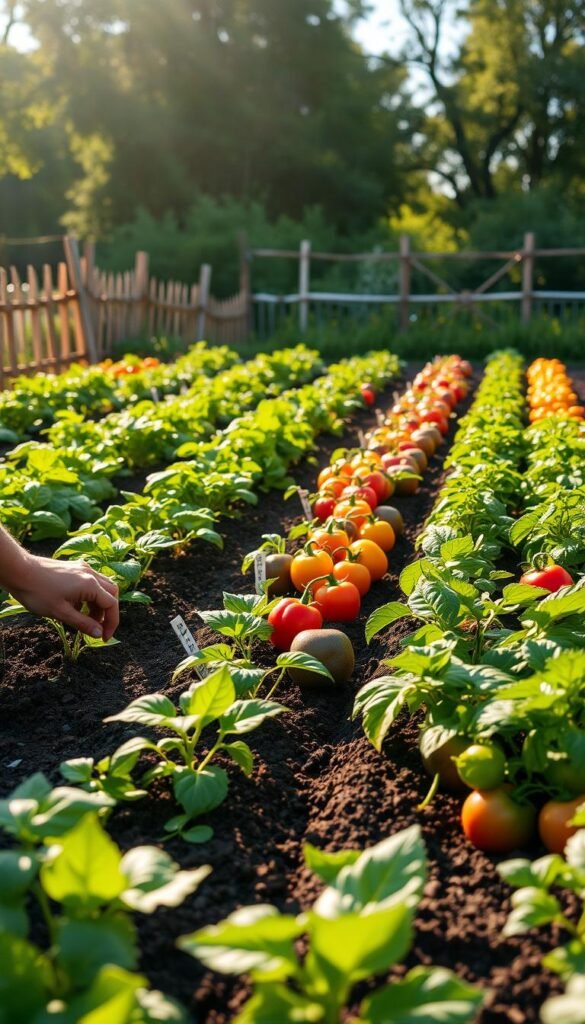
Timing transforms hopeful planting into reliable harvests. Knowing when to sow each crop prevents frost damage and maximizes yields. Let’s break down how to align your schedule with nature’s rhythm.
Cool-Season and Warm-Season Planting Guidelines
Cool-season crops thrive when temperatures stay below 70°F. Plant these in early spring as soon as soil can be worked, and again in late summer for fall harvests. Top performers include:
- Leafy greens: Spinach, kale, and lettuce
- Root vegetables: Carrots, radishes, and beets
- Brassicas: Broccoli, cauliflower, and Brussels sprouts
Warm-season varieties demand patience—wait until after your last spring frost date. These heat-lovers need soil above 60°F and air temps consistently above 70°F. Key players:
- Nightshades: Tomatoes, peppers, and eggplant
- Vining crops: Cucumbers, squash, and melons
- Legumes: Bush beans and southern peas
Find your local frost dates using tools like the USDA’s Last Frost Date Calculator. Most areas have 120-180 frost-free days—plan accordingly! Stagger plantings every 2-3 weeks for continuous harvests.
Extend your growing season with simple tricks:
- Use row covers to protect early spring plantings
- Try cold frames for late fall crops
- Plant against south-facing walls for extra warmth
Remember: Soil thermometers cost less than replacing frostbitten plants. Test ground temps at 2″ depth before sowing sensitive seeds!
Deciding Between Seeds and Transplants
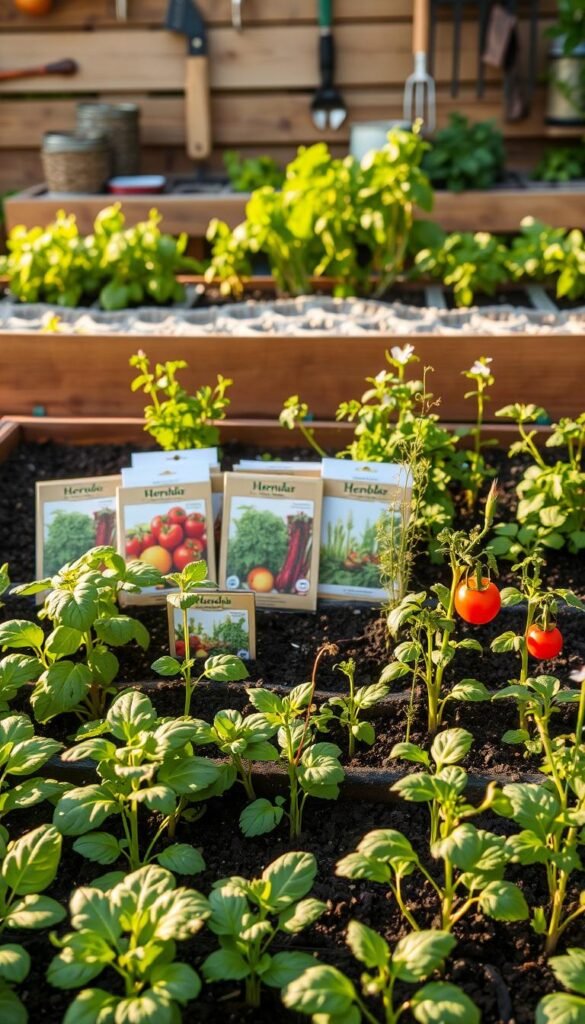
Your seed choices set the stage for garden success. Each method offers unique benefits—seeds unlock endless variety, while transplants jumpstart growth. Let’s explore how to pick the best option for your plot.
Seed Starting: Cost vs. Control
Seeds cost 80% less than store-bought plants and offer 10x more variety. Sow directly into soil for carrots, beans, or radishes. Follow packet instructions: most need planting 2-3 times deeper than their size. Use starter trays indoors 6 weeks before frost ends for tomatoes or peppers.
| Factor | Seeds | Transplants |
|---|---|---|
| Cost | $0.10-$2 per pack | $3-$6 per plant |
| Time to Harvest | Longer | 2-4 weeks faster |
| Best For | Root crops, peas | Tomatoes, broccoli |
Transplanting Made Simple
Pre-grown plants save 3-6 weeks of growing time. Harden off store-bought starters by exposing them to outdoor conditions gradually. Dig holes twice as wide as the root ball. Water immediately after planting, then shield from midday sun for 2 days.
Three crops that hate transplanting:
- Carrots (forked roots)
- Beets (stunted growth)
- Spinach (bolt-prone)
Mix both methods for balance. Start zucchini from seeds in warm soil, but use nursery-grown eggplants to beat short seasons. Your local frost dates determine which approach works best—check planting calendars for precise timing.
Essential Gardening Practices: Watering, Mulching, and Fertil
The secret to thriving plants lies in consistent care routines. Water deeply but less frequently—this encourages roots to grow downward. Early morning is best, reducing evaporation and fungal risks. A drip system or soaker hose delivers 50% more water to roots than overhead sprinklers.
Spread 2-3 inches of organic mulch around plants once soil warms. Straw or shredded leaves keep soil moist and suppress weeds. Avoid piling it against stems—this invites pests. Refresh mulch monthly during peak growth.
Feed plants with balanced nutrients every 4-6 weeks. Compost tea or slow-release granules work better than synthetic spikes for most crops. Test soil yearly to avoid over-fertilizing. Leaf color tells the story: yellow often means nitrogen shortage.
Remember—plants want stability. Sudden changes in watering or feeding stress them. Start small, observe responses, and adjust gradually. Your care routine becomes second nature with practice, letting you focus on the joy of fresh harvests.

