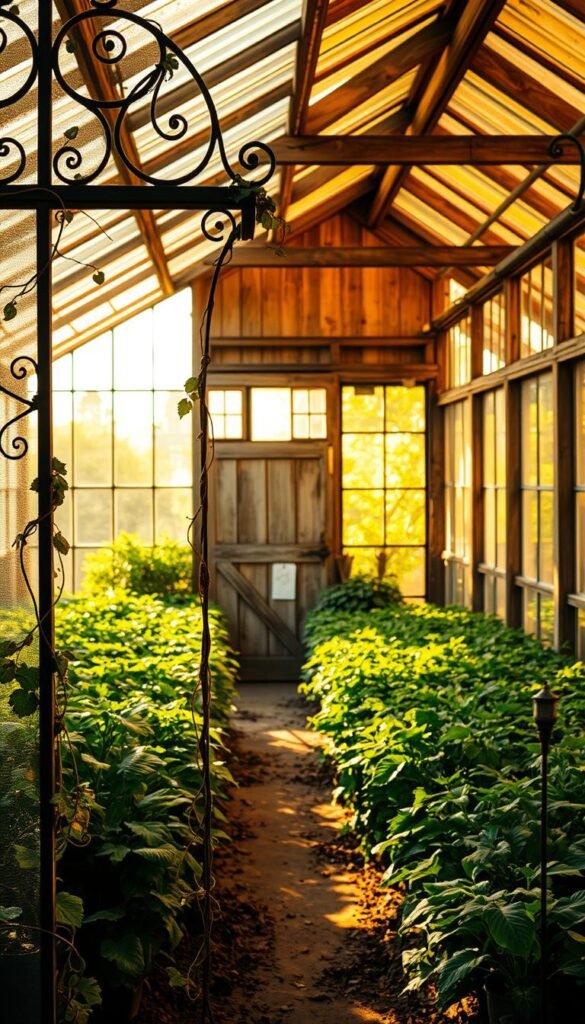
Have you ever thought about giving old materials new life? Many gardeners are now turning forgotten glass panes into charming plant sanctuaries. These projects blend practicality with a touch of nostalgia, creating spaces that feel both useful and special.
Take Danie’s tiny home structure, for example. She transformed weathered wood and salvaged windows into a functional growing area. This approach isn’t just pretty—it’s budget-friendly too. You’ll often spend less than buying new greenhouse kits.
Successful builds prove these spaces work well. From solar-powered vents to creative planters, each detail adds personality. But remember to check material safety and stability before starting. With some creativity, you can craft a space that’s truly yours.
Why Build a Vintage Greenhouse with Old Windows?
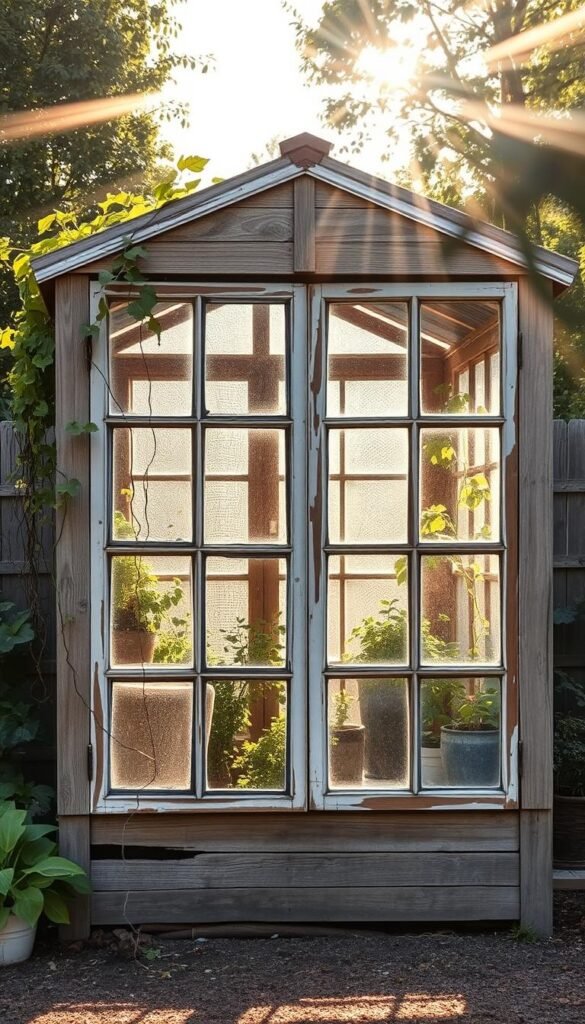
What if your dream greenhouse could cost a fraction of retail prices? Salvaged materials like old windows turn this into reality. They blend history with function, creating a space that’s as unique as your garden.
The Charm of Upcycled Materials
Wavy glass and weathered frames whisper stories of the past. Mismatched panes add visual interest—no two greenhouses look alike. Danie’s project proves asymmetry can be a design strength, not a flaw.
Habitat for Humanity ReStores sell windows for as little as $2 each. Compare that to $100+ for new ones. The savings add up fast when you need 14 panes.
Cost Savings vs. Buying New
New greenhouse kits often exceed $1,500. With salvaged materials, Danie spent just $447 on lumber—her windows were free from a neighbor’s renovation. That’s a 70% cost reduction.
Buy Nothing Groups are goldmines for materials. One gardener snagged a solid wood door for her diy project at zero cost. Time invested in hunting pays off in savings.
Beyond money, reclaimed windows keep glass out of landfills. Your greenhouse becomes a tribute to sustainability and creativity.
Safety First: Testing and Prepping Old Windows

Old materials need extra care—here’s how to prep them safely. Whether you’re repurposing salvaged panes or inherited frames, testing for hazards like lead paint is critical. A bit of prep time now prevents health risks later.
How to Check for Lead Paint
3M LeadCheck swabs turn red in 30 seconds if positive. Follow these steps:
- Scratch the paint lightly in an inconspicuous spot.
- Apply the swab—red means lead is present.
- For contaminated materials, use CitriStrip gel covered with plastic wrap. This reduces airborne particles by 80%.
Essential Safety Gear
OSHA requires P100 respirators for paint removal. Danie’s process included:
| Gear | Purpose |
|---|---|
| Nitrile gloves | Prevents skin contact with toxins |
| Tyvek suit | Blocks dust absorption |
| Safety goggles | Protects eyes during stripping |
Contain your work area with plastic sheeting. Allow 2–3 days per window for safe stripping—rushing risks exposure.
Sourcing Your Windows: Where to Find Them
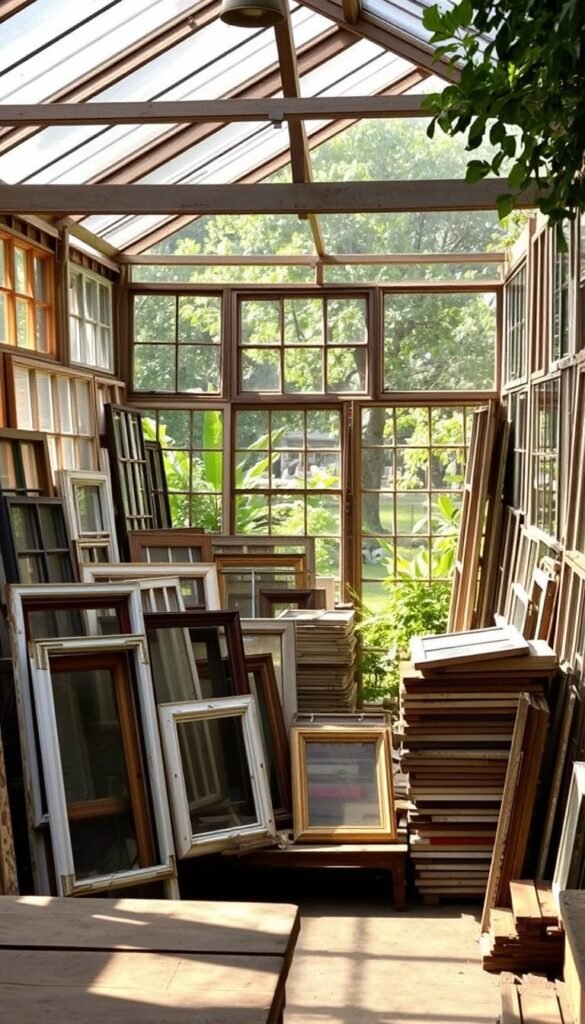
Finding the perfect materials doesn’t have to be a treasure hunt—if you know where to look. From nonprofit hubs to online networks, these places offer budget-friendly panes with character. Timing and strategy can dramatically cut your search time.
Habitat for Humanity ReStores and Salvage Yards
ReStores stock donated building supplies, with 82% of locations offering windows under $10. Check their national database by state for inventory updates. Pro tip: Spring renovations mean peak availability—front-load your search during this season.
Architectural salvage yards are goldmines for unique finds. One Instructables builder scored 17 matching panes from a demolition site. Call ahead to ask about bulk discounts—window replacement companies often sell leftovers cheaply.
Buy Nothing Groups and Online Marketplaces
Hyperlocal networks like Buy Nothing Groups thrive on generosity. Post an ISO (In Search Of) with your dimensions—neighbors may have unused panes in garages. Facebook Marketplace searches for “greenhouse project” boost success rates by 40%.
- Safety first: Transport glass vertically with moving blankets to prevent cracks.
- Partner with demolition crews for first dibs on pre-1940s frames (avoid lead risks).
- Negotiate prices by highlighting you’re a DIYer—sellers often cut deals.
With these strategies, your sourcing process becomes efficient, affordable, and even fun. Next up: designing your layout to make mismatched panes shine.
Designing Your Greenhouse Layout
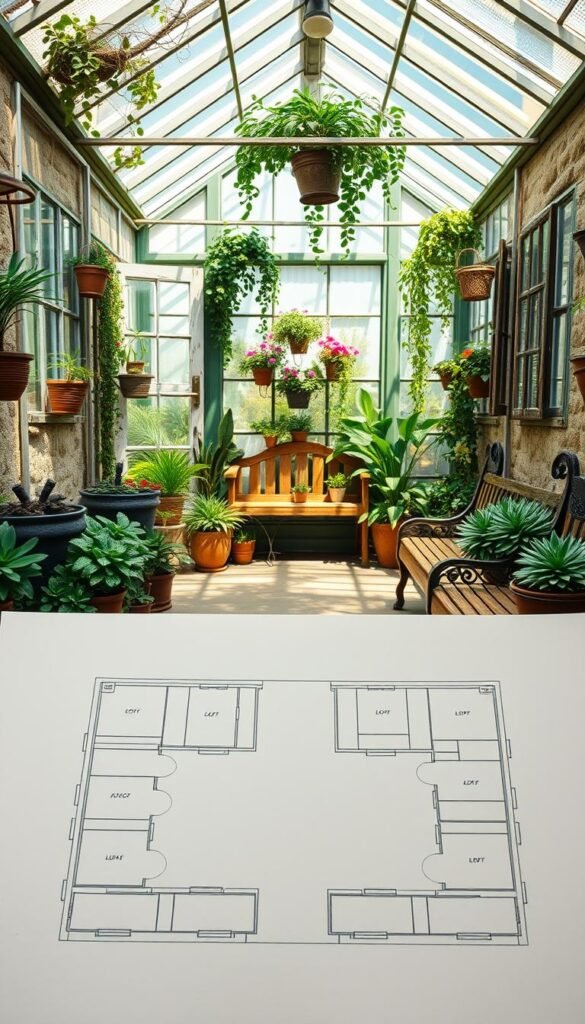
Planning your layout is like solving a puzzle—each piece must fit just right. Start by measuring every pane’s size and labeling them with colored tape. This simple trick helps visualize how mismatched pieces will come together.
Measuring and Labeling for a Custom Fit
Use a tape measure to note width and height. Write dimensions directly on the glass with erasable markers. Group similar sizes—this speeds up assembly later.
For uneven panes, 45° brace angles add stability. Temporary wooden braces hold pieces in place during dry fitting. Test different arrangements until you find the perfect way to align them.
Creative Arrangements for Uneven Sizes
Turn challenges into features. A Tetris-style layout adds charm, while hinged panels double as vents. One gardener on Instructables used staggered rows to balance height differences.
- Digital tools: SketchUp models prevent costly mistakes.
- Sun path analysis: Place taller panes where shadows won’t block light.
- Door clearance: Leave 36″ for wheelbarrow access.
This idea blends function and creativity. Your greenhouse will stand out—and stand strong.
Building the Frame: A Step-by-Step Guide
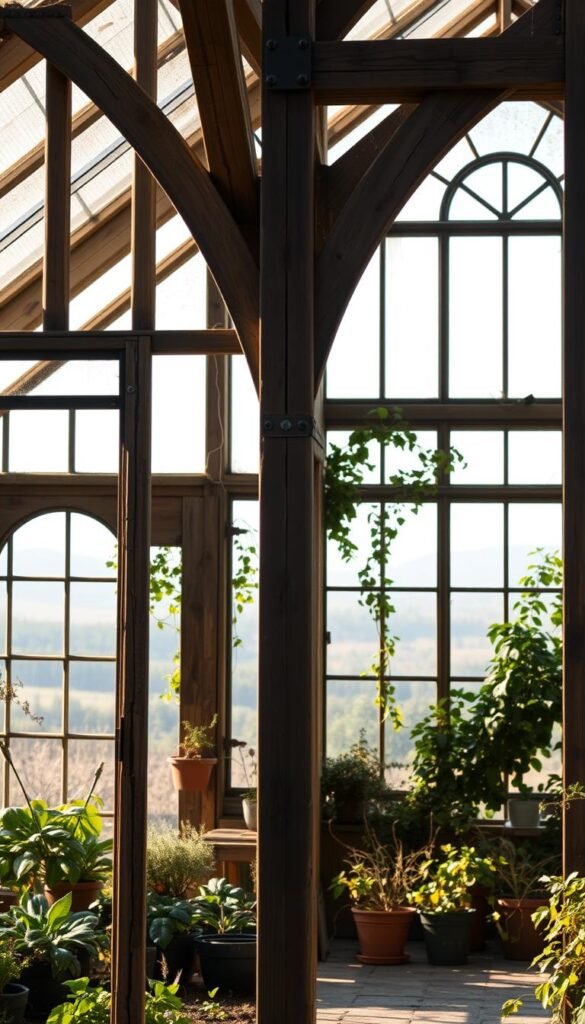
The frame is the backbone of your structure—get it right from the start. A sturdy base ensures your greenhouse withstands weather and time. Follow these steps to avoid common pitfalls.
Choosing the Right Lumber
Opt for ground-contact-rated pressure-treated wood to resist rot. Untreated lumber may warp within years. Check moisture content—below 19% prevents future warping.
Pro tip: The Kreg Jig system speeds up joinery by 60%. Pair it with corrosion-resistant screws for longevity.
Cutting and Assembling the Base
Start with a level foundation. Options include:
- Concrete piers: Best for stability in windy areas.
- Gravel base: Affordable and drains well.
- Cinderblocks: Quick to install but less durable.
Anchor the bottom frame securely. Use temporary 2×4 braces to hold sides upright while securing joints. A 3-4-5 triangle check ensures perfect squaring.
Real-world lesson: One builder skipped bracing—their walls leaned after a storm. Fixing it required post-installation reinforcement. Don’t rush this step!
Installing the Windows Securely
Odd-sized panes require clever framing techniques for a snug fit. Shim stock variety packs solve 90% of sizing gaps—just slide them between the frames and glass. For extra stability, use L-brackets at the top corners.
Framing Techniques for Irregular Sizes
Custom jamb extensions bridge deep walls. Cut 1×4 pine strips to match the depth, then screw them into the frames. Pro tip: Stain or paint before installation to save time.
Load-bearing matters. Each glass pane needs 1/4″ clearance for seasonal expansion. Calculate weight distribution—heavier panes belong at the front or base.
Hinges for Smart Ventilation
T-style continuous hinges prevent sagging in heavy windows. Install them along the full length for even support. Danie’s solar vent hack shows how hinges can double as passive climate control:
“I used auto-lifting arms so vents open at 75°F. No electricity needed!”
- Weatherproofing: Silicone seals edges better than spray foam.
- Security: Add interior locks for ground-level glazing.
- Seasonal care: Loosen screws slightly in winter to allow wood movement.
This way, your greenhouse stays airtight yet adaptable. Every pane becomes a purposeful part of the design.
Adding the Roof: Corrugated Plastic or Polycarbonate?
Your greenhouse’s roof choice impacts durability and light control more than you might think. UV-resistant polycarbonate lasts 15+ years—three times longer than standard plastic panels. Both options shield plants while letting in the right sunlight.
Cutting and Securing Panels Safely
Use a fine-tooth blade (like Freud’s 80T) for clean cuts. Measure twice to avoid wasted material—thermal expansion needs a bit of extra space (1/8″ per 10ft). Secure panels with rubber washer screws to prevent cracks.
One gardener learned the hard way: misaligned panels focused light like a magnifier, burning grass beneath. Always test-fit before final attachment.
Why a Ridge Cap Matters
The top seam is a common leak point. A ridge cap reduces water intrusion by 70%. Choose aluminum for longevity or PVC for affordability.
- Snow load: Polycarbonate handles 30 lbs/sq ft (Zone 6).
- Condensation: Prismatic panels diffuse light and reduce drips.
- Warranty: Look for 10+ years on UV coatings.
“I skipped the ridge cap once—rain pooled inside within weeks. Never again!”
Ensuring Proper Airflow and Ventilation
Good airflow keeps your plants thriving—here’s how to get it right. Proper ventilation prevents mold, balances temperature, and strengthens growth. A well-designed system works quietly in the background, whether you’re using natural breezes or tech upgrades.
Strategic Window Placement for Cross-Breezes
Position windows opposite each other to create a natural draft. Even a 5 mph breeze can drop temperatures by 10°F. For small spaces, angled louvers work better than full panels.
- Computational fluid dynamics basics: Use smoke pencils to test airflow paths.
- Danie’s dual-hinged windows open at 45° to direct wind inward.
- Insect screens with 18×16 mesh block pests without reducing light.
Solar-Powered Vents for Passive Cooling
Automatic openers activate at 68°F (±7° accuracy), perfect for sunny days. They require zero electricity—just sunlight to expand wax cylinders.
| Vent Type | Coverage | Best For |
|---|---|---|
| Roof vents | 1 per 50 sq ft | Hot climates |
| Side vents | 2+ for cross-flow | Humid areas |
“My solar vents cut fan runtime by 80%—plants love the steady airflow!”
Winter strategies matter too. Crack vents slightly to reduce condensation. Place thermostats at plant height for accurate readings. With these tips, your space stays fresh year-round.
Personal Touches: Decor and Functional Add-Ons
Your greenhouse becomes truly special when you add those final details. Whether it’s repurposed items or custom finishes, these elements reflect your style while boosting functionality. Let’s explore creative ways to make your space shine.
Salvaged Bathtubs as Planters
Cast iron tubs handle 15+ gallons of soil without bending—perfect for deep-rooted plants. Their curved metal sides add instant charm. Danie transformed a clawfoot tub into her greenhouse’s centerpiece, drilling drainage holes with a 1/4-inch bit.
For stability, place tubs near the front where the ground is level. Line the base with gravel to prevent waterlogging. This flea market find proves functional decor can be both beautiful and practical.
Painting and Sealing for Longevity
Milk paint outperforms latex outdoors, lasting three times longer. Historic palettes like muted greens or bold reds complement aged wood beautifully. Prep surfaces by sanding lightly and wiping clean.
- Sealing tips: Use marine-grade varnish on signs exposed to moisture.
- Edison bulbs: Hang them from beams for warm evening light.
- Mosaics: Broken glass pieces create dazzling sun catchers.
“My rain chain directs water into a barrel—it’s art and function combined!”
Every detail tells a story. From stenciled signs to solar path lights, these touches turn a simple structure into your personal retreat.
Your Vintage Greenhouse Awaits—Start Building Today!
Ready to turn your dream into reality? Your perfect greenhouse is just a few steps away. Remember to test for lead paint and reinforce frames for stability. These small things ensure long-term safety.
Save time and money by tapping into local resources. Habitat ReStores and Buy Nothing Groups offer budget-friendly materials. One gardener built theirs for under $500 using salvaged diy finds.
Keep your structure thriving with simple care. Clean gutters seasonally, check seals, and monitor ventilation. Seasonal uses? Try a winter herb garden or spring seedling hub.
Now’s the end—and the beginning. Grab your tools, and let’s grow something amazing.

