Central North Carolina’s climate offers endless opportunities for growing fresh produce. With three distinct growing seasons—spring, summer, and fall—you can cultivate a thriving garden nearly year-round. But success hinges on knowing exactly when to start seeds or transplant seedlings.
Cool-weather crops like kale and carrots thrive in early spring and fall, while tomatoes and peppers demand summer’s heat. Timing mistakes—like planting too early or late—can leave plants battling frost or wilting in scorching sun. Matching your schedule to local temperature shifts ensures roots establish quickly and yields stay abundant.
This practical resource simplifies seasonal strategies for your region. You’ll learn how day length, soil warmth, and frost dates shape planting windows. Discover which varieties perform best during each growing phase and how to stagger crops for continuous harvests.
By aligning your efforts with nature’s rhythms, you’ll reduce pest issues and boost productivity. Whether you’re nurturing leafy greens or juicy melons, smart timing transforms your backyard into a reliable food source. Let’s explore how to make every season count.
Understanding Your Growing Seasons
Mastering your local climate patterns unlocks year-round harvest potential. Plants naturally split into two groups: those that thrive in crisp air and others demanding summer’s intensity. Knowing which category your favorites belong to makes all the difference between sparse yields and overflowing baskets.
Cool Season vs. Warm Season
Leafy greens like spinach and kale flourish when temperatures dip into the 50s. These hardy cool-season plants can handle light frosts—some even sweeten after a freeze! Broccoli and peas planted in early spring or late summer develop crisp textures and vibrant flavors.
| Type | Examples | Ideal Temp Range | Frost Tolerance |
|---|---|---|---|
| Cool-Season | Kale, Carrots, Radishes | 50-70°F | Survives down to 20°F |
| Warm-Season | Tomatoes, Peppers, Cucumbers | 65-90°F | Killed by frost |
Benefits of Seasonal Gardening
Staggering plantings across spring and fall extends your harvest window dramatically. You’ll enjoy fresh lettuce long after summer heat fades, then welcome tomatoes just as days peak. This approach also naturally reduces pests—most insects target specific growth stages.
“Rotating crops with the seasons keeps soil nutrients balanced and plants thriving.”
By aligning with your growing season rhythms, you create a self-sustaining cycle. Hardy greens shield soil in winter, while summer vines shade roots from scorching sun. Each season’s end prepares the stage for the next act in your garden’s annual performance.
Exploring the Basics of Vegetable Gardening
Growing your own fresh produce begins with mastering a few foundational skills. Whether you’re working with a spacious backyard or a sunny windowsill, success starts with smart preparation and choosing methods that fit your lifestyle.
Essential Gardening Supplies
You don’t need fancy gear to get started. Focus on these basics:
| Starter Tools | Advanced Add-Ons | Must-Have Extras |
|---|---|---|
| Hand trowel | Soil pH tester | Quality potting mix |
| Watering can | Drip irrigation kit | Organic fertilizer |
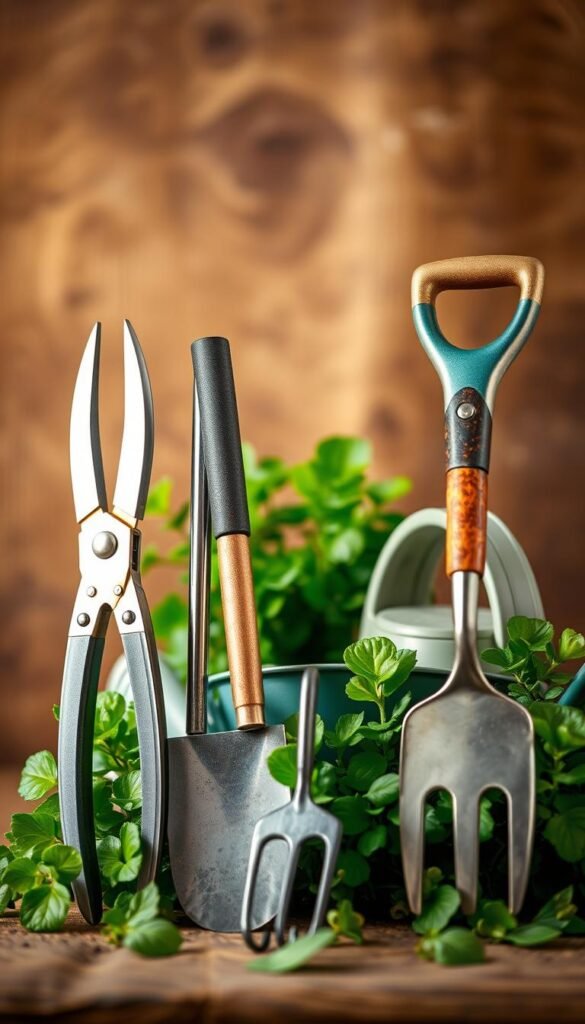
| Pruning shears | Raised bed kits | Seed-starting trays |
Even a small investment in durable tools pays off. Pair them with healthy soil and seeds from a trusted beginners’ guide to vegetable gardening, and you’re ready to grow.
Finding Your Ideal Garden Style
Match your space and energy levels with these popular setups:
| Style | Space Needed | Maintenance Level |
|---|---|---|
| Container gardens | 1-10 sq ft | Low |
| Raised beds | 20-100 sq ft | Moderate |
| In-ground plots | 100+ sq ft | High |
Balcony gardeners often thrive with pots of cherry tomatoes and herbs. Those with limited mobility might prefer waist-high planters. Remember: Consistent care matters more than scale. Start small, learn what works, then expand.
Soil Preparation and Site Selection
Your garden’s success starts beneath your feet. Healthy soil and smart location choices create the foundation for vigorous growth. Let’s explore how to set up your space for maximum productivity.
Testing and Amending Your Soil
Begin with a soil test from your local N.C. Cooperative Extension office. This reveals pH levels and nutrient gaps—like a health checkup for your garden’s foundation. Most vegetables thrive in slightly acidic soil (6.0-6.8 pH).
Mix in 3-4 inches of compost or aged manure to improve drainage and fertility. Organic matter acts like a sponge, holding moisture while letting roots breathe. For clay soils, add coarse sand to prevent waterlogging.
Maximizing Sunlight and Water Access
Choose a spot with 8+ hours of direct sun daily. Leafy greens manage with 6 hours, but tomatoes and peppers crave 10 hours for explosive growth. Use a sun-tracking app or simply observe shadows throughout the day.
Keep water sources within 25 feet—dragging hoses gets old fast. Install drip irrigation or soaker hoses for consistent moisture. Avoid planting near trees where roots steal nutrients and cast shade.
“Great gardens grow where preparation meets opportunity. Test your soil early, and you’ll harvest rewards all season.”
Pair your ideal site with well-suited plant varieties for a thriving ecosystem. Remember: loose, fertile earth and smart placement reduce pest issues naturally.
How to Choose the Best Seeds and Transplants
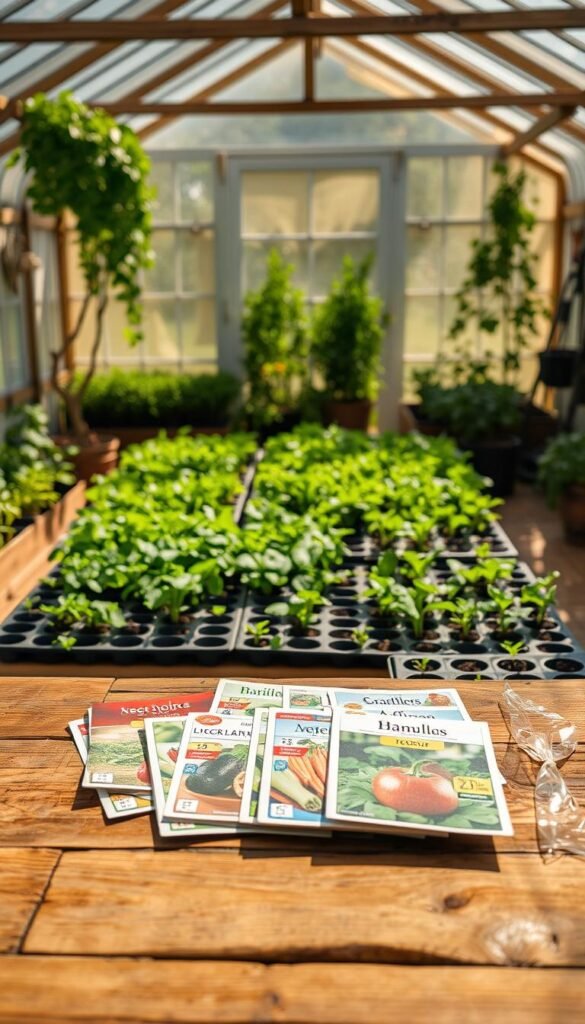
Smart seed and transplant choices set your garden up for success from day one. Look for labels with disease resistance codes like V (Verticillium wilt) or F (Fusarium) – these letters act as armor against common threats. Breeders design these hardy varieties to outlast pests and infections that might ruin your harvest.
Seeds give you endless options at lower costs. You’ll discover heirloom carrots or purple green beans that local nurseries rarely stock. Many root crops like radishes grow best when sown directly – their delicate roots hate being moved.
| Features | Seeds | Transplants |
|---|---|---|
| Cost | $2-5 per packet | $3-8 per plant |
| Variety Options | 500+ types | 50-100 types |
| Time to Harvest | Longer | 2-4 weeks faster |
| Best For | Carrots, beans, squash | Tomatoes, peppers, herbs |
Transplants offer instant gratification. Grab nursery-grown tomatoes in April, and you’ll pick fruit weeks before seed-started plants. Check stems for sturdiness and leaves for vibrant color – weak starters rarely recover.
Balance pest resistance with flavor preferences. A blight-proof tomato means nothing if your family hates its taste. Mix both methods: start heat-lovers as transplants, then sow quick-growers like lettuce from seeds every 3 weeks.
Creating a Custom Planting Calendar
Transform your backyard into a year-round buffet by syncing your schedule with nature’s timetable. Local climate quirks and soil conditions demand personalized planning—this isn’t a one-calendar-fits-all situation.
Mapping Your Garden Layout
Sketch your space like a battlefield commander. Mark sun patterns, wind directions, and water access points. Color-code zones for quick-growing greens versus sprawling squash vines.
| Task | Benefit | Timing |
|---|---|---|
| Soil prep notes | Avoids nutrient depletion | 2 weeks before sowing |
| Companion planting chart | Natural pest control | During layout design |
| Succession markers | Prevents empty beds | At each harvest |
Utilizing Local Extension Resources
Your state’s agricultural extension office holds golden data. Their free planting calendars list exact dates for 120+ crops—down to your county’s last frost averages. Master Gardeners often host free workshops on seed-starting tricks.
Pair their charts with your observations. Track bloom times of native dogwoods—they signal perfect soil warmth for beans. Record microclimate surprises like that shady corner where lettuce thrives in July heat.
“Extension agents helped me stretch our harvest season by six weeks through strategic interplanting.”
Sync digital tools with paper backups. Set phone alerts for transplant windows, but keep a wall calendar for visual tracking. When hail wipes out seedlings, you’ll know exactly which planting dates still work for replacements.
When to Plant Vegetable Garden Crops: A Seasonal Planting Guide
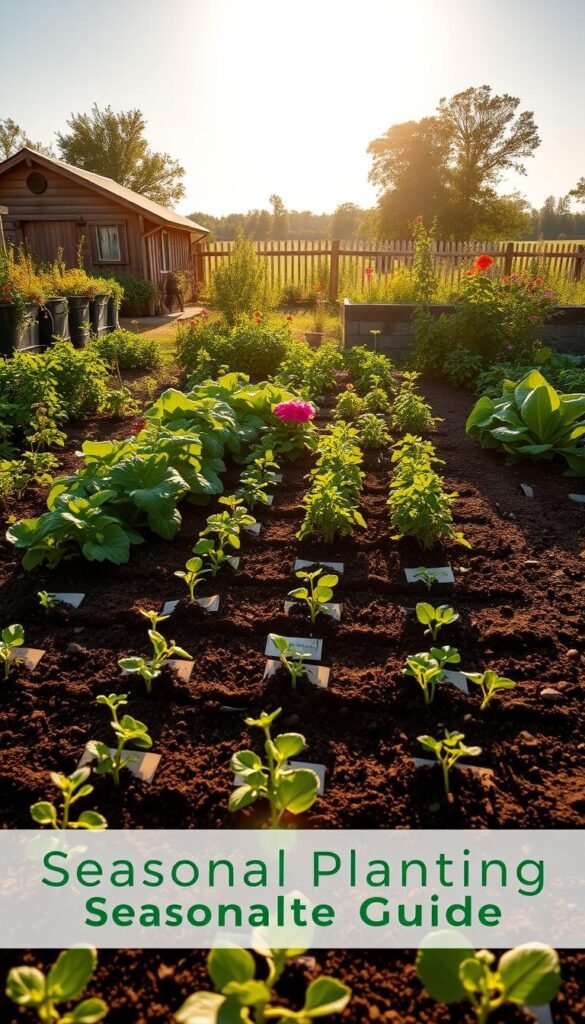
Timing your garden activities to match nature’s calendar boosts yields and minimizes headaches. Think of recommended dates as your starting line—not an unbreakable law. Local weather patterns and soil conditions will nudge your schedule earlier or later each year.
Cool-weather favorites like spinach thrive when planted between March 1-20 in Central NC. Wait until April 15-May 10 for heat-lovers like eggplants. Sticking to the middle third of these windows gives roots time to establish before extreme temperatures hit.
| Season | Crop Type | Date Range | Success Rate |
|---|---|---|---|
| Spring | Peas, Lettuce | Feb 25-Mar 20 | 85% |
| Summer | Tomatoes, Okra | Apr 25-May 15 | 90% |
| Fall | Kale, Beets | Aug 10-Sep 5 | 78% |
Watch for these signs to fine-tune your schedule:
- Daffodils blooming = soil ready for peas
- Dogwood leaves unfolding = time for beans
- First maple color changes = plant garlic
Fall brings a flavor bonus—cool nights make broccoli sweeter and carrots crunchier. Start these cool-season stars in late summer so they mature before frost. Leave wiggle room in your plans—if April stays chilly, delay squash by a week.
“I track soil temps with a $10 thermometer. 55°F means go-time for potatoes!”
Remember: Your best harvests come from observing local conditions, not just printed calendars. Keep a journal noting bloom times and weather shifts—it’ll become your personalized planting bible.
Special Considerations for Transplants and Seedlings
Giving your young plants the right start makes all the difference between thriving crops and disappointing results. These delicate greens need extra care during their transition from controlled environments to outdoor beds.
Starting Seeds Indoors
Begin your seeds six to eight weeks before moving them outside. This head start lets seedlings develop sturdy stems and robust roots. Bury each seed just two to three times its thickness—too deep, and they’ll struggle to surface.
Use trays with drainage holes and keep soil consistently moist. A sunny windowsill works, but grow lights prevent leggy stems. Rotate containers daily for even growth.
Hardening Off Your Transplants
Sudden moves shock tender transplants. Instead, acclimate them over seven days. Start with one hour of morning sun, then increase exposure daily. Bring plants indoors if nights dip below 50°F.
Watch for wilting or sunburn—these signal it’s time to retreat to shade. After a week, your greens will handle full outdoor conditions. Always check the forecast before final transplanting.
By mastering these steps, you’ll turn fragile starters into resilient producers. Your patience during these critical weeks pays off with earlier harvests and healthier plants all season.

