Creating a thriving outdoor oasis starts with smart foundational choices. The materials you choose for your planting areas determine whether they’ll become a seasonal eyesore or a decades-long partner in your growing journey.
Many beginners underestimate how lumber quality affects their plants’ health. Rot-resistant options prevent chemical leaching into soil, while poorly treated boards can crumble within two seasons. You’ll want materials that withstand moisture and pests without compromising your veggies’ safety.
This guide reveals exactly what separates premium building supplies from bargain-bin disappointments. We’ll explore natural resistance ratings, thickness considerations, and cost-effective alternatives that outperform traditional choices. Discover why some homeowners replace their structures every spring while others enjoy harvests from the same beds for 15+ years.
By understanding these principles, you’ll avoid common pitfalls like warping boards or contaminated soil. Transform your backyard into a productive ecosystem that matures like fine wine – getting better with each growing season.
Understanding the Benefits of Raised Garden Beds
Elevated planting areas offer more than just convenience—they revolutionize plant health. Unlike traditional methods, these structures let you control soil quality while reducing physical strain. Many growers report doubling their harvests after making the switch.
Enhanced Soil Drainage and Aeration
Your plants’ roots breathe easier in elevated setups. Loose, well-drained earth prevents soggy conditions that drown vegetation. Oxygen flows freely through the custom soil mix, encouraging stronger growth. This setup also warms faster in spring, letting you plant crops 2-3 weeks earlier than in-ground plots.
Easy Access and Maintenance
Say goodbye to backaches from constant bending. The waist-high design makes watering and harvesting effortless. You’ll spend less time fighting weeds and more enjoying fresh produce. For those ready to start, our step-by-step raised bed construction guide simplifies the process.
These systems help organize your growing space efficiently. Rotate crops easily or pair compatible species without disturbing neighboring plants. Your vegetables get precisely the nutrients they need—no more battling poor native soil.
Assessing Your Garden Needs and Available Space
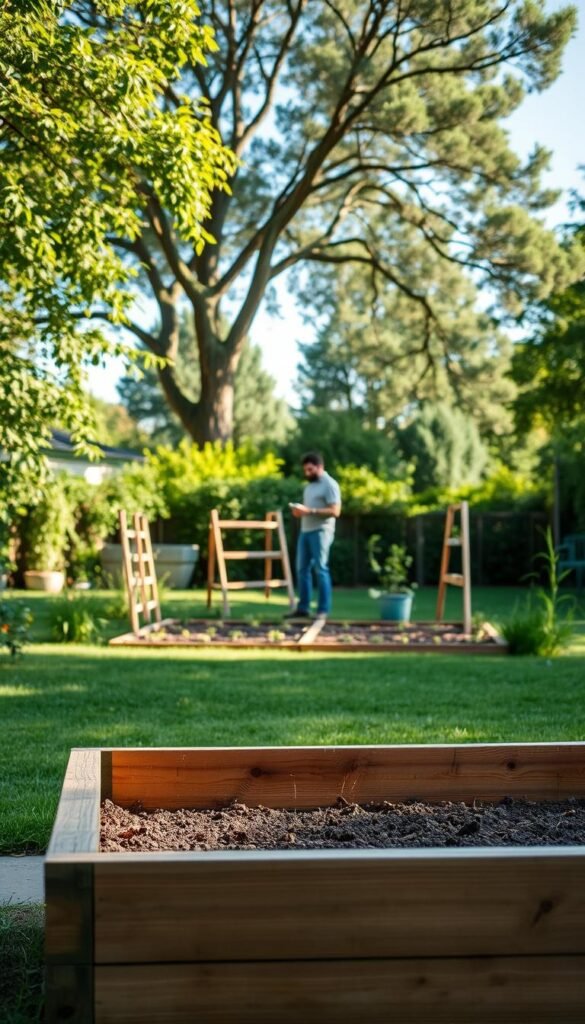
Smart growers know successful harvests start with proper space assessment. Before building anything, grab a tape measure and sketch your yard’s layout. This helps avoid overcrowding and ensures easy access to every plant.
Evaluating Garden Dimensions
Measure your usable area, subtracting paths and permanent features. Most beginners find 4-foot-wide beds work best when accessible from all sides. Narrower 2.5-foot designs fit snugly against fences or walls. Always leave 18-24 inches between structures for comfortable movement.
| Access Type | Width Range | Key Benefit |
|---|---|---|
| All Sides | 3-4 feet | Prevents overreaching |
| One Side | 2-2.5 feet | Saves space |
| Future Expansion | +2ft pathways | Allows growth |
Defining Your Gardening Goals
Are you growing salad greens or nurturing flower displays? Compact herb setups need less room than tomato jungles. Consider your weekly schedule too – larger spaces demand more time for watering and weeding. Start small if you’re new; three 4×8-foot beds can feed a family of four.
Sun exposure dictates placement. Most edibles thrive with 6+ hours of daily light. Position taller plants northward to avoid shading others. Keep water sources within hose distance to simplify irrigation.
Importance of Wood Selection for Durable Raised Beds
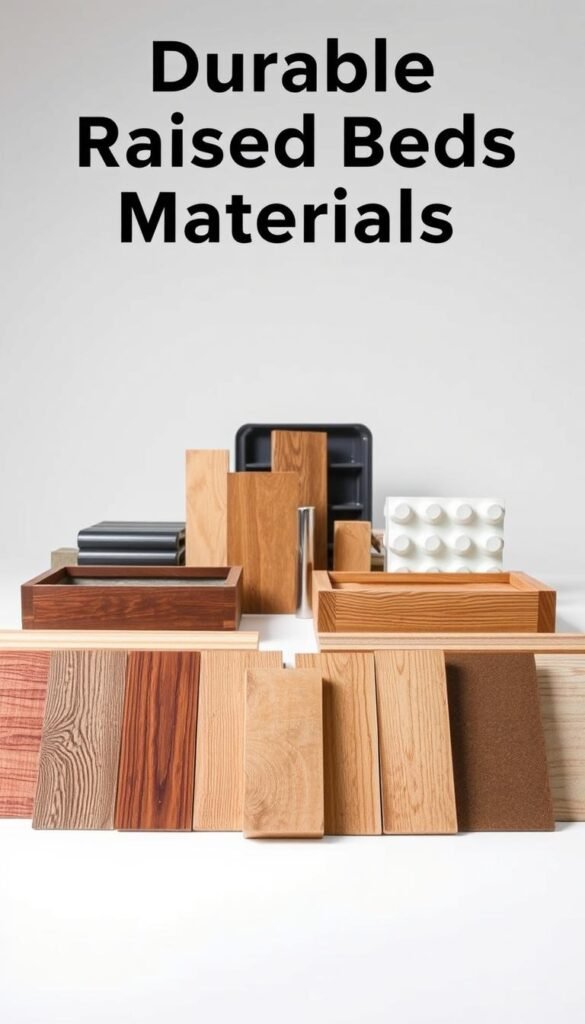
Your garden’s longevity hinges on selecting materials that stand up to moisture, pests, and time. Unlike temporary solutions, quality options create stable environments where plants flourish year after year.
Built-In Protection Against Nature’s Challenges
Certain species contain natural oils that act like armor. Cedar and redwood, for example, resist decay without chemical treatments. These defenses prevent structural damage from termites or fungal growth.
Less durable options absorb water like sponges. This leads to warping and eventual collapse. Rot-resistant varieties maintain their shape through freezing winters and rainy springs.
Safe Foundations for Healthy Harvests
Pressure-treated lumber often contains copper compounds. While effective against rot, these can seep into soil. A study found zucchini plants absorbed 25% more chemicals from treated boards.
Opt for untreated, naturally resistant materials to protect your crops. This ensures your tomatoes and carrots grow in toxin-free earth. Sturdy walls also prevent soil shift during heavy rains.
Want budget-friendly durability? Our guide to building raised beds on a budget reveals smart alternatives. Proper selection saves hundreds in replacement costs over a decade.
“The right lumber becomes part of your garden’s ecosystem – protecting roots while resisting decay.”
Thicker boards (1.5+ inches) outlast thinner alternatives. They withstand soil pressure better, maintaining perfect growing conditions season after season.
Wood Raised Garden Bed Basics: Selecting the Right Timber for Longevity
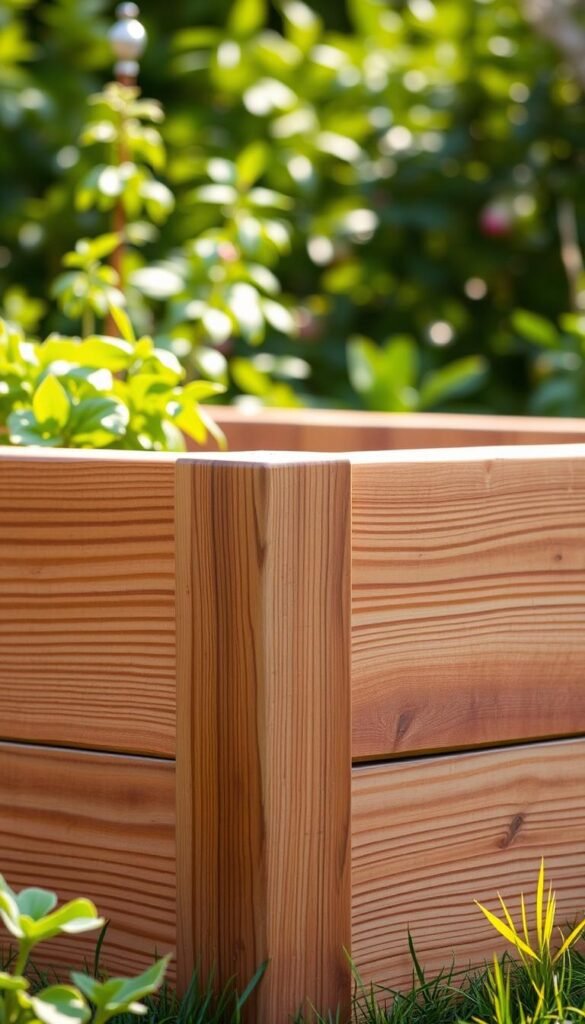
Gardeners often wonder why some materials outlast others by decades. The answer lies in natural chemistry – certain species contain protective compounds that fight decay. Cedar leads the pack with thujaplicins, organic antimicrobials that repel insects and resist moisture damage.
This aromatic option maintains structural integrity for 10-15 years without chemical treatments. Its lightweight nature simplifies construction, while the warm reddish hue blends beautifully with landscapes. Best wood choices balance safety and durability, especially when growing edibles.
| Material | Lifespan | Cost Factor | Food Safety |
|---|---|---|---|
| Cedar | 10-15 years | $$$ | Excellent |
| Redwood | 8-12 years | $$$$ | Superior |
| Pine | 3-5 years | $ | Good (untreated) |
| Fir | 5-7 years | $$ | Moderate |
Redwood offers similar benefits but costs 30% more in most regions. Budget-conscious growers might consider heat-treated pine, though it requires more frequent replacement. Always verify lumber sources – sustainably harvested options protect forests while serving your garden.
Your local climate dramatically affects performance. Humid areas demand higher resistance to fungal growth, while arid zones permit more material flexibility. One Oregon gardener noted: “Our cedar beds survived 14 rainy seasons before showing wear – worth every penny.”
Prioritize non-toxic varieties that won’t leach harmful substances into your soil. This safeguards root systems and ensures your kale or strawberries remain chemical-free. The right choice today means fewer replacements tomorrow.
Comparing Different Wood Types for Durability and Cost
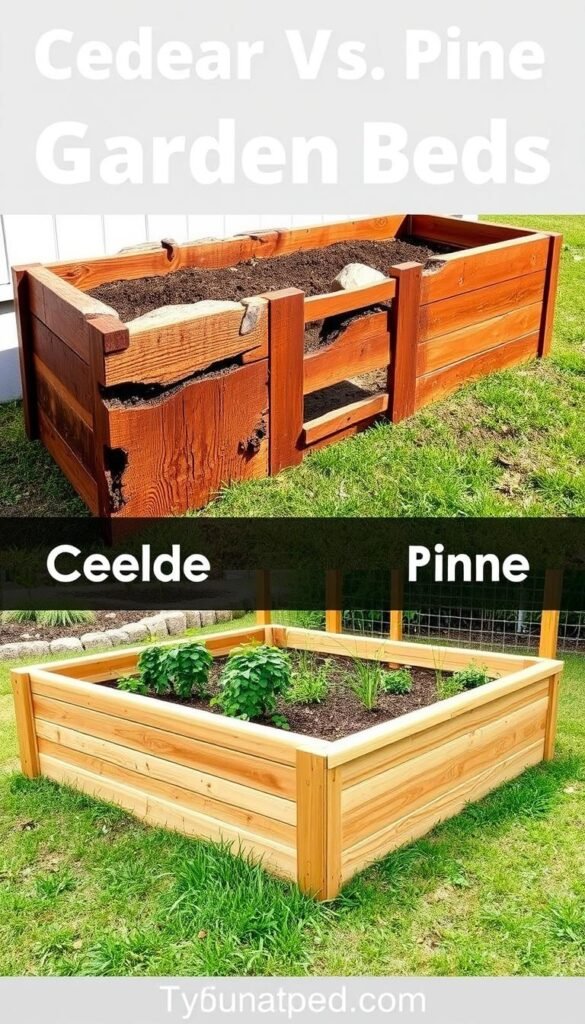
Choosing materials for your growing space feels like picking teammates for a decade-long project. Each option brings unique strengths and trade-offs that impact both your wallet and harvests. Let’s break down how popular choices stack up in real-world conditions.
Cedar and Redwood Advantages
Cedar shines as the MVP of natural rot resistance. Its built-in thujaplicins fight moisture and pests, often lasting 10-15 years untreated. You’ll pay more upfront, but many find the investment worthwhile. One Midwest gardener shared: “Our cedar beds still look new after 12 seasons – zero replacements needed.”
Redwood offers similar durability with rich color tones that age gracefully. However, its limited availability east of the Rockies often doubles shipping costs. Both options maintain structural integrity without chemical treatments, keeping your soil toxin-free.
Budget-Friendly Alternatives like Douglas Fir and Pine
Douglas fir provides a middle ground for cost-conscious builders. While it grays faster and lasts 5-7 years, its straight grain simplifies construction. Pine remains the most affordable choice but demands more frequent swaps – expect 3-5 years unless using heat-treated versions.
| Material | Avg Lifespan | Cost per Board | Maintenance Needs |
|---|---|---|---|
| Cedar | 10-15 years | $18-$22 | None |
| Redwood | 8-12 years | $24-$28 | Occasional sealing |
| Douglas Fir | 5-7 years | $12-$15 | Annual inspection |
| Pine | 3-5 years | $8-$10 | Replace rotting boards |
Calculate true costs by considering replacement frequency. A $20 cedar board lasting 15 years beats replacing $8 pine every 4 years. Your local climate plays a role too – humid areas accelerate decay in softer woods. Balance immediate savings with long-term value based on your gardening timeline.
Tips for Inspecting Lumber Quality Before Purchase
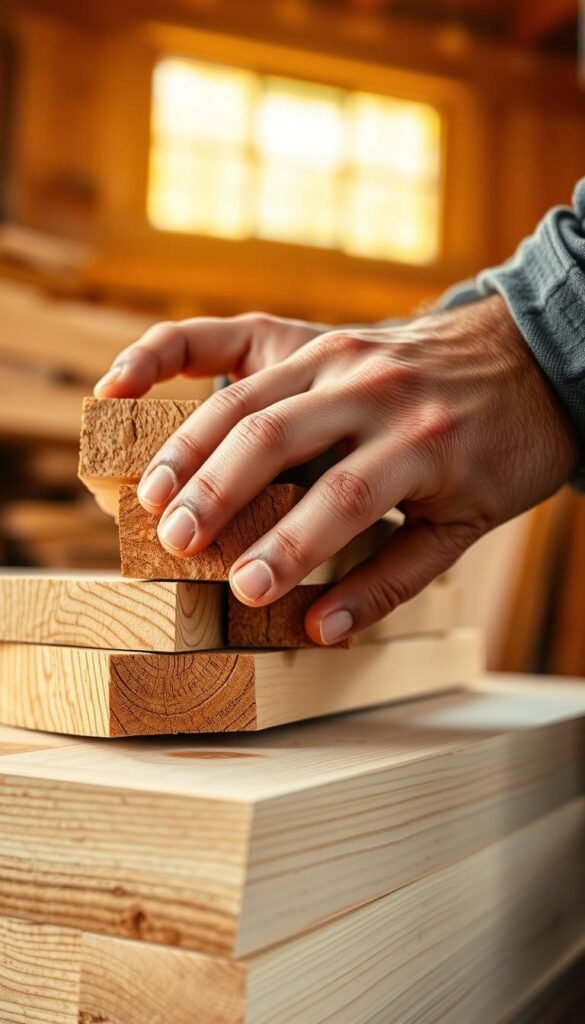
Your garden’s success begins long before planting season – it starts at the lumberyard. While online shopping offers convenience, nothing beats hands-on inspection when selecting materials. This critical step ensures your structure stays sturdy through countless growing cycles.
Checking Each Board for Damage or Defects
Pull every piece from the stack – even slight imperfections matter. Look for these red flags:
- Dark streaks or unusual coloration (signs of moisture damage)
- Splintered edges or surface gouges
- Visible knots larger than a quarter
Run your hand along the grain to feel for hidden cracks. Boards with waxy residues might indicate chemical treatments unsuitable for edibles. Reject any pieces that feel brittle or unusually light – these could crumble under soil pressure.
Ensuring Straightness and Consistency
Longer boards naturally warp more over time. Try this pro trick: lay 4-5 pieces flat on the floor and sight along their edges. Properly aligned lumber forms a seamless plane. Gaps between boards reveal curvature issues.
| Board Length | Acceptable Curve | Critical Flaws |
|---|---|---|
| 6 ft | ≤ 1/4″ bow | Twisted ends |
| 8 ft | ≤ 3/8″ bend | S-shaped warping |
| 12 ft | ≤ 1/2″ arc | Multiple kinks |
Double-check measurements before loading your cart. A Wisconsin gardener shared: “Measuring twice saved me three extra trips last summer – worth every minute spent inspecting!” Quality lumber might cost slightly more upfront, but you’ll save time and money on replacements.
Design Considerations: Dimensions and Construction Tips
Crafting a functional growing space requires precise planning from the ground up. Your structure’s proportions impact everything from plant health to maintenance ease. Let’s break down the measurements that make or break your project.
Recommended Wood Thickness and Board Size
Standard setups thrive with 2×6 or 2×8 boards – these handle soil pressure beautifully. For petite herb setups, 2×4 planks work well. Corner posts demand sturdier 4×4 beams to prevent wobbling. Thicker 2-inch boards last longer but cost 40% more than 1-inch options.
- 2×6 lumber: Ideal balance of strength and affordability
- 4×4 posts: Essential for multi-level designs
- 1-inch boards: Budget-friendly for temporary setups
Ideal Raised Bed Depth and Width
Most vegetables need at least 12 inches of soil depth. Root crops like carrots require 16-18 inches for proper development. Width depends on your reach:
| Access Type | Width | Best For |
|---|---|---|
| All Sides | 3-4 feet | Mixed plantings |
| One Side | 2-2.5 feet | Wall-adjacent spaces |
Height affects both plants and people. Taller structures (18-24 inches) reduce bending but need more soil. One Oregon gardener found: “Our 20-inch beds eliminated knee pain without sacrificing tomato yields.” Match dimensions to your physical needs and crop types.
Remember spacing between structures – 18-inch pathways prevent tripping and allow wheelbarrow access. These measurements create harmony between your green space and movement areas.
Using Treated versus Untreated Wood Safely
Your vegetable patch’s safety depends on understanding modern lumber treatments. While older pressure-treated options contained harmful arsenic, newer versions use copper-based preservatives. The USDA permits these for casual growing but excludes them from organic certification.
Navigating Chemical Risks
Pre-2003 lumber often carried creosote or chromated copper arsenate – substances you don’t want near root vegetables. Contemporary treatments like ACQ (alkaline copper quaternary) pose lower risks. Studies show copper levels in crops remain below safety thresholds when using current standards.
Effective Protective Barriers
For extra precaution, line your structure’s interior with food-grade polyethylene (6+ mil thickness). This creates a reliable shield between boards and soil. Some gardeners prefer natural barriers like untreated cedar planks placed against treated surfaces.
Always verify lumber treatment dates before purchasing. When in doubt, choose naturally rot-resistant species or composite materials. Your tomatoes will thank you for the toxin-free environment!

